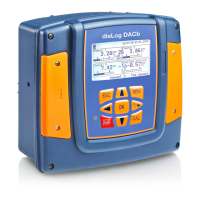
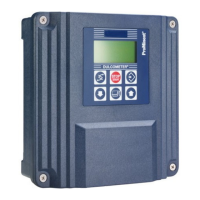
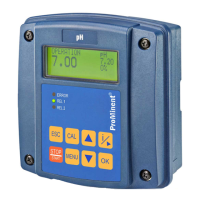
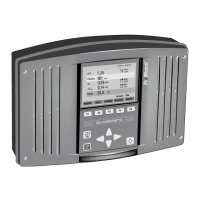
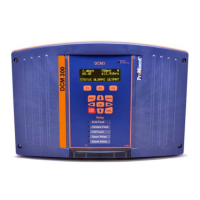
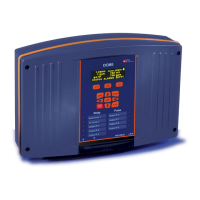
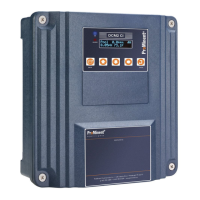
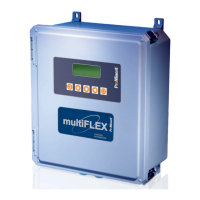
Replacing the housing lower part
Back up all parameters
Where possible, back up all the controller's set parameters on the SD card before replacing
the housing lower part (6). You can then use this data backup when the unit is recommis‐
sioned to upload all the old parameters to the new controller.
1. Disconnect the controller from the mains power supply.
2. Loosen the 4 screws on the housing upper part (2) and remove the upper part of the housing.
3. Place or suspend the housing upper part near the controller.
4. If fitted: loosen the strain relief (1 and 5).
5. Remove the plugs (3 and 4), using pointed pliers if you need to.
ð
Place the housing upper part to the side.
6. Note or mark the assignment of the supply cables to the terminals.
7. Loosen all cable connectors used.
8. Loosen and remove all cable connectors fitted.
9. Loosen the housing lower part (6) from the fixing and replace the lower part with the spare
part.
10. Guide the cables back through the threaded connectors.
11. Connect the cables to the designated terminals.
12. Replace the plugs (3 and 4), using pointed pliers if you need to.
13. If fitted: fit the strain relief (1 and 5).
14. Place the housing upper part back on the controller and fix in place the 4 screws of the
housing upper part.
15. Electrically connect the controller to the mains power supply.
ð
Perform complete commissioning, as described in the operating instructions for the con‐
troller.
Spare Parts and Accessories
182
 Loading...
