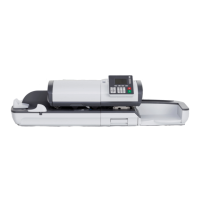
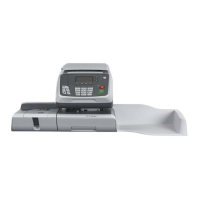
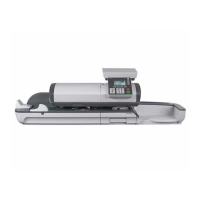
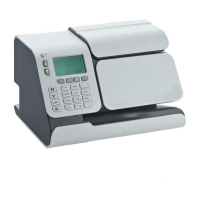
Setting Postage and Date of Mailing
A first step is mandatory:
•
Select the correct Type of Imprint corresponding to the current batch of mail to
be processed (Changing An 'Imprint Type' on page 66).
You can then make additional selections depending on required tasks:
•
Select a weighing type (if necessary).
•
Advance the Date Setting if mail will not be deposited at the Post Office on the
day of printing. The Postal authority requires the current date of mailing to be
printed in the indicia.
You can customise the default values and modes.
To set the default values as Supervisor, see Configuring the
System on page 273.
Final Mailing Preparations
Before beginning processing, these last steps may be necessary for each stack of mail:
•
Choose the Sealing Mode to seal envelopes or to run sealed envelopes.
•
Change accounts if you track accounts or departments.
•
Clear the batch counter if you need to generate a report for the mail you are
about to process.
Make sure that the envelopes passing through the machine do
not contain any stapler pins or paper clips.
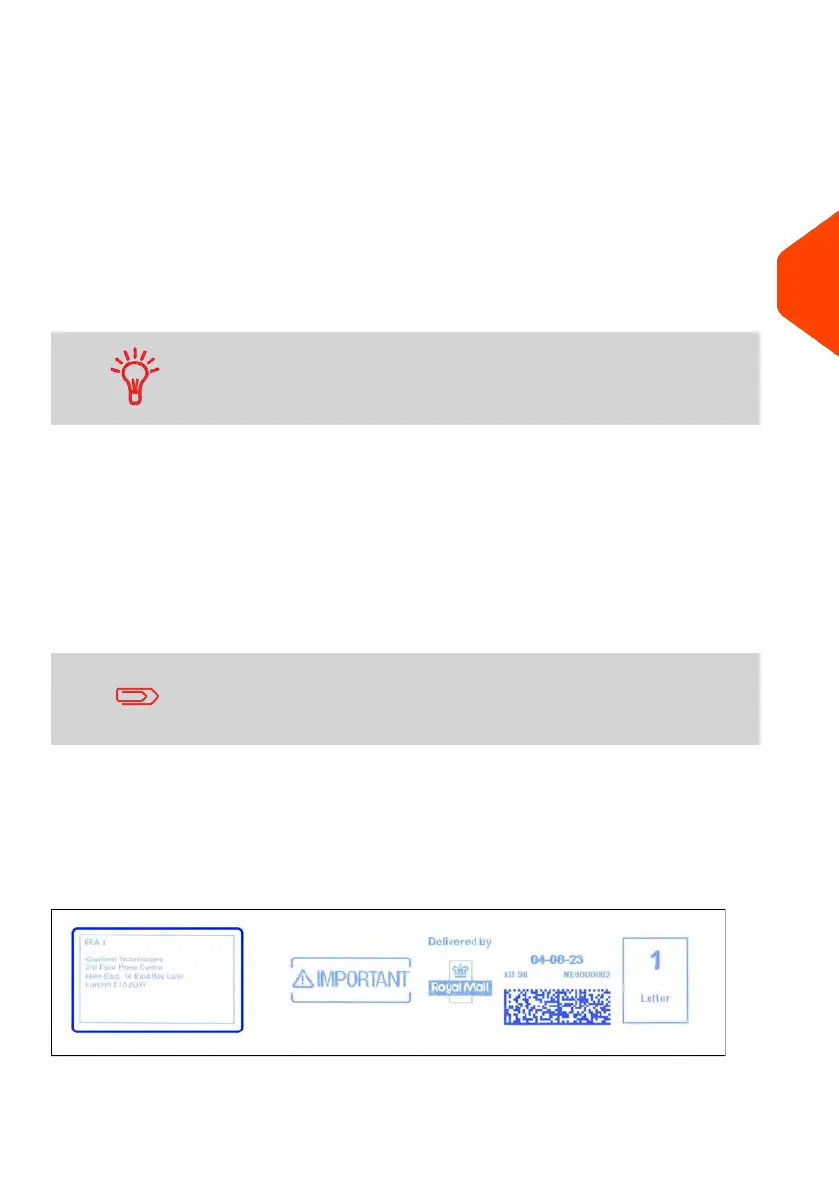
Enhancing the Printed Imprint
You can enhance the appearance and impact of your envelope with messages and
graphics:
•
Add an ERA to the imprint
4
Processing Mail
63
| Page 63 | Jan-15-2024 09:55 |
 Loading...