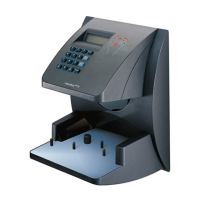
HandKey II Installation and Operation Manual
Revision 2.0 Page 21
Mechanical Installation
Select an installation location based on the guidelines provided in the Planning an
Installation section beginning on page 13.
Wall Plate Installation
Wall Preparation
For the following instructions protect the Hand Reader from the dust and debris
generated during the wall plate installation process.
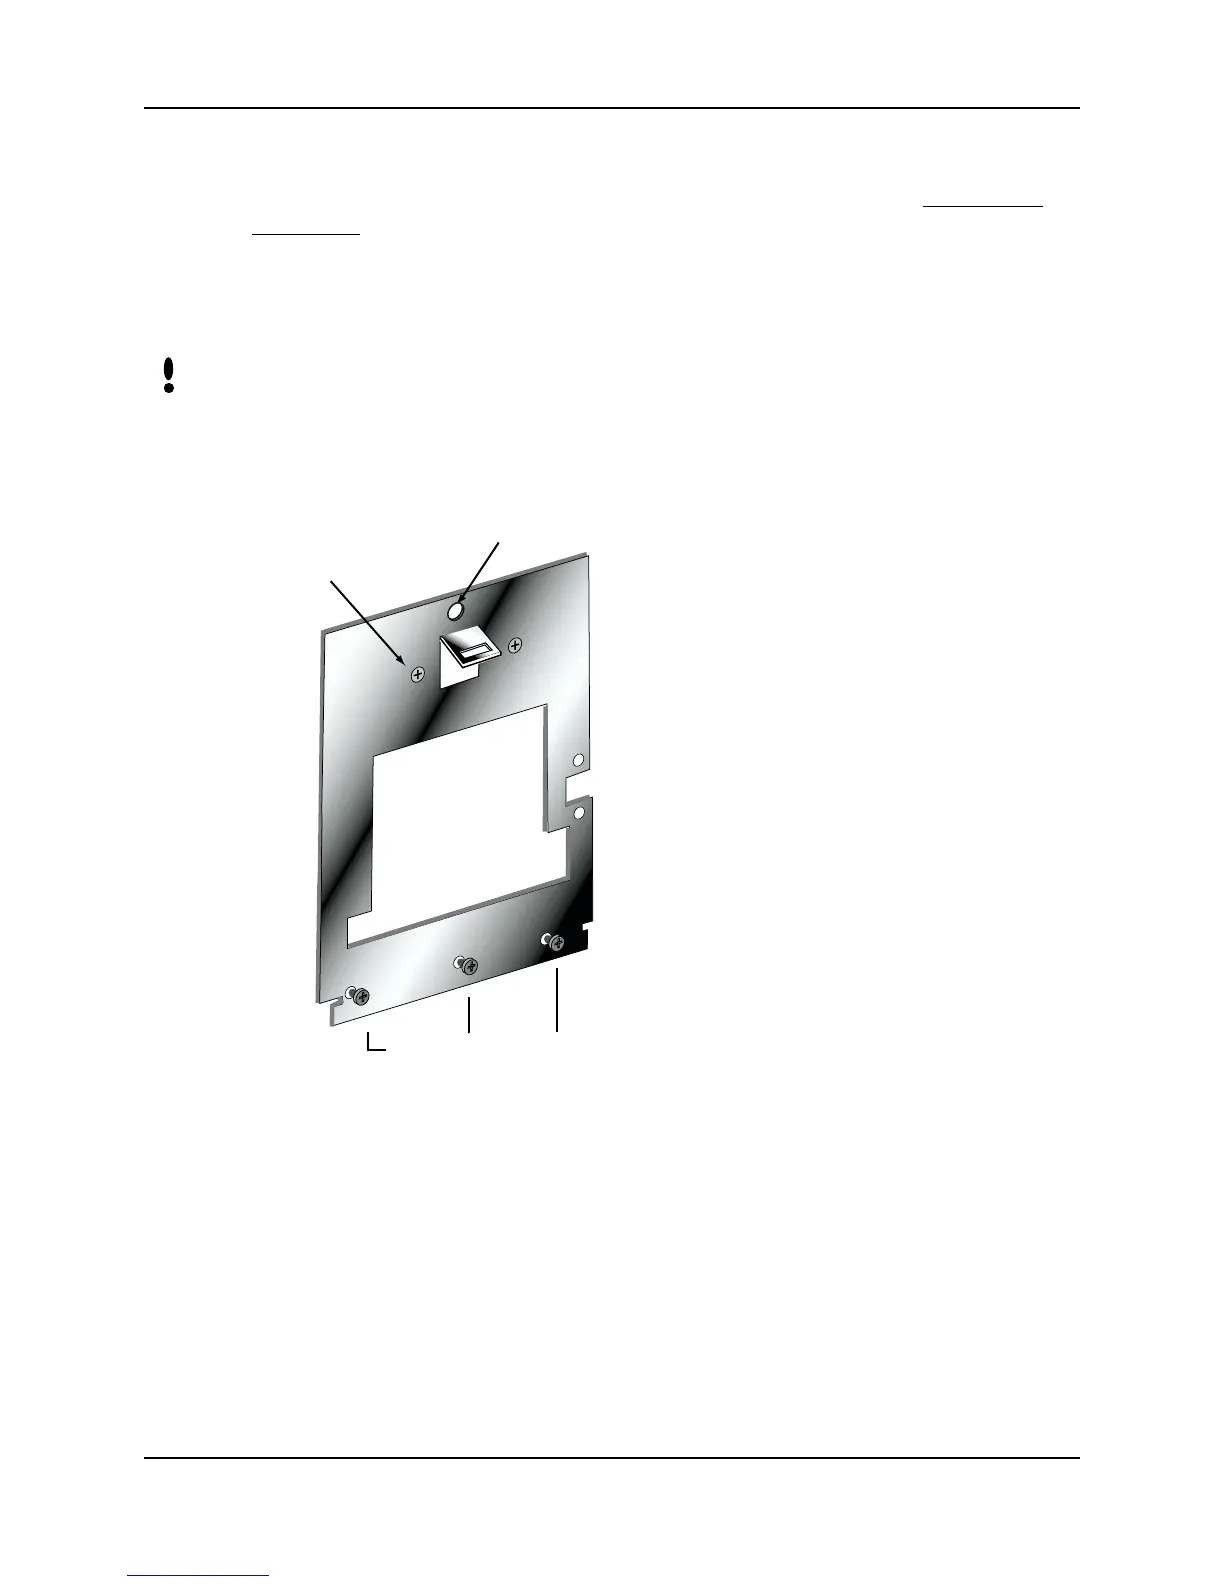
1. Remove the wall plate from the packing carton. Refer to Figure 3-1 for all wall
plate references in the following section.
Figure 3-1: Wall Plate
2. Measure and mark a point 48 1/2 inches (123 cm) from the surface of the finished
floor. This point will correspond to where the top-center point of the Hand Reader
should be mounted.
3. For a hollow wall, drive a small nail into the wall at the mark and hang the wall
plate from the leveling hole located near the top of the wall plate.
4. For a solid wall, hold the wall plate against the wall, centering the leveling hole
over the mark in the wall.
NOTE
2 UPPER SCREWS
3 LOWER SCREWS
HOLE
SURFACE
CONDUIT
ENTRY