Customizing Initial Settings [Custom Setting Mode]
103
Advanced Features (Printer Machine Side)
4
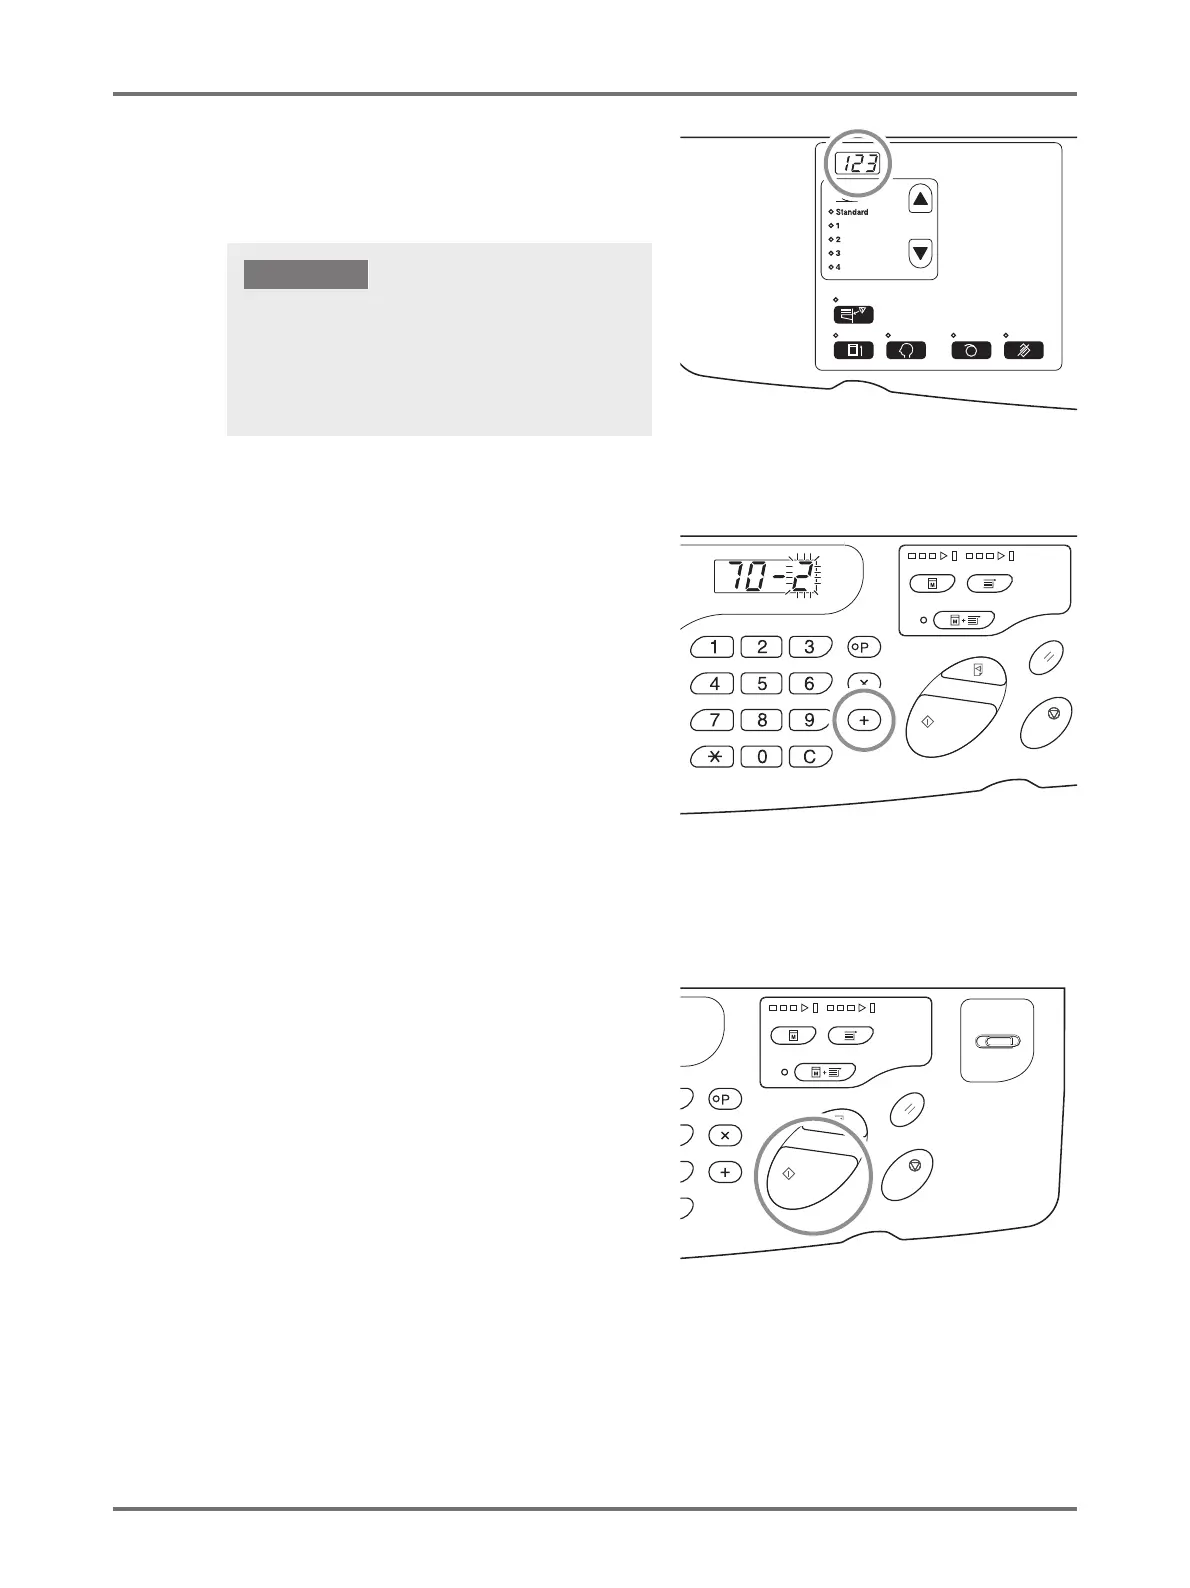
Enter the first field of the IP address,
using the Print Quantity keys.
The entered number is displayed on the sub panel.
5
Press the <
+
> key.
When the key is pressed, the entered numerical number
is fixed and the procedure moves to the next field.
6
Repeat the procedure from Steps 3 to
5 and enter the IP address up to Field
4.
7
Press the <Start> key to complete the
settings.
IP address setting is completed.
• The segmented numbers of the IP address by period are
called Field 1, Field 2... in order from the first number.
• Initial setting of the IP address of this machine is set to
"0.0.0.0". When the IP address of this machine is set to
"0.0.0.0", DHCP is turned ON.
IMPORTANT!