Removing and Installing the Print Drum (Changing the
115
Replacing and disposing consumables
4
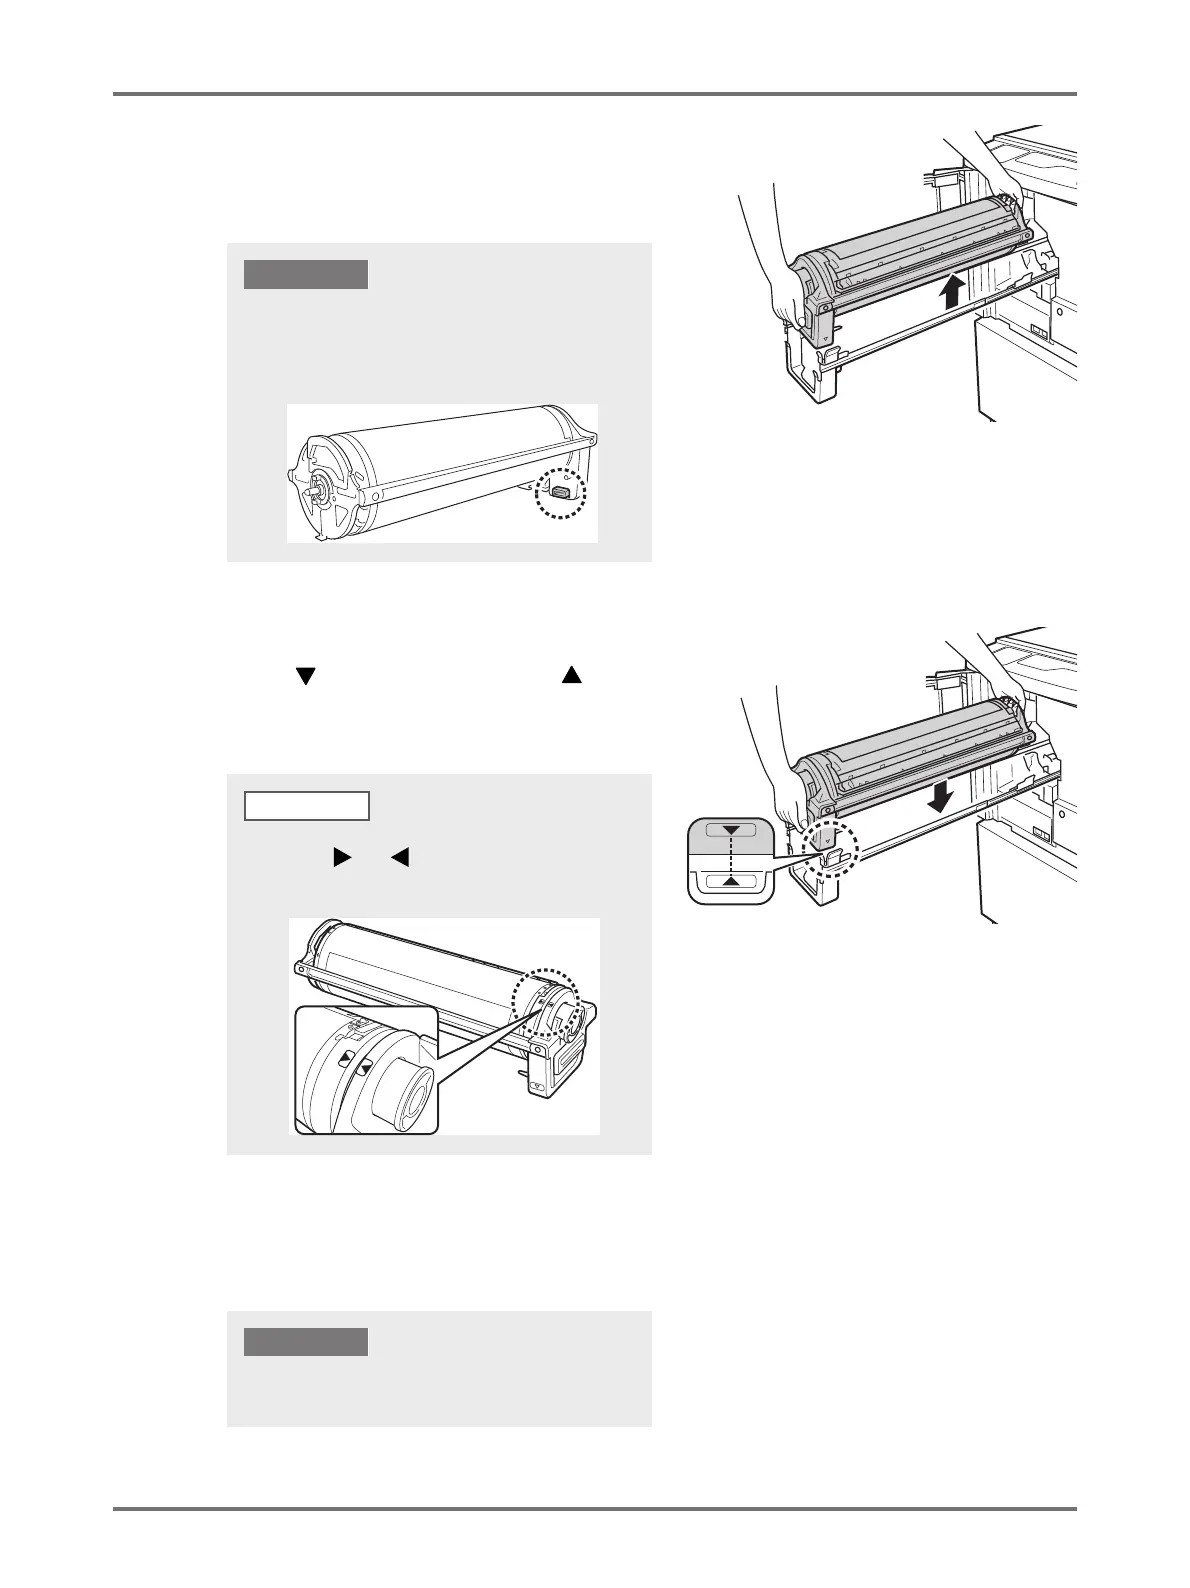
Remove the Print Drum.
Lift the Print Drum with both hands to remove it from the
rail.
5
Install the Print Drum.
Align the mark on the Print Drum with the mark on
the rail, and then position the Print Drum horizontal
relative to the rail.
6
Return the Print Drum to the original position.
Push the Print Drum into position slowly until it stops, and then close the Front Cover.
Do not touch the connector on the Print Drum.
Otherwise it may result in malfunctioning of the
Print Drum because of static electricity or other
factors.
IMPORTANT!
If you manually rotate the Print Drum, make sure to rotate
it so that the and marks meet as shown below
after the installation.
NOTE
Do not place the Print Drum into position while grasping
the Print Drum Handle.
IMPORTANT!