Preparing to Print (Computer Side)
48
Basic Operation
3
Registering Custom-sized Paper
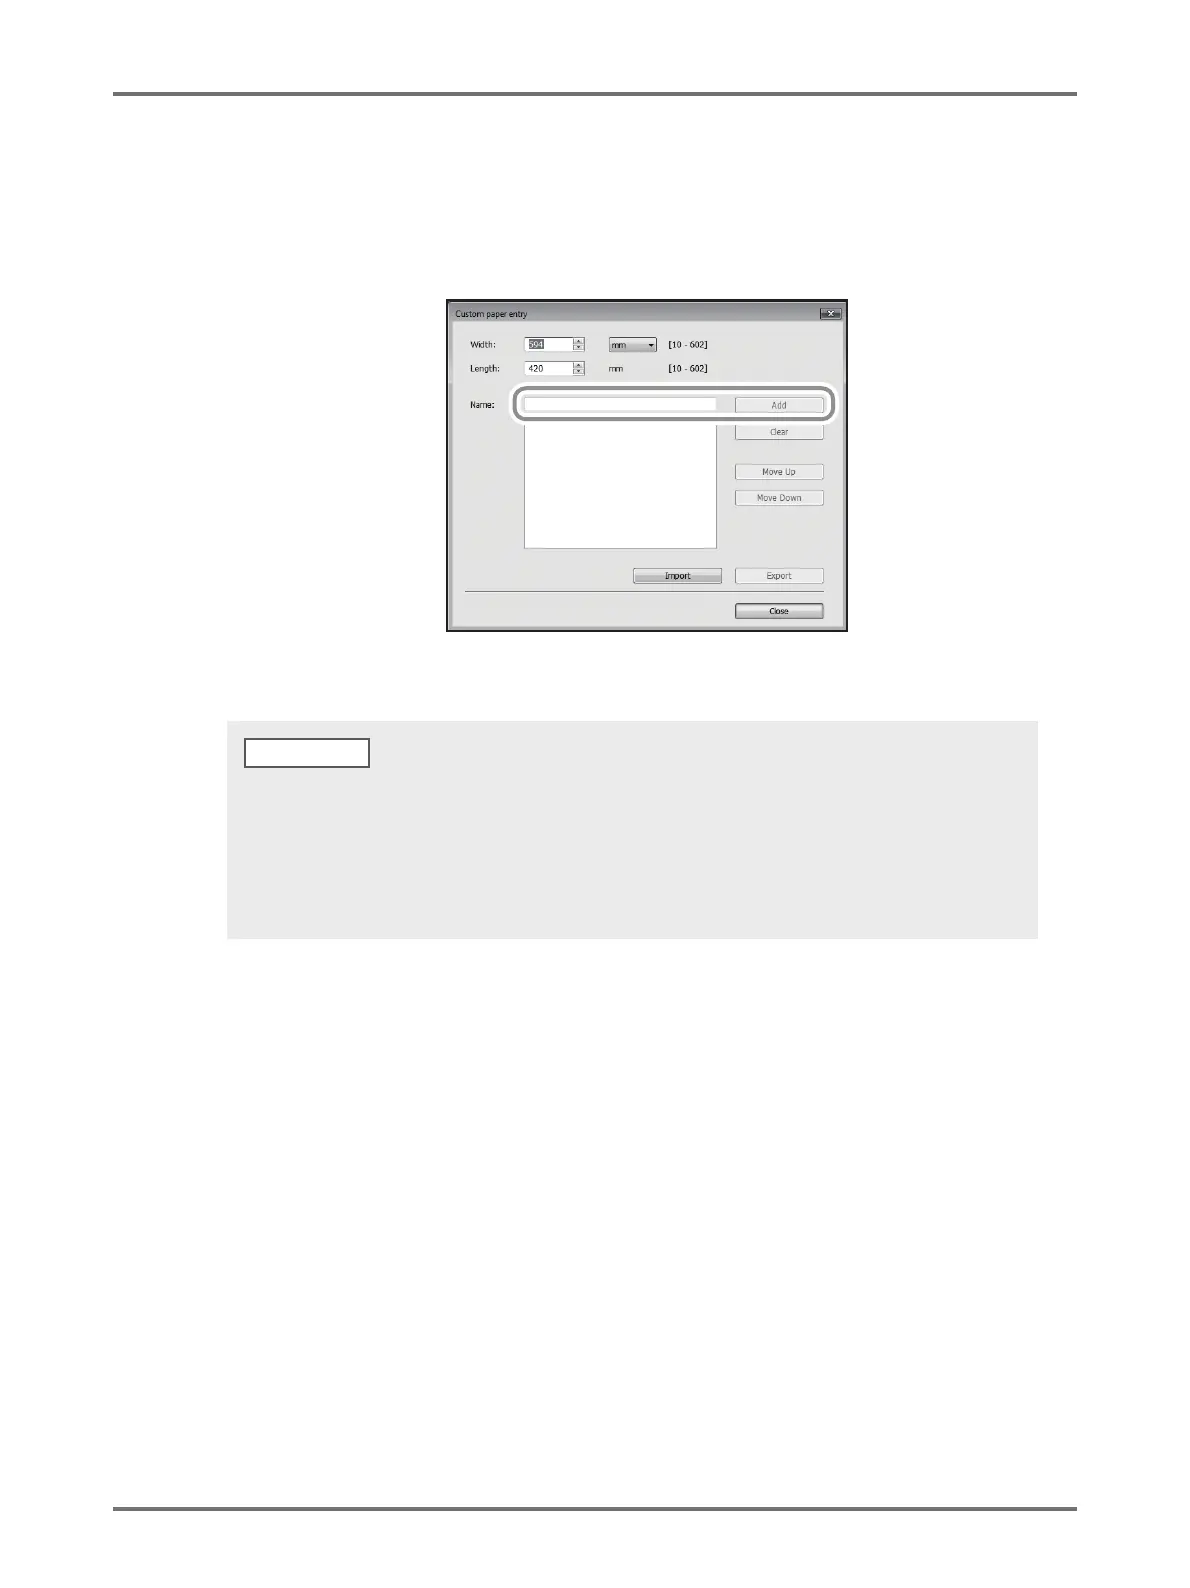
(1) Click [Custom paper entry] to display the [Custom paper entry] dialog box.
(2) Enter the width, length and name, and then click [Add].
The registered name appears in the dialog box.
(3) Click [Close] in the [Custom paper entry] dialog box.
4
Complete the setting.
Click [OK] on the [Environment] tab.
• Information of your custom paper size can be saved as a Custom paper entry information file (.udp extension) by
clicking [Export]. If you want to register the custom paper size from the Custom Paper Entry information file, click
[Import] to select the file.
• Entering the name and dimensions is helpful for selecting the paper size. The length of the name can be up to 30
characters.
• When deleting a custom paper size, select the corresponding name from the list, and then click [Clear].