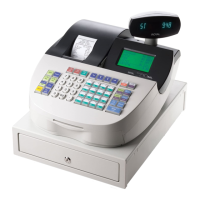
Chapter 4 Setting Up Your Cash Register - the Basics
33 Alpha 710ML User’s Guide
After you are done, you can check your results. See Running the
Department Confirmation Report on page 80.
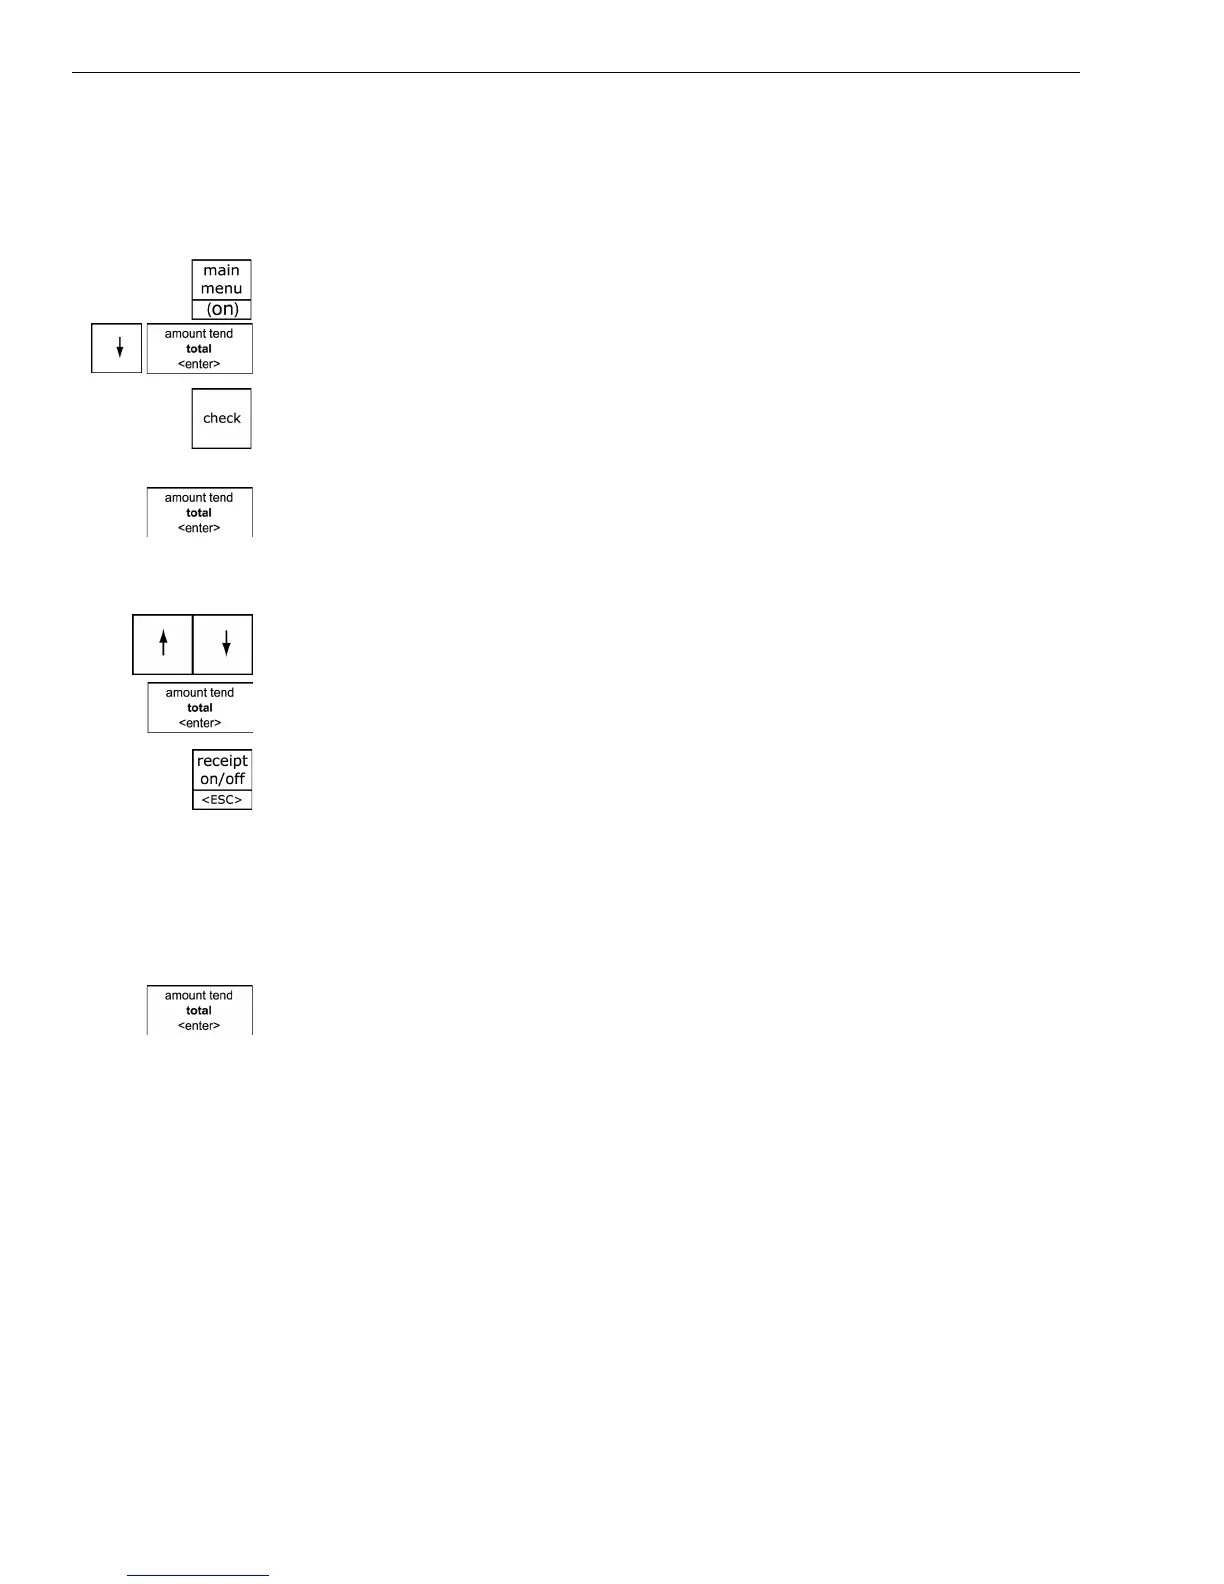
To program department keys
ProgrammingDepartment Set Up
1 Press the Main menu (on) key.
2 Press the Arrow Down key to select Programming. Press the Amount
Tend Total <Enter> key.
3 If you are prompted for a Manager Passcode, type the passcode number
and then press the Check key. If you did not program a Manager
Passcode, go to the next step.
4 Select Department Set Up and press the Amount Tend Total <Enter>
key.
5 Follow the prompts on the screen to program the information for your
departments.
Use the Arrow Up and Arrow Down keys to highlight items on the
screen. Press the Amount Tend Total <Enter> key to enter your
selections.
The next sections explain what you can program for each department.
6 When you are done programming all departments, press the Receipt
on\off <esc> key. To add another department, press the Arrow Down
key to select Next Department.
Setting Department Number Keys
You must assign a department number. You can specify up to 200
Department numbers. At the prompt, use the round Number keys to enter
the department number you want to program. Press the Amount
Tend/Total <enter> key to save your programming.
Programming Department Names
A name or description can be assigned to each department key. This name
appears on the clerk screen and prints when ringing up sales.
For example, Clothing can print on the receipt in place of Dept 1,
Shoes can print on the receipt in place of Dept 2, Sportswear can
print on the receipt in place of Department 3, and so on.