Configuring the DVR
3–16 700-0042 R004
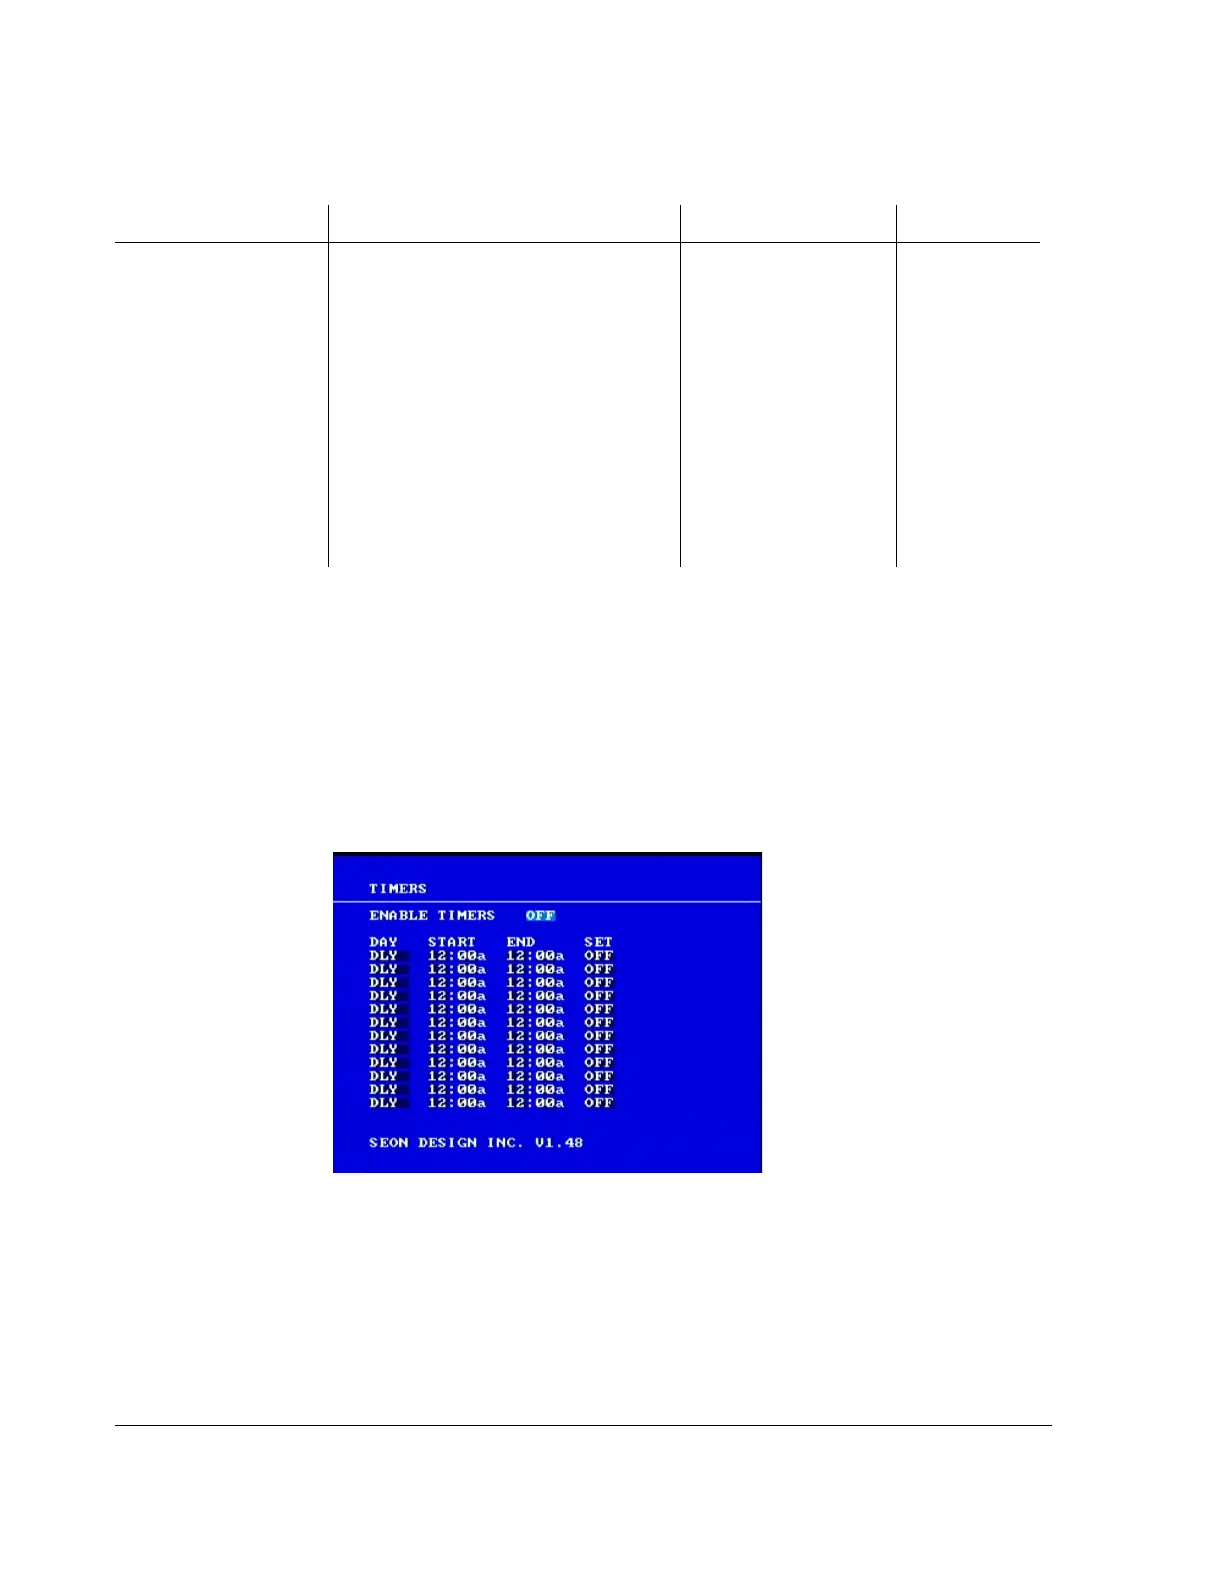
3.2.6. Using the Timers Menu
Use the Timers menu to change the timer schedules to meet different bus route
requirements.
To view the Timers menu:
1. On the main menu, turn the
JOG wheel to highlight TIMERS.
2. Press the
ENTER button.
The Timers menu appears as shown in Figure 3-8.
To change a setting on the sub-menu:
1. Turn the
JOG wheel clockwise or counter clockwise to change the value.
2. Press the
LOCK > button to advance through the fields.
3. Press the
DISPLAY < button to move back through the fields.
The selected menu item is highlighted with a pale blue background.
CAMERA 1 to
CAMERA 4 QUALITY
The EX4 DVR uses MPEG-4 video
compression to extend the recording time
on the hard drive. The picture quality
option lets you trade off the amount a
picture is compressed versus the amount
of memory the picture takes up on the
hard drive.
For example, a higher picture quality (6)
means lower compression and therefore a
higher memory requirement. A lower
picture quality (1) means higher
compression. See Table 3-5, “Picture
quality settings” on page 3–10.
Picture Quality
• 1 (Standard)
•2
•3
•4
•5
•6 (High)
6 (High)
Table 3-11
Alarm 1 settings configuration items
Menu Item Description Values Default
Figure 3-8
Timers menu