Configuring the DVR
3–22 700-0042 R004
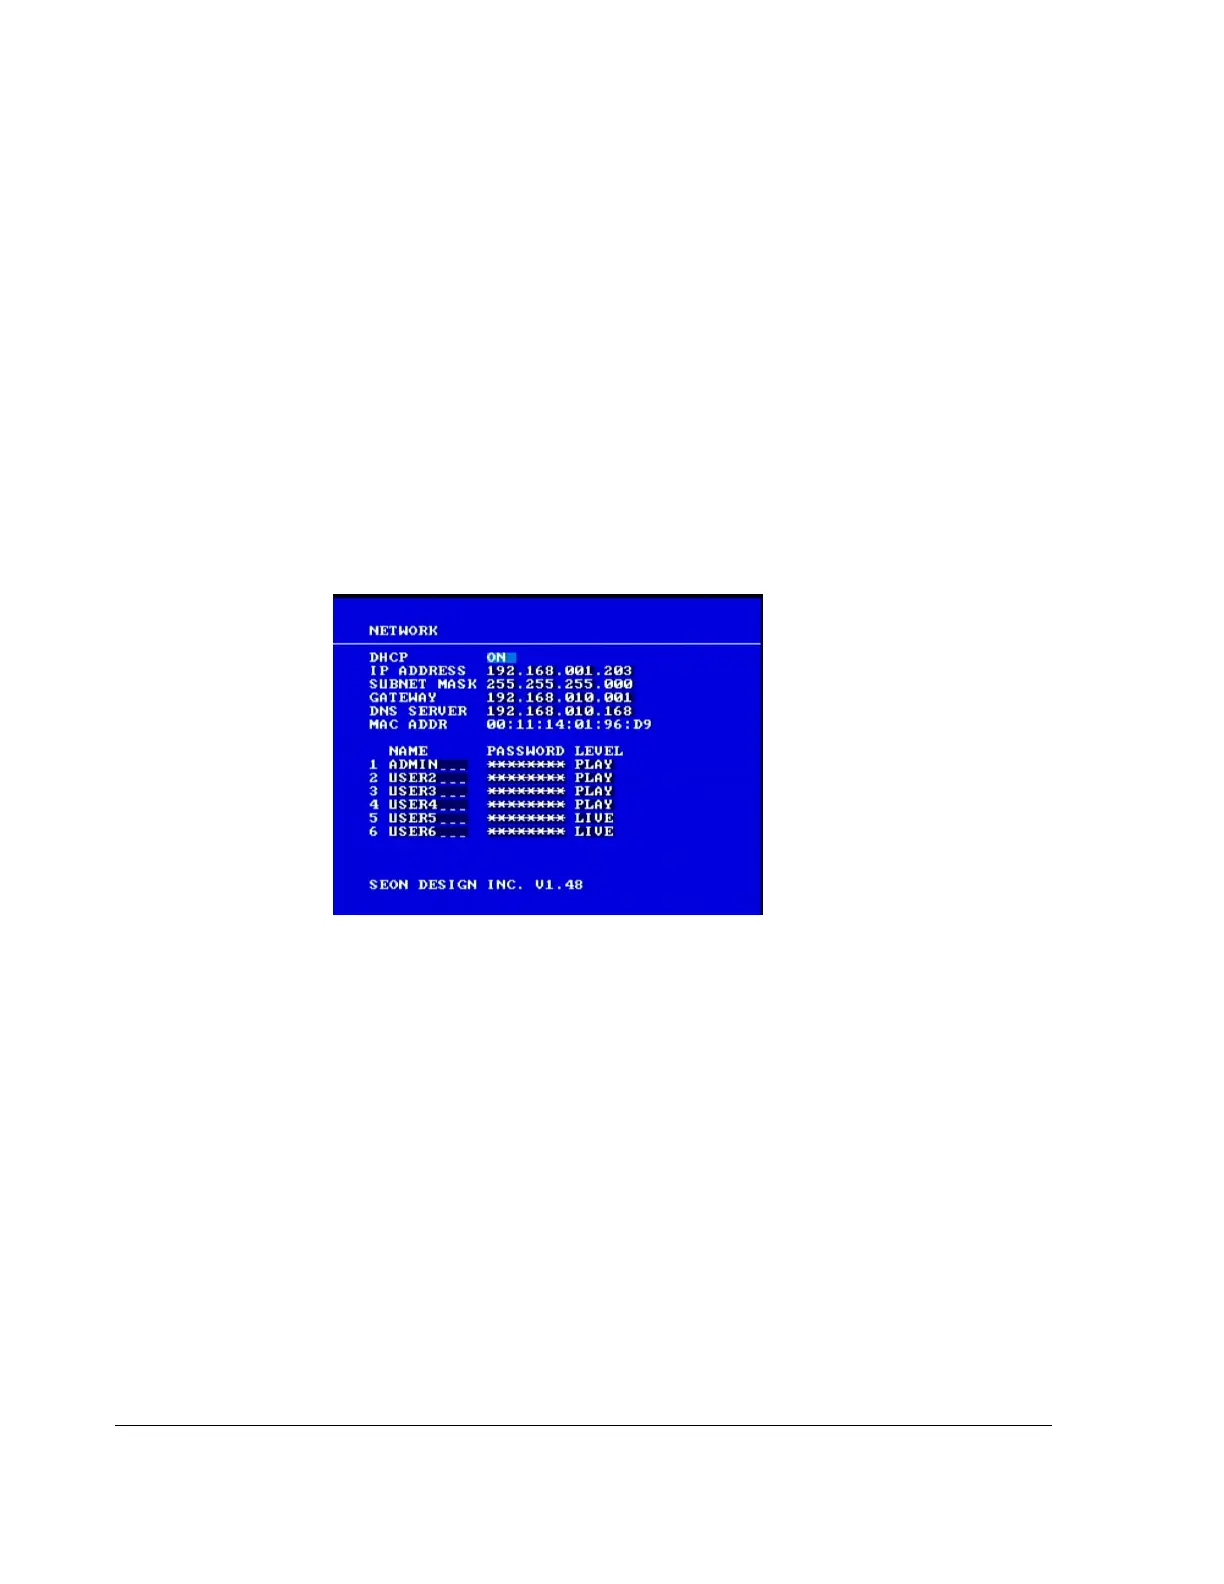
3.2.9. Using the Network Menu
The EX4 DVR has a built-in network interface for connecting to an office
network or to certain peripheral devices. Use the Network menu to set the
communication parameters necessary to use the Ethernet connection on the EX4
DVR.
Using the Network connection in the DVR requires specific knowledge of the
network to which the DVR is being connected. A qualified IT administrator is
required to provide information about the network and assist in configuring the
Network menu.
To view the Network menu:
1. On the main menu, turn the
JOG wheel to highlight NETWORK.
2. Press the
ENTER button.
The
NETWORK menu appears as shown in Figure 3-11.
To change a setting on the sub-menu:
1. Turn the
JOG wheel clockwise or counter clockwise to change the value.
2. Press the
LOCK > button to advance through the fields.
3. Press the
DISPLAY < button to move back through the fields.
The selected menu item is highlighted with a pale blue background.
4. Press the
CLEAR button to reload the default value into a field.
5. To exit the menu, press the
MENU button.
6. Repeat these steps to set the menu items. See Table 3-15.
Figure 3-11
Network menu