USING THE
BALANCE
USING MORE CONVENIENTLY MAINTENANCE
TROUBLESHOOTING
FOR YOUR
INFORMATION
BEFORE
WEIGHING
27
V
Continued on next page
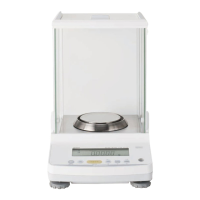
Installing the Components
The procedure for tting the components differs depending on the model of the balance.
ATX-R /ATY- R Series
1
Place the pan supporter.
2
Place the pan on the pan
supporters.
Align the two pan notches with the left and
right on the balance main body.
3
Fit the pan ring.
4
Set the protective cover.
If the balance is used in an environment where it gets dirty easily, use the protective cover
available.
(1) Peel off the paper to expose the adhesive on it.
(2) Fit it on the display.
(3) Press the adhesive parts rmly to keep tting it on the display.
Adjusting the Level of the Balance
*
Operation of the level screws
Turning the level screws clockwise, as viewed from above, extends them and raises the
balance, while turning them counterclockwise retracts them and lowers the balance.
Level
Level the balance by following the procedure below.
1
Turn all the level screws (total two at front) counterclockwise as
viewed from above until they come to a gentle stop.
The balance will now be tilting toward the front.
Pan
Pan supporter
Pan ring
Protective cover
Adhesive
Adhesive

 Loading...