EasyManuals Logo

Shimadzu GC-2014 Operation Manual

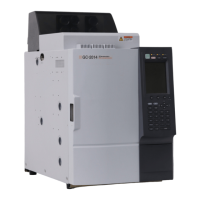
Shimadzu GC-2014
148 pages
To Next Page IconTo Next Page
To Previous Page IconTo Previous Page
Page #77 background imageLoading...
Page #77 background image
59
3.3 Analysis using capillary column
3
Installing capillary column in oven
1
Attach graphite ferrule to injection port end of
column.
(1) After slipping a box nut over the injection port end
of capillary column, slip the graphite ferrule.
(2) Using the ferrule adjuster, fix the graphite ferrule
temporarily.
(3) Let the end of capillary column stick out approx.
10 mm from the ferrule adjuster, cut the column at
the end of ferrule adjuster by using capillary
cutter, etc.
By using ferrule adjuster for SPL, you can fix the
ferrule at 34 mm from the column end.
Ferrule adjuster
Graphite ferrule
Box nut
Capillary cutter
NOTE
When performing splitless analysis by using the wide
bore column with 0.53 mm of inside diameter, fix the
graphite at 15 mm from column end.

Table of Contents

Other manuals for Shimadzu GC-2014

Questions and Answers:

Question and Answer IconNeed help?

Do you have a question about the Shimadzu GC-2014 and is the answer not in the manual?

Shimadzu GC-2014 Specifications

General IconGeneral
TypeGas Chromatograph
DisplayLCD
Maximum Heating Rate120°C/min
Data AcquisitionDigital
Maximum Number of Detectors4
WeightApprox. 45 kg
Carrier GasHelium, Nitrogen, Hydrogen
Detector OptionsFID, TCD, ECD, FPD
Injection PortSplit/Splitless, On-column
Gas ControlElectronic Flow Control (EFC)
Temperature Programming Rate0.1 to 120 °C/min
Power Requirements230 V AC, 50/60 Hz
Detector Temperature RangeUp to 400°C (depending on detector type)

Related product manuals