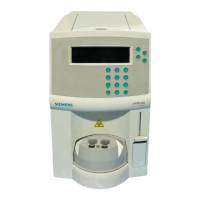
PFA-100 System – Instruction Manual (US) – Version 1.0.1
203
3 Delivery and installation
3.3 Preparing the analyzer for longer periods of non-operation
If the analyzer will not be used for a longer period of time, proceed as
follows:
Removing the PFA test
cartridge(s)
1. Make sure that testing is completed and the carousel has moved to load
position.
2. Remove the cassette carefully from the carousel.
3. Holding the cassette in one hand, remove the PFA test cartridge(s) by
gently pulling the bottom of the PFA test cartridge toward you until it
unsnaps.
4. Dispose of the PFA test cartridge(s) in a suitable biohazard waste
container.
Removing the O-Ring 5. Remove the O-Ring as is described in Chapter 11.3.2.
6. Only, if the analyzer is to be transported to another location for storage:
• Select Menu > Maintenance > 0.
The vacuum flask will move to rest position.
Switching off and storing the
analyzer
7. Set the power switch on the back of the analyzer to off.
8. Pull out the mains plug from the AC outlet.
9. Unplug the power cord at the back of the analyzer.
10. Clean and disinfect the analyzer according to Chapter 10.
11. Store the analyzer according to the non-operating storage conditions
given in Chapter 3.2.1.1 and Chapter 6.3.
12. Transport the analyzer carefully to an appropriate storage place.
Infection by contaminated parts of the analyzer.
Death or serious injury can result.
• Wear appropriate personal protective equipment, that is, gloves,
protective clothing, safety glasses, and mask.
• Pay attention to the manufacturer's information regarding the gloves'
compatibility with the materials and liquids used.
Note: Before putting the analyzer into operation again make sure that
a new trigger solution bottle is inserted into the analyzer. For details on
how to insert a trigger solution bottle refer to Chapter 3.2.3.5.

 Loading...