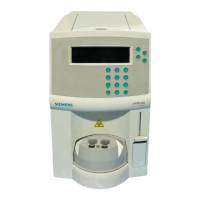
PFA-100 System – Instruction Manual (US) – Version 1.0.1
911
11.3.3 Installing the O-Ring
To install an O-Ring, proceed as follows:
1. From the System Ready display, press the softkey located next to
Menus.
2. Press the numeric key 2 to select the Maintenance option.
3. Press the numeric key 7 to select the Install O-Ring option.
The system will display the message Load O-Ring Service Tool,
Then Press Continue.
4. Load O-Ring in position B of the O-Ring service tool.
Note: To minimize debris accumulating on the O-Ring service tool,
store the tool in the packaging provided.
Make sure the O-Ring placement surface in position B of the O-Ring
service tool is free of debris before loading the O-Ring. If required, clean
the O-Ring placement surface with isopropanol.
Run
Print Last Run
Menus
System Ready
Insert Sample(s)
Then Press Run
01/11/07 10:30 AM
Previous Screen
1 - Run Control
2 - Maintenance
3 - Setup
4 - Print Log
5 - Clean O-Ring
6 - Remove O-Ring
7 - Install O-Ring
Previous Screen
1 - Paper Advance
2 - Self Test
3 - Printer Test
4 - Trigger Prime
False results or delayed results due to vacuum leak.
False results can lead to misdiagnosis and incorrect treatment.
• Always use an intact, thoroughly cleaned or new O-Ring.

 Loading...