Chapter 5 Special Editing and Recording/Playback
78
Chapter 5 Special Editing and Recording/Playback
1
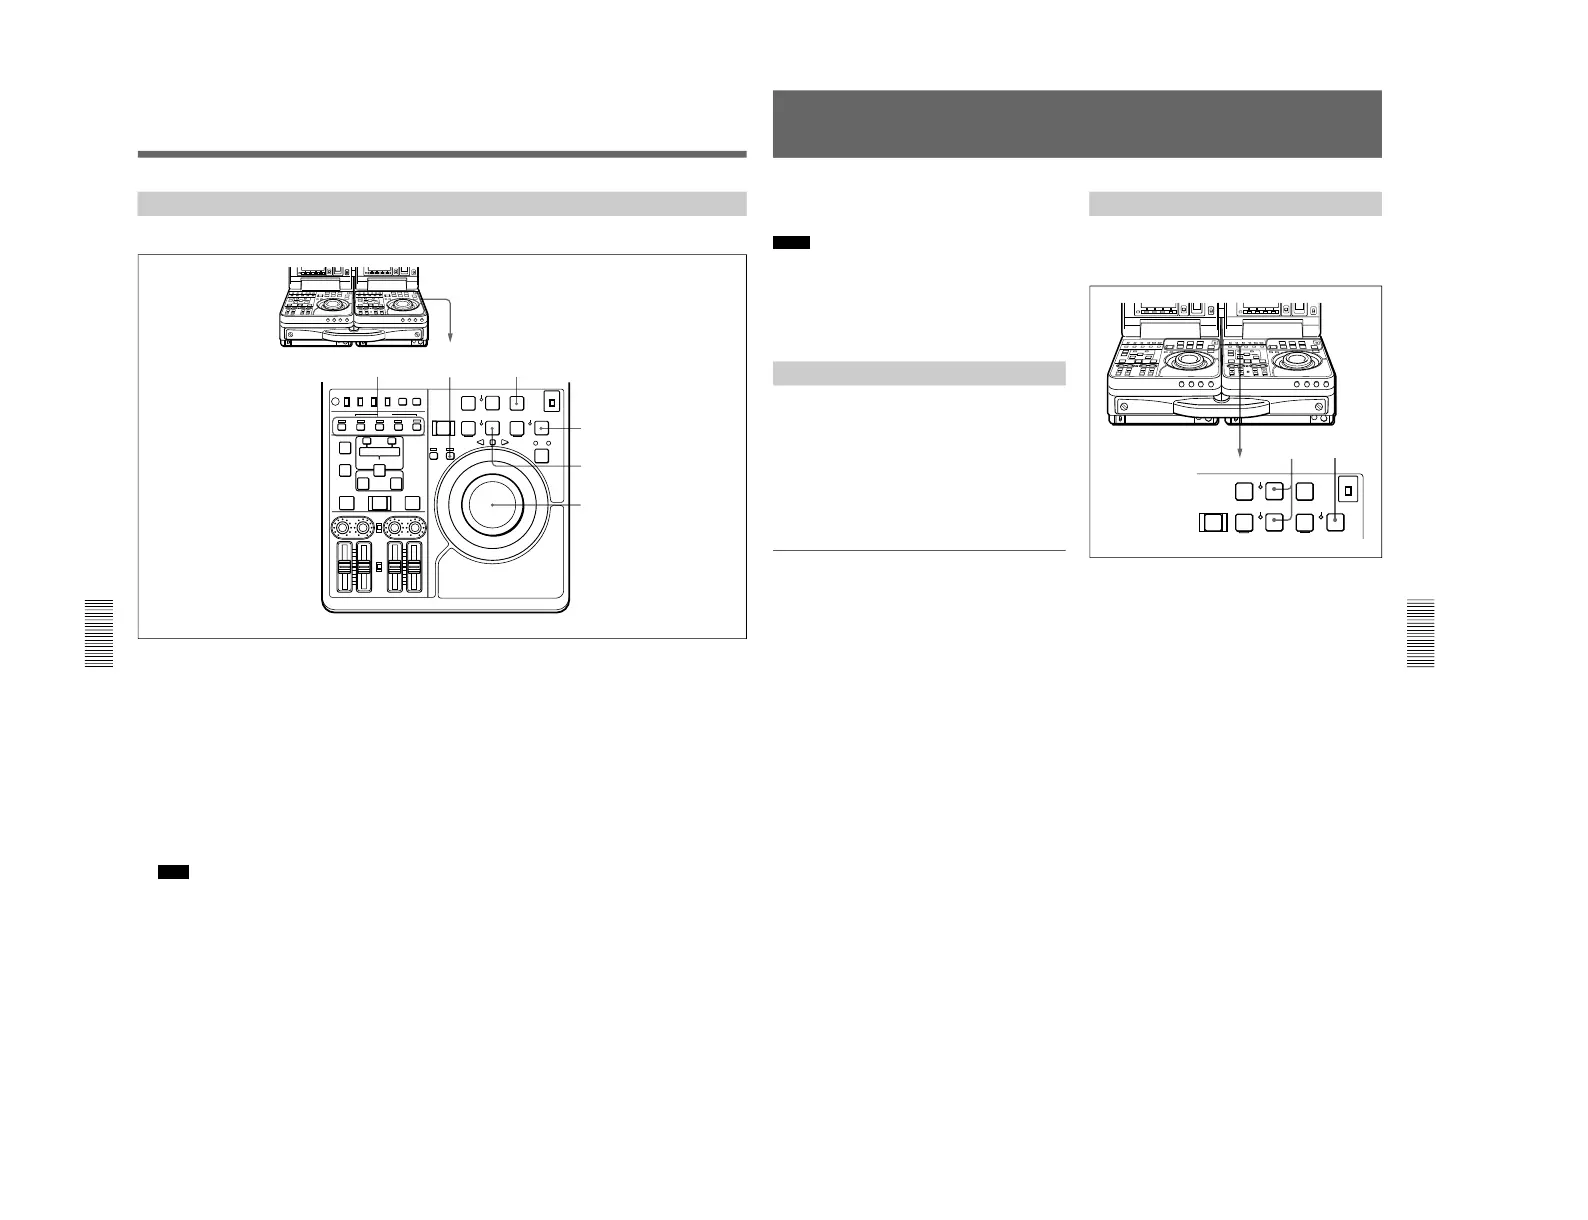
Press the RECORDER button, lighting the
indicator.
2
Use the jog or shuttle dial to find the point where
the edit will start (the recorder IN point), and stop
the tape slightly in advance of this point.
3
Select the edit mode.
4
Press the PLAY button.
Recorder playback starts.
Note
About 2 seconds are required for the picture to
stabilize. You should begin playback at a point on
the tape more than 2 seconds in advance of the
section you will use in the edit.
5
Press the EDIT button together with the PLAY
button at the point where you want to start the edit
(the recorder IN point).
The edit starts.
6
Press the PLAY button at the point where you
want to end the edit (the recorder OUT point).
The edit ends but recorder playback continues.
7
Press the STOP button to stop recorder playback.
Manual Editing
Perform manual editing using the recorder.
Chapter 5 Special Editing and Recording/Playback
Chapter 5 Special Editing and Recording/Playback
79
This section describes recording of external input
signals using this unit as a recorder.
Notes
•When two DSR-70/70P units are combined, set both
REMOTE/LOCAL switches to LOCAL.
•When controlling this unit from the editing control
unit connected to the REMOTE connector, set the
REMOTE/LOCAL switch to REMOTE.
Preparations for Recording
Perform the following procedure.
1
Connect the source signals.
2
Select video and audio signals which you want to
record (see step
5
on page 39).
3
Make settings for time data (see page 61).
To adjust audio input levels
Set the AUDIO INPUT PRESET/VARIABLE switch
on the control panel to VARIABLE. Turn the AUDIO
INPUT CH-1 and CH-2 knobs, monitoring the input
levels indicated by audio level meter.
Recording Operation
Confirm that the REC INHI indicator on the control
panel is not lit.
Then, follow the procedure below.
1
Press the REC/SEQ and PLAY buttons at the same
time.
Recording starts and the POWER indicator turns to
red.
2
Press the STOP button to stop recording.
If recording continues to the end of the tape, the
tape automatically rewinds to the beginning and
stops.
Recording
 Loading...