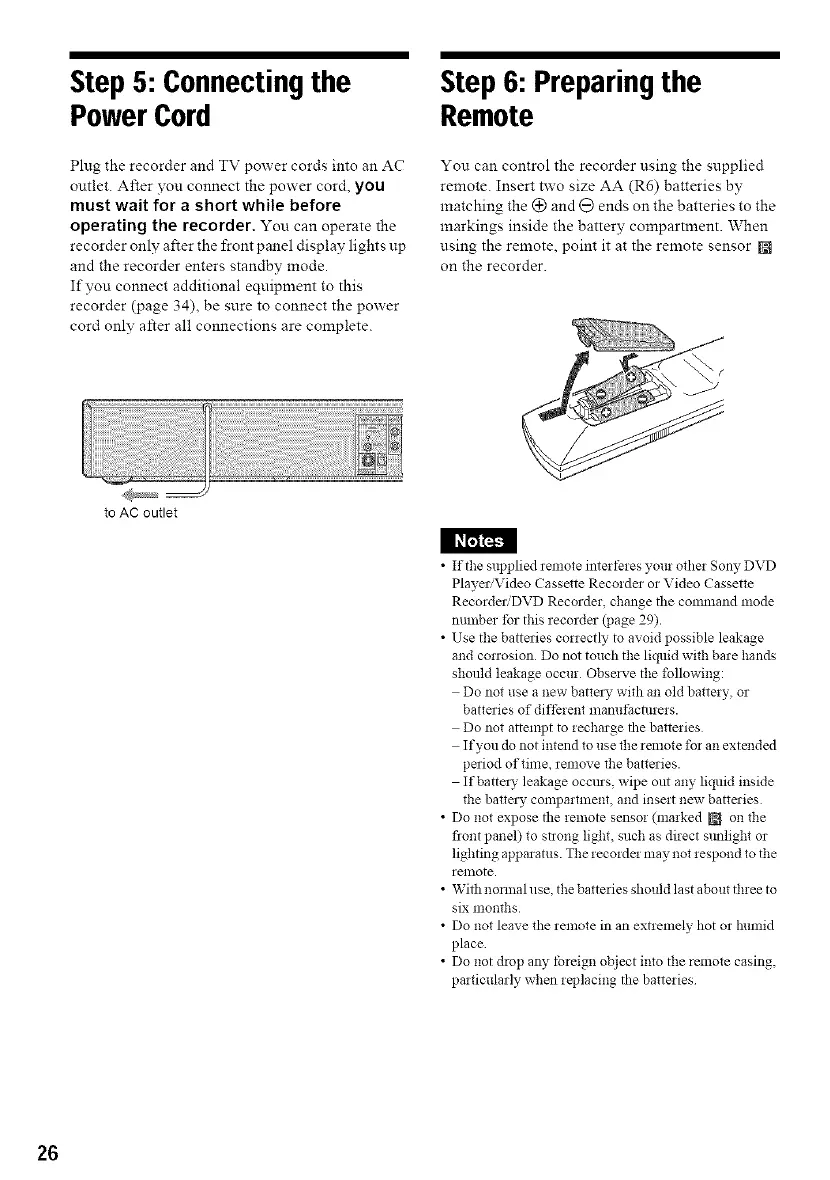
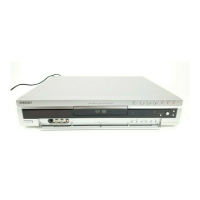
Step 5: Connecting the
Power Cord
Step 6: Preparing the
Remote
Plug the recorder and TV power cords into an AC
outlet. After you connect the power cord, you
must wait for a short while before
operating the recorder. You can operate the
recorder only after the front p,'mel display lights up
and the recorder enters standby mode.
If you connect additional equipment to this
recorder (page 34), be sure to connect the power
cord only after all connections are complete.
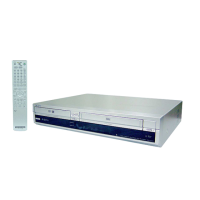
You can control the recorder using the supplied
remote. Insert two size AA (R6) batteries by
matching the (_ and @ ends on the batteries to the
markings inside the battery compartment. When
using the remote, point it at the remote sensor
on the recorder.
to AC outlet
I l_I_;_I
• If the supplied remote interferes your other Sony DVD
Player/Video Cassette Recorder or Video Cassette
Recorder:DVD Recorder, change tile command mode
nmnber tbr this recorder (page 29).
• Use the batteries correctly to avoid possible leakage
and conosion Do not touch the liquid with bare hands
should leakage occur Obsave the following:
Do not use a new batta), with an old battery, or
batteries of different mamffacmrers.
Do not attempt to recharge the batteries
If you dc_not intend to use the remote for an extended
period of time, remove the batteries.
If battez_' leakage occms, wipe out any liquid inside
the batta), compartment, and insert new batteries
• Do not expose the remote sensor (marked J_ on the
flont panel) to strong light, such as direct slmlighl or
lighting apparatus. The recorde! may not respond to the
remote.
• With normal use, the batteries should last about three to
six months
• Do not leave the remote in an extremely hot or Nmfid
place
• Do not drop any tbreign object into the remote casing,
particularly when replacing the batteries
26