16.9 16.9: MENU > SETTINGS
16.9: MENU > SETTINGS
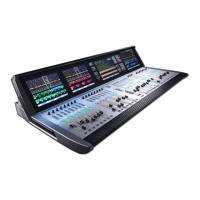
Set Meter In
Point
Determine the metering
point for the input chan-
nel level meters.
There are four choices for the input meter tap, from
left to right: After the analogue mic gain (before digital
trim and lters); after the digital trim and lters (before
the Gate/EQ/Dynamics); after the Gate/EQ/Dynamics
(before the fader); after the fader.
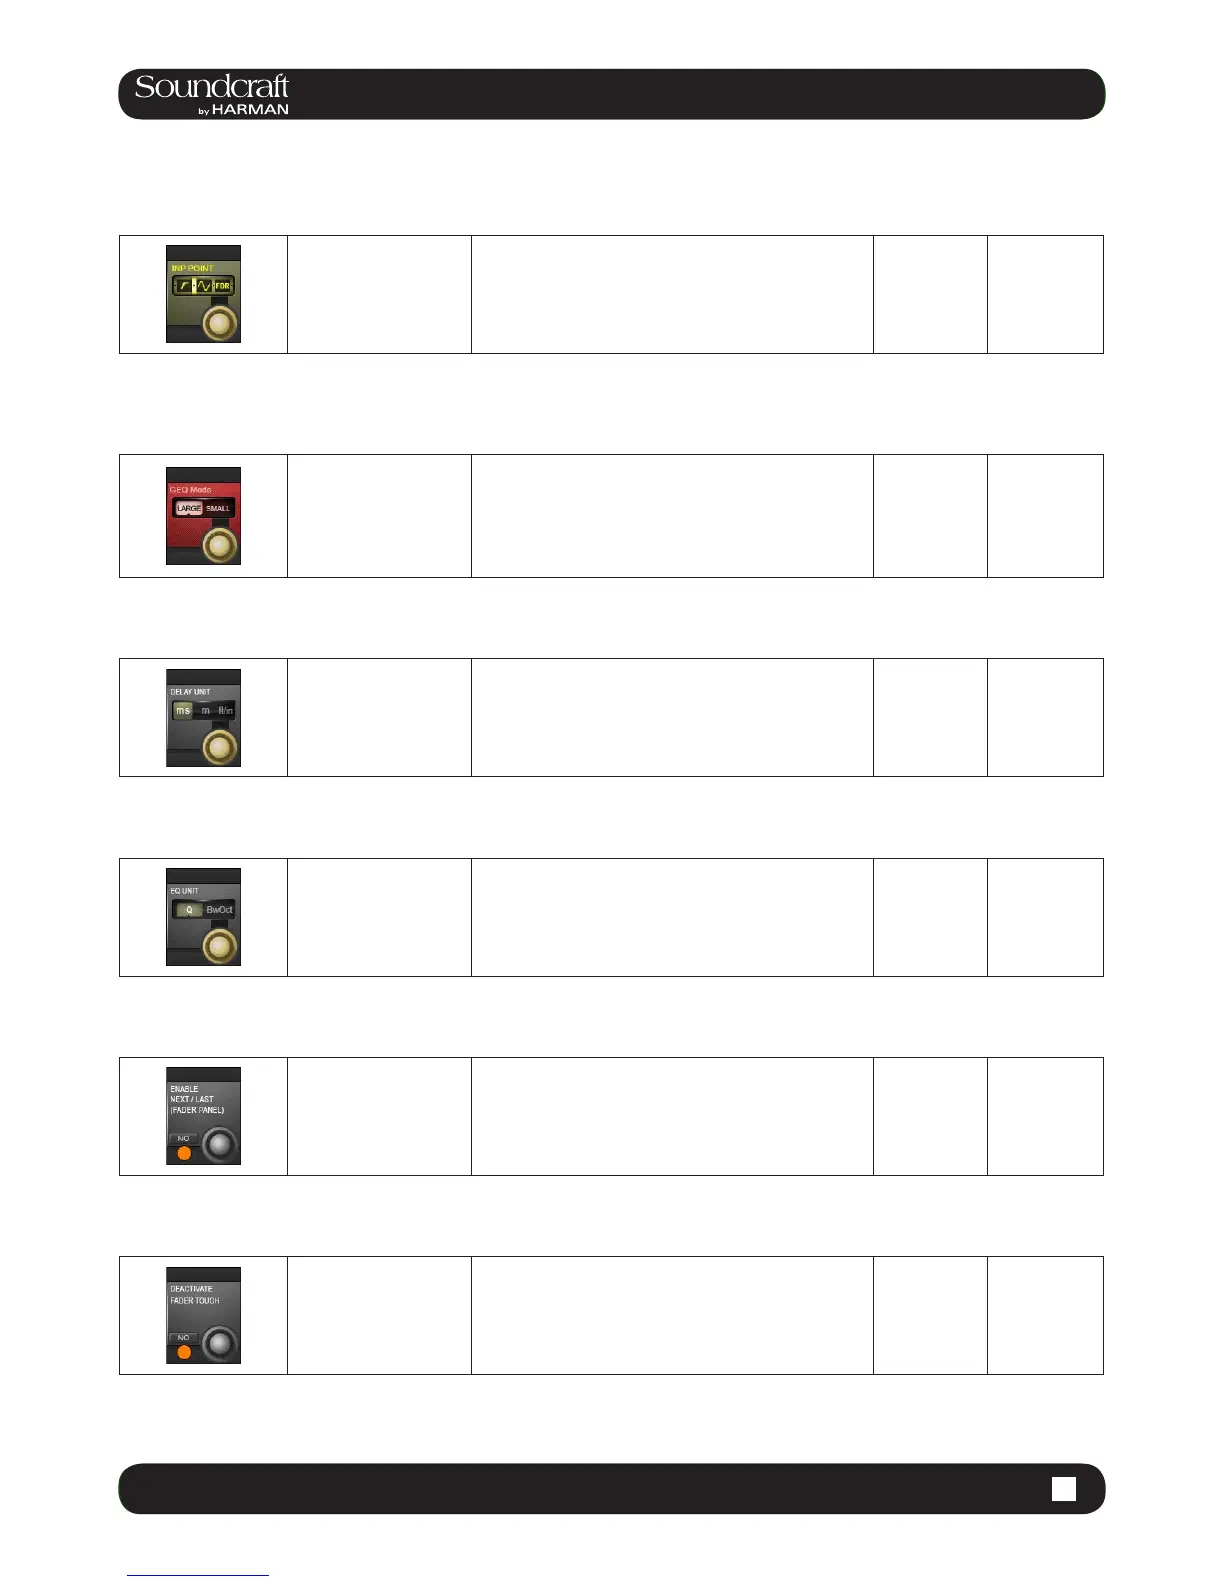
Graphic EQ
Large/Small
Mode Range Low Range High
Choose between Large
and Small Graphic EQ
control modes.
Choose ‘Large’ 30-fader mode for fast access on multiple
faders, at the expense of access to the input faders, or
choose ‘Small’ (eight output faders) mode when access
to input faders must be retained at all times. Frequency
bands can be scrolled in banks of four or eight bands,
using the Output Fader page buttons.
Small GEQ Large GEQ
Set Delay Units
Change the units used
in input, output, and
monitoring delay adjust-
ments.
You can choose between milliseconds, metres, or feet
and inches.
EQ bandwith
units Range Low Range High
Choose the the unit
for bandwidth controls
in the EQ sections
throughout the console
Selected either Octaves or Q-factor (dened as the ratio
of frequency to bandwidth). The direction of the control is
reversed between the two settings: In Q mode, clockwise
narrows bandwidth, in Octaves mode, clockwise widens
bandwidth.
Octave Band-
width
Q-Factor
Enable NEXT
and LAST Active
Enable the [NEXT] and
[LAST] cue list naviga-
tion buttons nearest the
operator.
Date And
Time settings
Fader Touch
Disable/Enable Inactive Active
Deactivate Fader Touch
technology.
If strong RF Fields are present (such as from a near-
by MW radio transmitter), the operation of the fader
touch sensors may be affected. The Fader Touch can
be deactivated, to allow the faders to function without
interference.
Enabled Disabled
 Loading...