Operating Information
2-4
TDS5000B Series Service Manual
Follow these steps to power on the instrument.
CAUTION. To prevent damage to the oscilloscope, connect the keyboard, mouse,
and other accessories before applying power to the product.
1. Connect the power cord.
2. If you have an external monitor, connect the power cord and power on the
monitor.
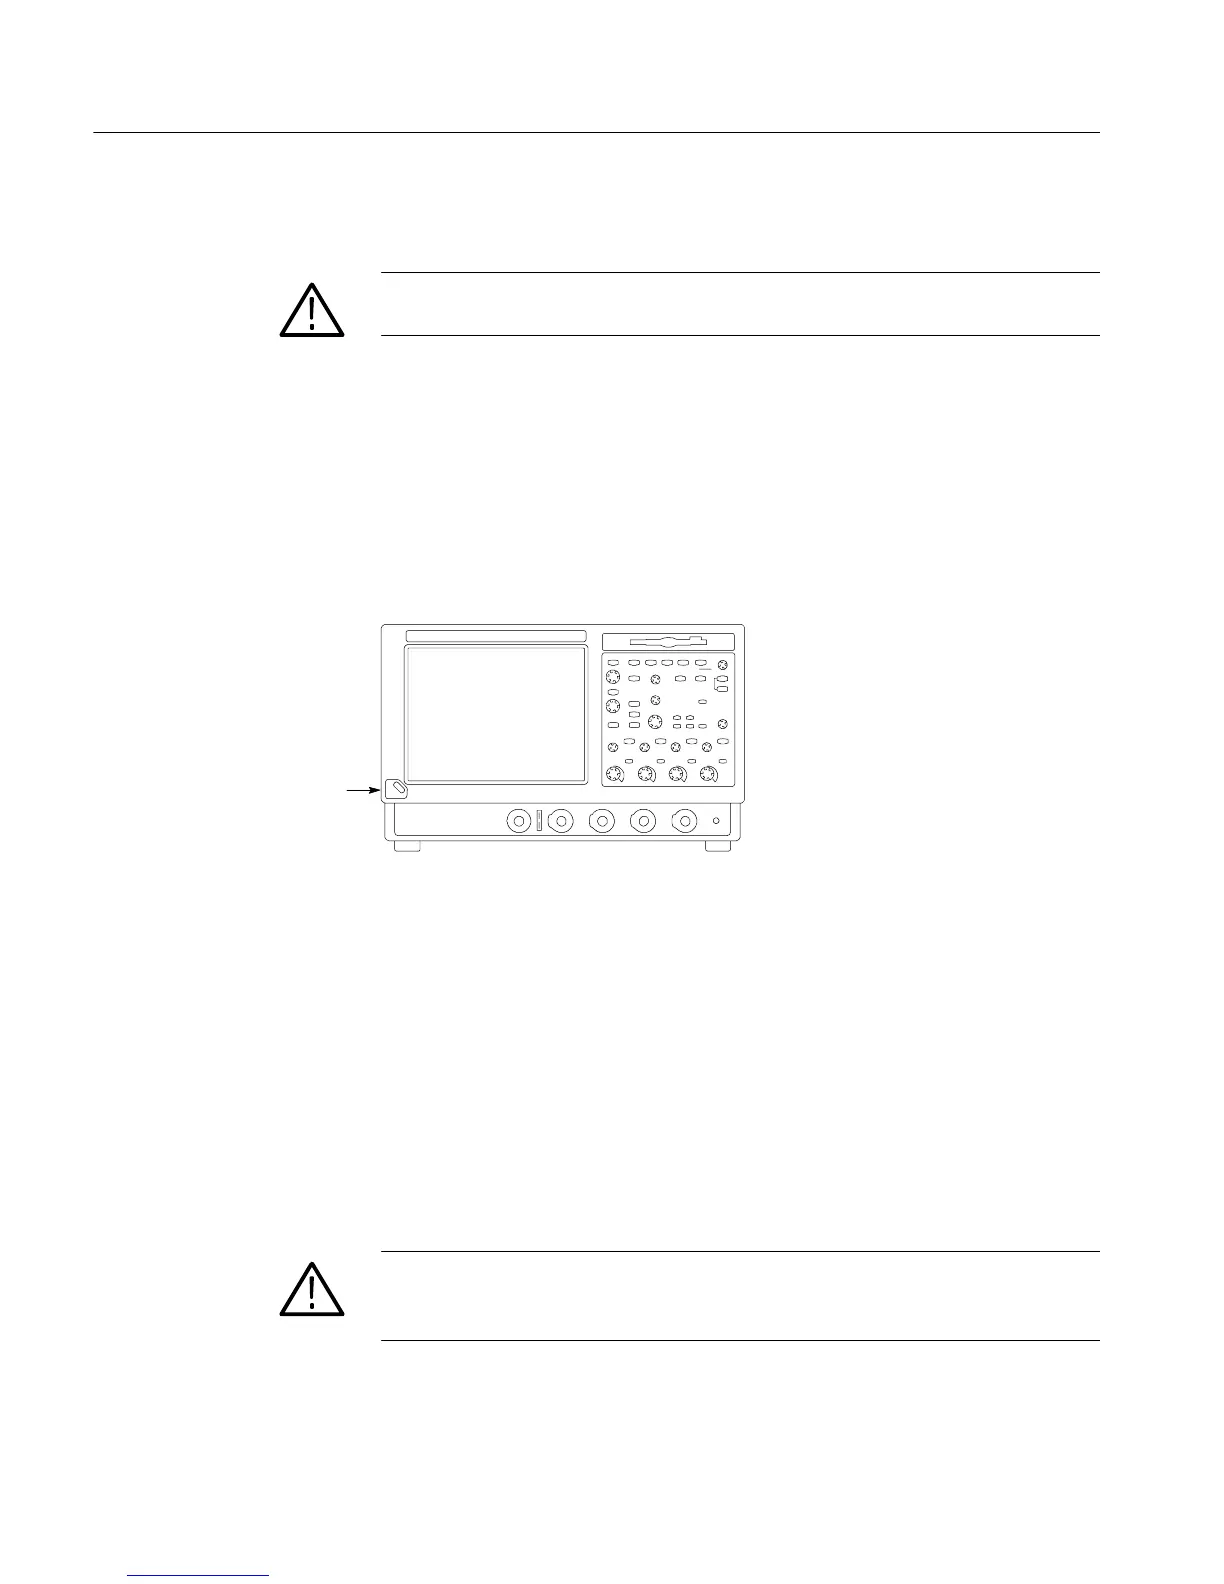
3. Press the On/Standby switch to power on the instrument (see Figure 2--2 for
the switch location).
4. Wait for the boot routine and low-level self test to complete.
Switch
Figure 2- 2: On/Standby switch location
The oscilloscope has a buil t -in soft power-off function that safely powers off the
oscilloscope when you press the On/Standby switch.
To completely remove power to the instrument, press the On/Standby switch,
and then remove the power cord from the rear panel.
Now that you have completed the basic installation process, you should create an
emergency startup disk that you can use to restart your instrument in case of a
major hardware or software failure. You should create this disk, and then st ore it
in a safe place.
CAUTION. To prevent rebuilding the entire instrument hard disk, create an
emergency startup disk and store it in a safe place. This disk may allow you to
recover your Windows i nst al l at i on.
The emergency startup disk contains basic files to restart your instrument. It also
contains files to check and format the hard disk.
Power On the Instrument
Powering Off the
Oscilloscope
Create an Emergency
Startup Disk

 Loading...


