108 Maintenance and Service 083730300A DCN8101
currently installed. Once it’s been determined that the firmware is new, the
Install button will be enabled; if the firmware version on the flash drive is the
same as or older than the current firmware of the instrument, the Install
button will not be enabled.
5. Press the Install button, and note the messages in the Status field at the
bottom of the page. Use the Cancel button if necessary.
6. When complete, as indicated in the Status field, press the Done button,
which replaces the Cancel button, and remove the flash drive.
7. Power off and restart the instrument to complete the new firmware
installation.
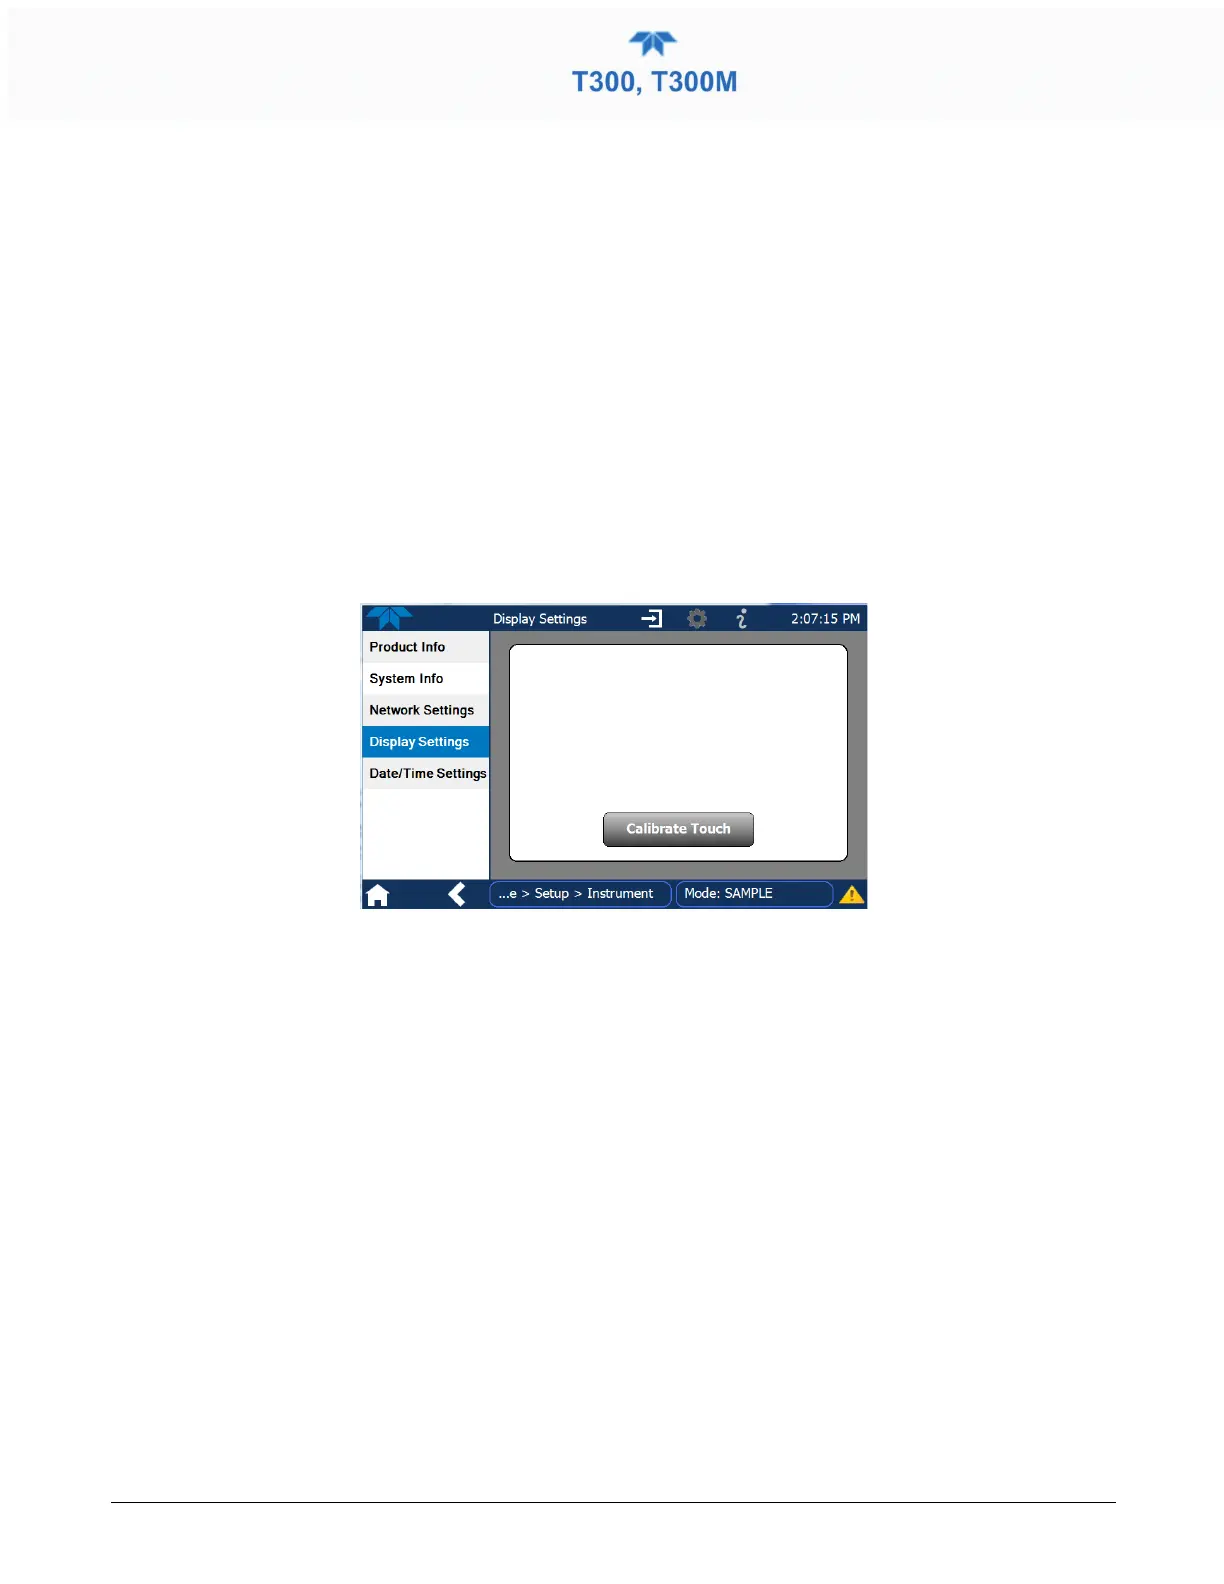
5.4.3 INSTRUMENT DISPLAY CALIBRATION (FOR EARLIER INSTRUMENTS)
This Section applies to instruments shipped before January 2017. Although unlikely, if
ever the touchscreen appears unresponsive or responds incorrectly, the screen can be
calibrated via the Setup>Instrument>Display Settings menu.
Figure 5-4. Touchscreen Calibration Page
1. Connect a mouse to either of the front panel USB ports.
2. Navigate with the pointer to Setup>Instrument>Display Settings.
3. Click on “Calibrate Touch” and a crosshair appears in the center of the display
screen.
1. Note that a timer function is enabled, allowing only 15 seconds to start the
calibration process. If the timer expires, the instrument will exit the calibration screen
and return to normal operation.
2. Click the very center of the crosshair.
3. When a new crosshair appears in the upper left corner of the screen, carefully and
accurately click and hold the very center of that crosshair until it finishes shrinking,
then release.
4. Repeat Step 3 for each of the corners.
5. Once the process is completed, a CANCEL and an ACCEPT button appear in the
lower left corner: Test the accuracy of the calibration by touching parts of the screen
and see that the mouse pointer follows your touches.
6. If you press the CANCEL button, the calibration won’t be altered. Otherwise, press
the ACCEPT button.