Power Button
3-1
P/N: 1023998-01
Display Panel
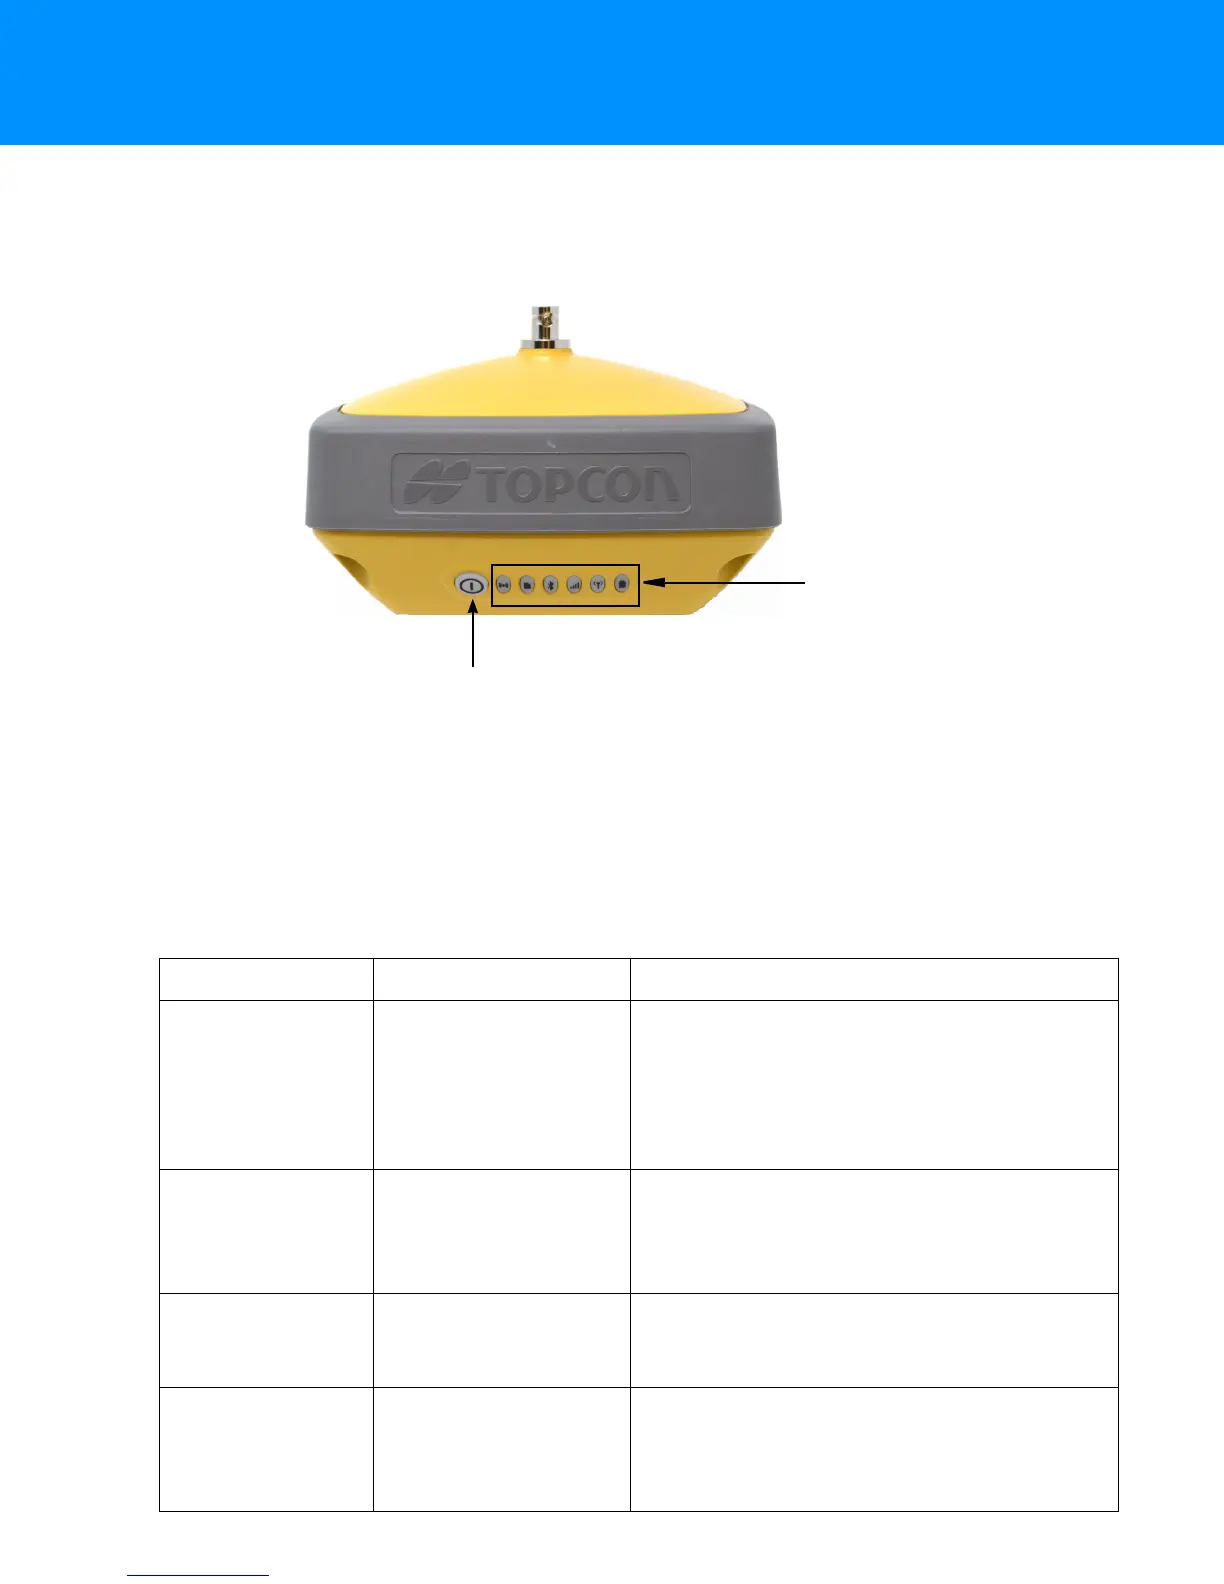
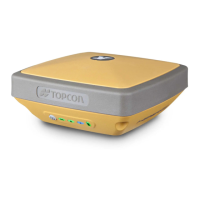
The receiver has a highly-visible display panel with single-button operation. The LED display panel
(
Figure 3-1) allows for control of receiver power and data recording. The LEDs display the status of the
satellite tracking, recording raw data to the internal memory, Bluetooth connections, cell modem status
and battery state of charge. This chapter describes the different LED blink patterns and what they
mean.
Figure 3-1: LED Display and Power Button Panel
Power Button
The power button (Figure 3-1) performs multiple functions. The duration in which the button is pressed
and held determines how the receiver will perform. While pressing the button, the LED panel indicates
the selected operation using particular LEDs.
Table 3-1 describes how to use the power button.
Power Button
Display Panel
Table 3-1. Power Button Functions and Descriptions
Function Press Button LED Description
Power On 1+ seconds
Power LED blinks until startup completes. After
that the LED light is solid green, if the external
power source is connected to the receiver. If
the external power source is not connected to
the receiver, the LED is OFF.
Power Off 3-10 seconds Press and hold the Power button for more than
3 seconds but not more than 10 seconds.
Release the Power button when the STAT LED
turns yellow.
Start/Stop Data
Logging
Press the Power button
three times in a row
within 2 seconds
Refer to the REC (Recording) LED description.
Toggling between
Static and
Kinematic post-
processing modes
Press the Power button
three times in a row
within 1 second.
Refer to the REC (Recording) LED description.
This function is available for “Occupation mode
switch” only. See Topcon Receiver Utility (TRU)
Help.