Multi Pro 1750 Page 7 − 9 Drive Train
Shift Cable Removal (Fig. 4)
1. Park vehicle on a level surface, shut engine off and
engage the parking brake. Remove key from the ignition
switch.
2. Remove knobs from control levers, then remove shift
boot and foam seal.
3. Remove rear switch panel (item 4). Disconnect rear
switch panel switches from wire harness and remove
choke cable from rear switch panel for better access to
cable clamp if necessary.
4. Remove three (3) screws and cable clamp (item 10)
that secure shift cables to support bracket.
5. Remove hair pin and clevis pin that secure the shift
cable clevis to shifter link.
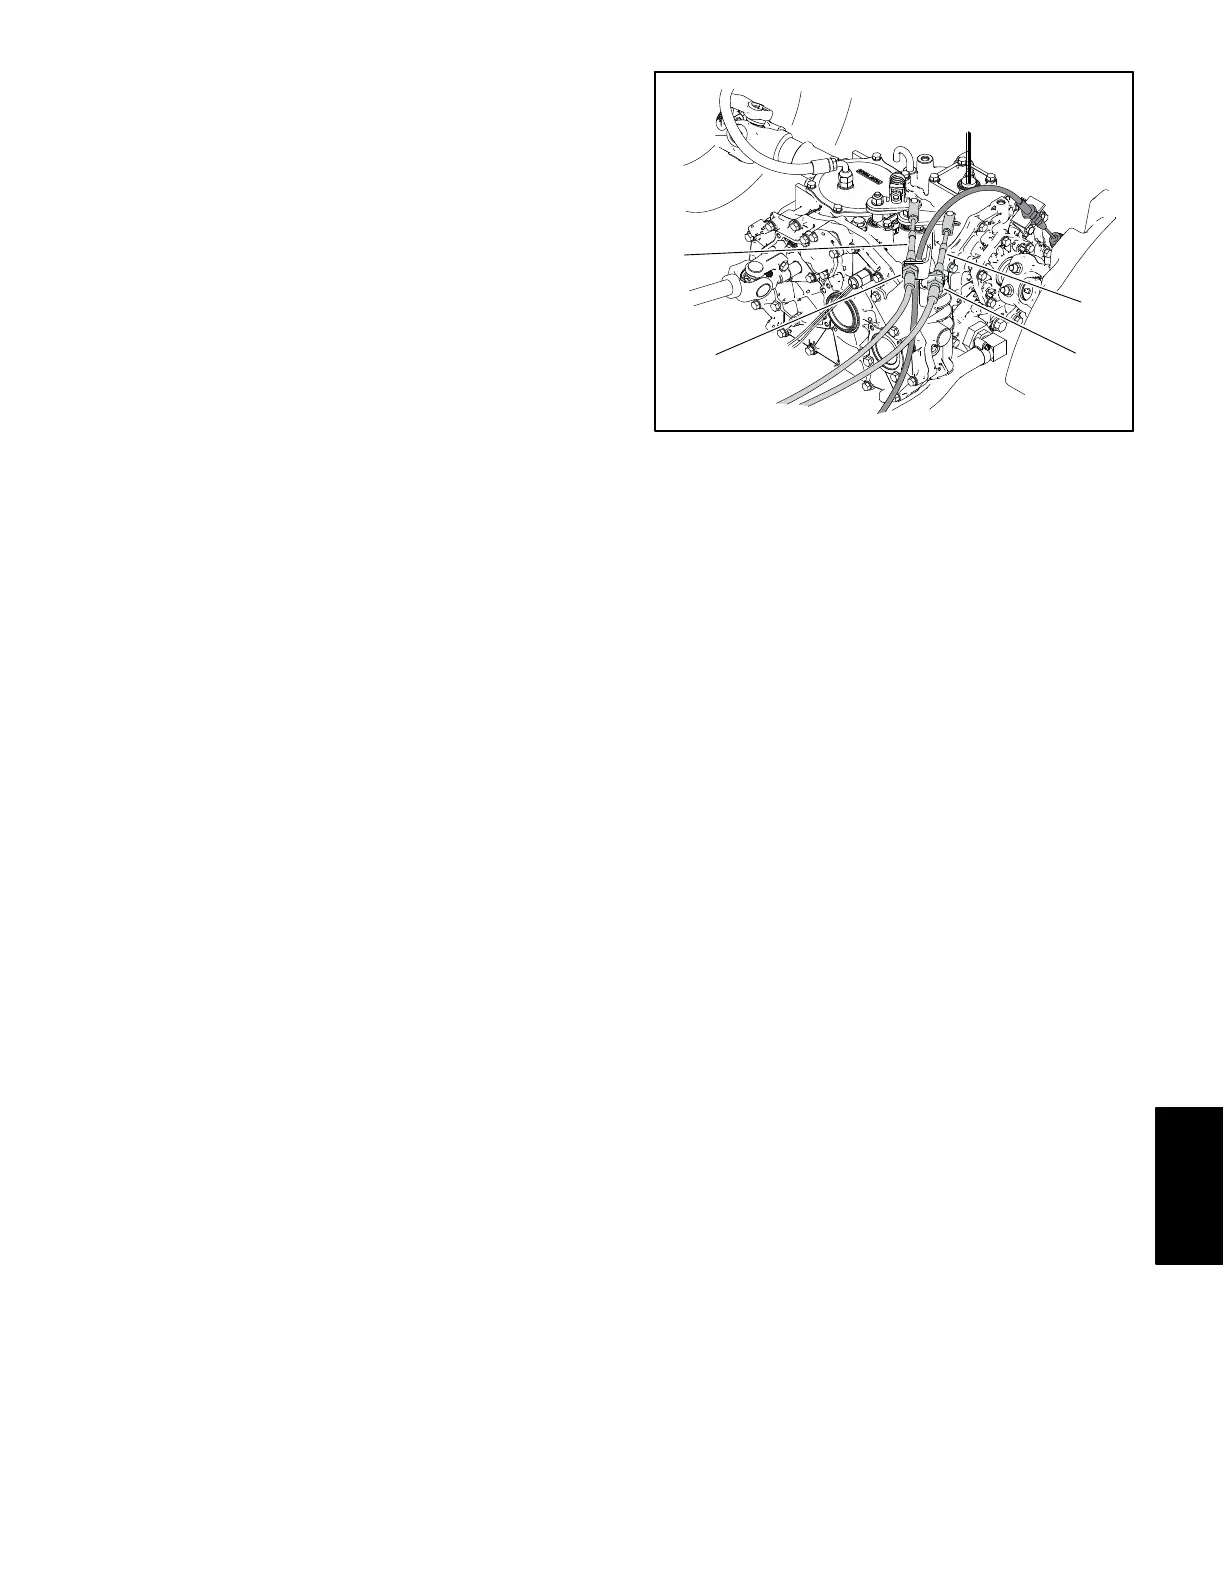
6. Remove shift cable from transaxle shift lever (Fig. 5):
A. Remove hair pin and clevis pin that secure shift
cable to shift lever on transaxle.
B. Loosen jam nuts on bulkhead fitting of cable.
C. Disconnect cable from shift lever.
7. Loosen jam nut that secures clevis to shift cable end
and remove clevis.
8. Record routing of shift cable and location of cable
ties used to secure cable to machine. Slide shift cable
from lower shift boot and remove cable from machine.
Shift Cable Installation (Fig. 4)
1. Route shift cable in same location as recorded dur-
ing cable removal. Pass threaded end of cable through
lower shift boot.
2. Install cable clevis (item 14) onto front of shift cable
so clevis is at mid−point of threaded end of cable. Se-
cure clevis to cable with jam nut. Apply Loctite 290 (wick-
ing) or equivalent to cable at jam nut.
3. Secure shift cables to lever support with cable clamp
(item 10) and three (3) screws.
1
2
3
3
1. 2nd−3
rd
cable
2. 1st−reverse cable
3. Bulkhead jam nuts
Figure 5
4. Connect shift cable to shifter link with clevis pin and
hair pin.
5. Spread jam nuts on bulkhead fitting of cable (Fig. 5).
With cable properly routed to transaxle, install cable
bulkhead fitting to shift cable mount bracket on transaxle
and tighten jam nuts.
6. Install cable ties in the original locations to secure
shift cables to vehicle.
7. Adjust shift cables (see Shift Cable Adjustment in
this chapter) and secure cable clevis to transaxle shift le-
ver with clevis pin and hair pin.
8. Check adjustment of shift stop bolts (item 18). Move
shift lever forward until lever stops. Hold lever in stopped
position and adjust stop bolt so that head just contacts
lever. Tighten hex nut on stop bolt.
9. Install rear switch panel.
10.Install foam seal, shift boot and control lever knobs.
Drive Train