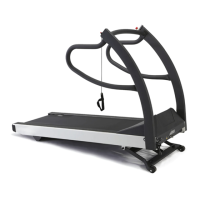
Removal and Replacement of Components Ch. 10 TRACKMASTER
98 TMX428 TMX428CP & TMX58 Service Manual 317-160-406 Rev 4
May 2021
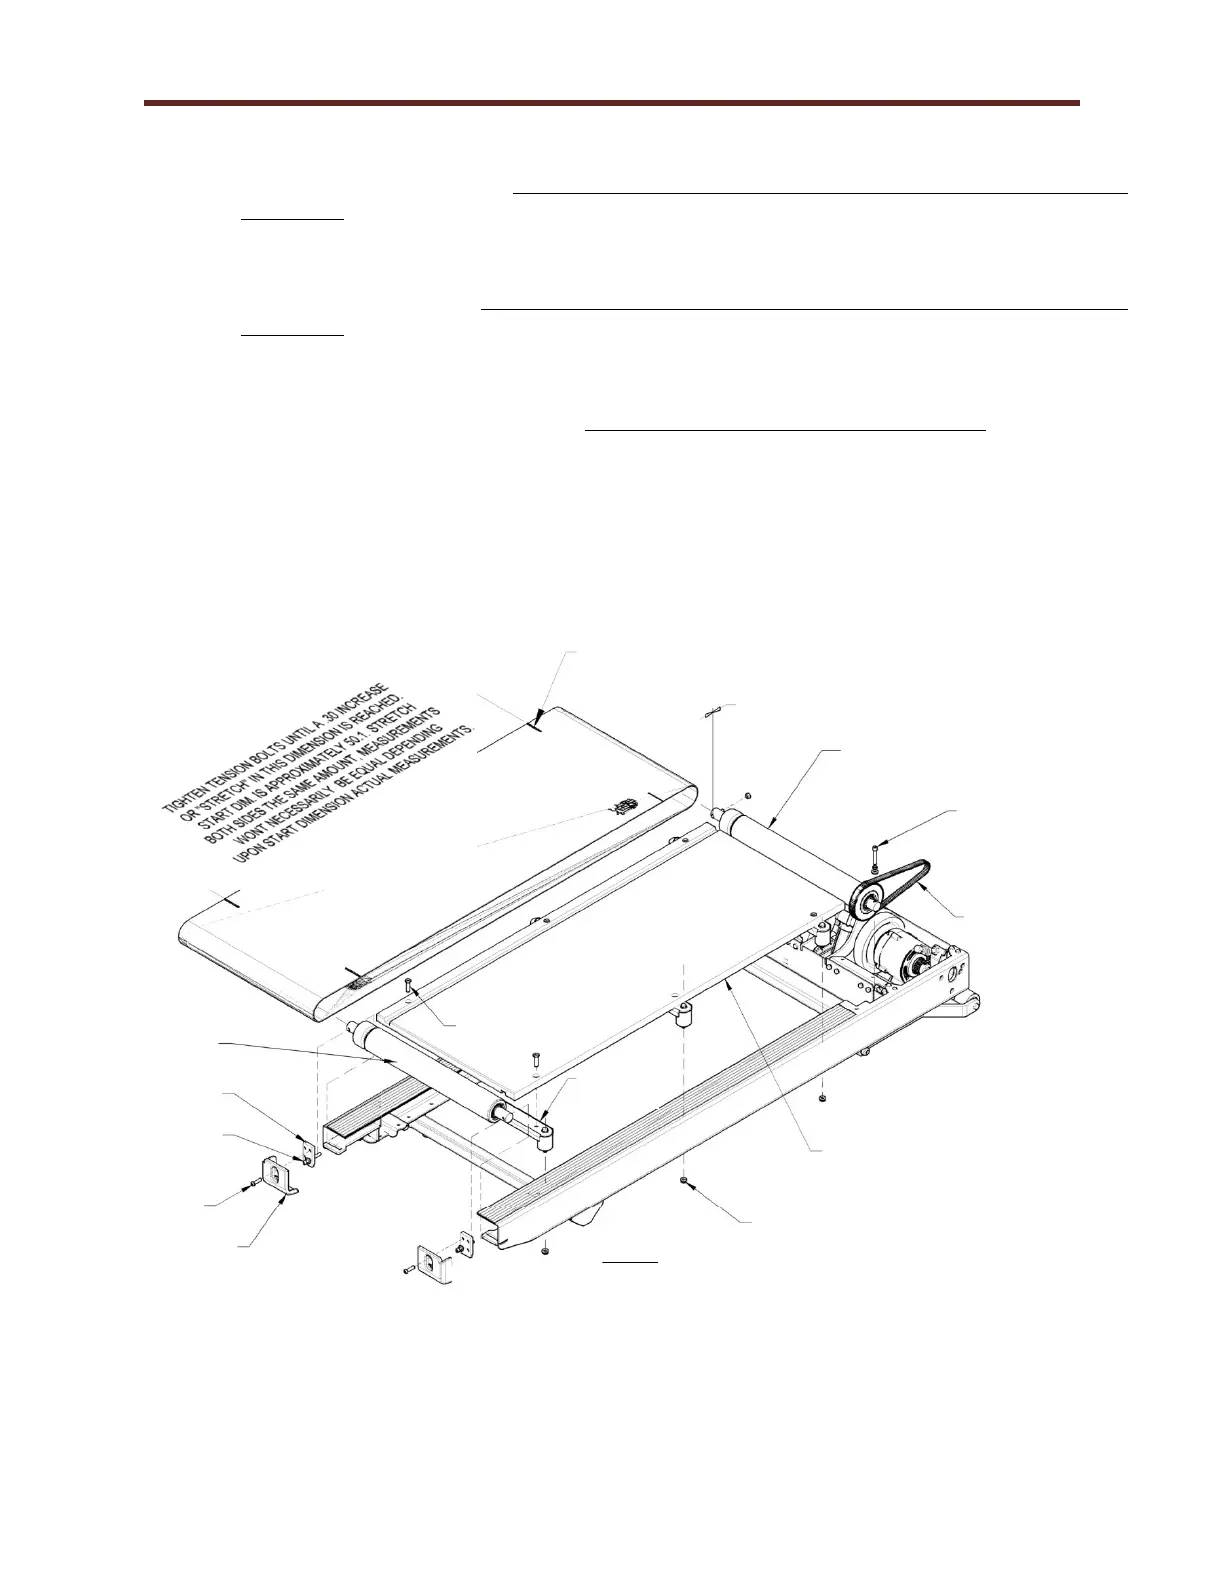
20. Replace the rear roller; push the rear roller as far forward as possible. Do not replace or start the
tensioning bolts at this time. Verify the guide for the belt deck and rollers is to the left during
installation.
21. Slide the front roller between the running belt, place the timing belt over the sprocket of the front
roller between the running belt, and place the timing belt over the sprocket of the front roller.
Replace the front roller. Verify the guide for the belt deck and rollers is to the left during
installation. Verify the timing belt goes around the front roller sprocket and that it is not pinched.
Replace the securing bolt and tighten.
22. Lift up the edge of the running belt and slide the deck onto the deck braces.
23. Tighten the cross brace securing bolts. Use caution to avoid over tightening the bolts.
24. Align the bolt holes on the rear roller with the access hole of the end caps. Start the tensioning bolts
on the rear roller but do not tighten.
25. Replace the left and right end caps and replace securing screws.
26. Adjust the tension of the running belt; see Chapter 7 Running Belt Tension Adjustment.
27. Reinstall hood by reversing procedure.
Running Belt
Stretch Adjustment Marks
Preset to .125 for
proper belt tracking.
NOTES:
1. ADJUSTMENT SCREWS MUST BE MATCH
TIGHTENED. PROPER TENSTION IS ACHIEVED
WHEN BELT CAN’T SLIP ON PULLEYS WHEN IN
OPERATION ACHIEVED WHEN BELT CAN’T SLIP
ON PULLEYS WHEN IN OPERATON.
2. ADJUST DRIVE BELT TENTION PULLING ALL
FREE PLAY OUT OF BELT. DO NOT OVER
TIGHTEN CAUSING THE BELT TO STRETCH.
3. MOVE REAR PULLEY SIDE TO SIDE IN CHANNELS
TO OBTAIN FRONT TO REAR BELT ALIGNMENT
AND TRACKING.