Preventive Maintenance Ch. 7 TRACKMASTER
58 TMX428 TMX428CP & TMX58 Service Manual 317-160-406 Rev 4
May 2021
Drive Belt Tension Adjustment
This procedure requires the following tool:
1
/
8
” Allen Wrench
¾” Socket or Box Wrench
¾” Wrench
Tape measure
NOTE: Because this adjustment is not covered under your warranty, it is important
that you review these instructions thoroughly before proceeding.
NOTE: The drive belt may stretch and loosen with regular use. This looseness may
result in a flapping noise under the hood.
1. Remove the (5) #10-32 screws located on the bottom hood with
1
/
8
” Allen wrench.
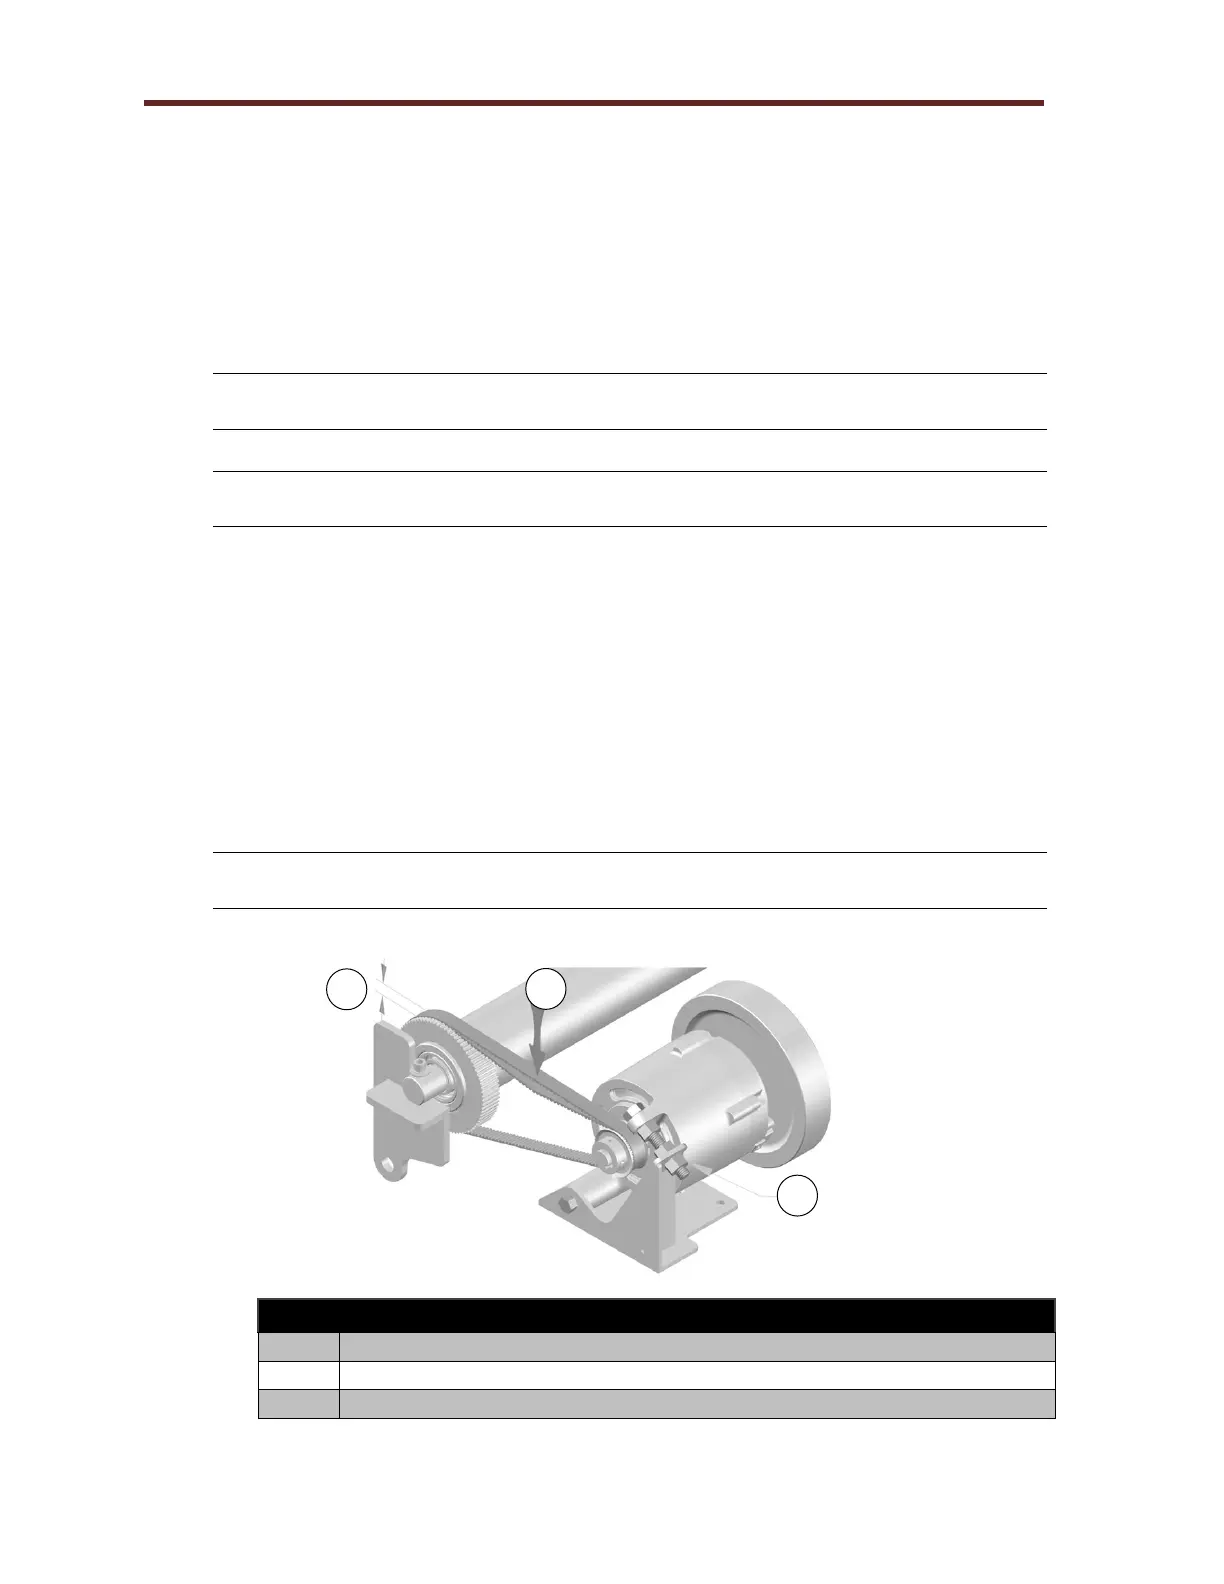
2. With the ¾” socket and wrench loosen the TENSION ADJUSTMENT back nut.
3. Press down on drive belt between motor and front roller with approximately 5lbs of
force to achieve ¼” to 3/8”.
4. If adjustment is need using a ¾” wrench turn the TENSION BOLT clockwise to
tighten. To loosen, turn the wrench counter clockwise.
5. Make small adjustment until the drive belt deflects approximately ¼” to 3/8”; tighten
the TENSION ADJUSTMENT back nut.
NOTE: Failure to lock the TENSION ADJUSTMENT back nut will allow the drive belt
tension to become loose.
6. When the treadmill is properly adjusted, reinstall the hood with (5) #8-32 screws.
Tension adjustment back nut.