Removal and Replacement of Components Ch. 10 TRACKMASTER
104 TMX428 TMX428CP & TMX58 Service Manual 317-160-406 Rev 4
May 2021
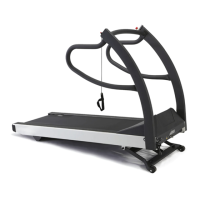
8. With the long nose pliers remove the DC Fan negative from J2.
CAUTION: Use ESD precautions, including wearing a grounding wrist strap that is
connected to an exposed metal connection point on the treadmill chassis.
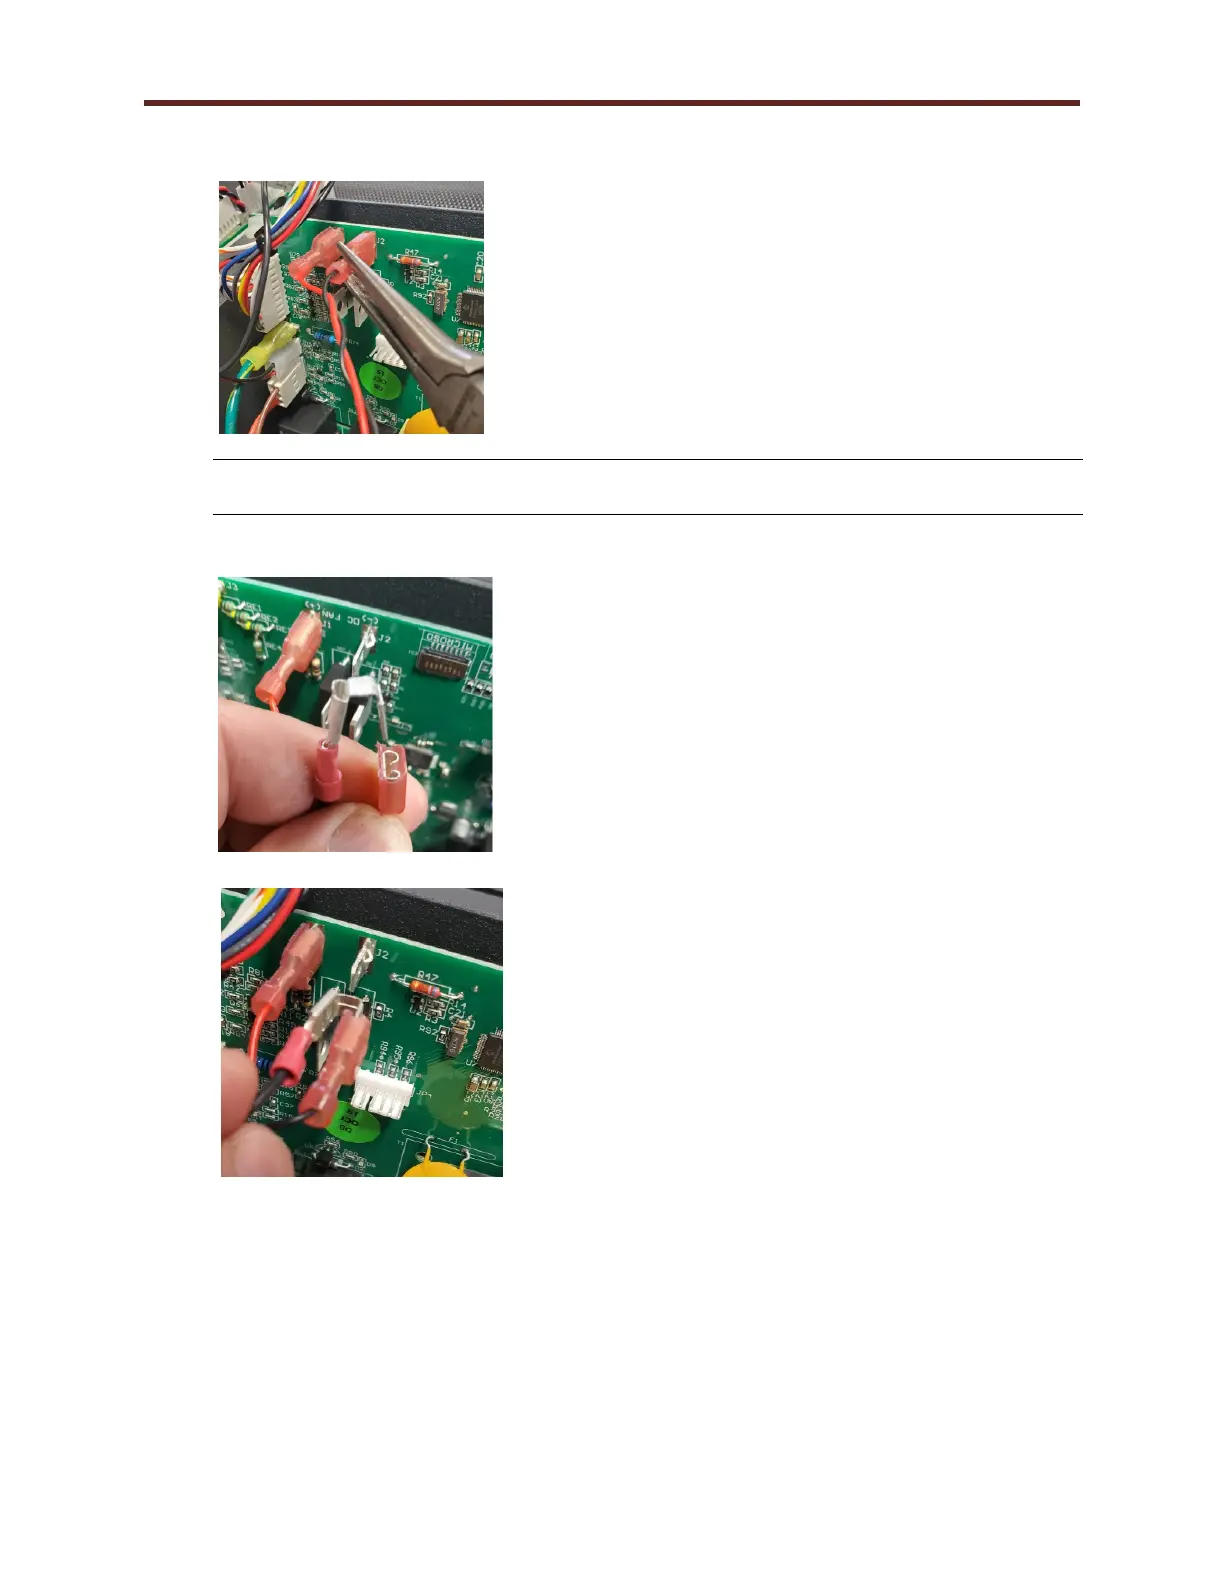
9. Reconnect the DC Fan negative to 3 Wire Speed Sensor Harness receptacle tab.
10. With long nose pliers, gently attach the 3 Wire Ground to J2 on the Smart Power Supply Board.
11. After replacing Speed Sensor, Perform Belt Speed Calibration Procedure (Calibration
Program)