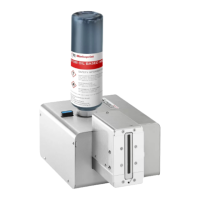
Preliminary Setup
Weber Packaging Solutions, Inc. 3-3
6. Place the printer-applicator on a stable work surface approximately 32" high and with
clearance underneath for the front leg of the T-base.
7. Assemble the Weber T-base according to the assembly instructions included with the
T-base.
8. Mate the printer-applicator with the Weber T-base. Do this by adjusting the height of
the carriage until the U-arm mounting bolt can pass through the mounting hole in the
U-arm.
9. Assemble the lock washer and nut on the mounting bolt of the carriage and tighten
securely. Raise the carriage to lift the applicator off the work surface.
! CAUTION ! Take care when tightening the U-arm bolts or moving the printer-
applicator to avoid tipping. Adjust the carriage to its lowest
position when servicing the applicator. Do not use the T-base to
ship the applicator.
10. Adjust the carriage height as required for the application.
Note: To achieve the desired machine attitude, rotate the applicator only about one axis at a
time. Either rotate the applicator about the U-arm or rotate the U-arm about the T-base
carriage. Do not attempt to rotate both simultaneously.