Sawmill Alignment
Complete Alignment Procedure
7
7-18 60HDdoc102619 Sawmill Alignment
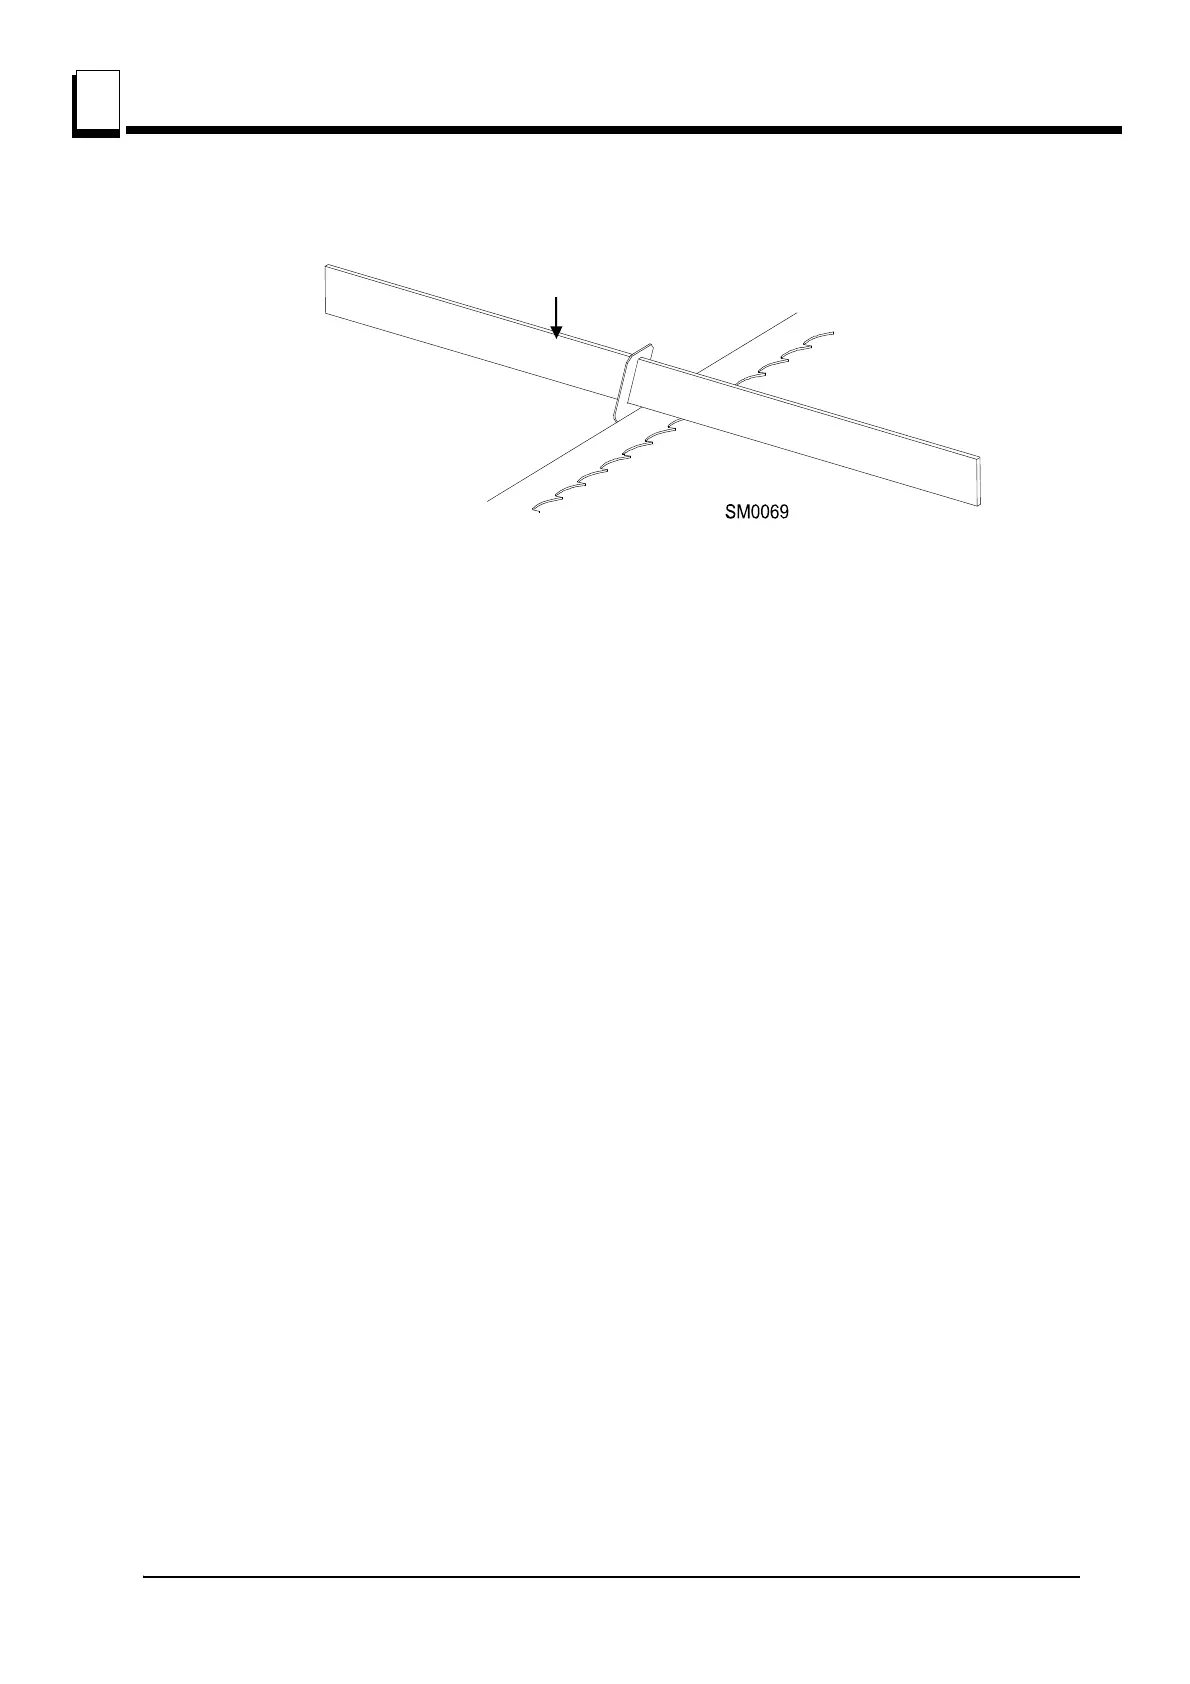
See Figure 7-16.
2. Move the saw carriage so the front end of the tool is positioned over the first bed rail. Measure from
the bottom of the tool to the top surface of the bed rail.
3. Move the saw carriage so the rear of the tool is positioned over the bed rail. Again, measure from the
bottom of the tool to the bed rail.
4. If the two measurements differ by more than 1/16" (1.5 mm), adjust the vertical tilt of the drive-side
blade wheel.
See Figure 7-17. Use the vertical adjustment screws to adjust the drive-side blade wheel. To tilt the
wheel down, loosen the top adjustment screw one quarter turn. Loosen the jam nut on the bottom
adjustment screw and tighten the screw. Tighten the top and bottom jam nuts.
To tilt the wheel up, loosen the bottom adjustment screw one quarter turn. Loosen the jam nut on the
top adjustment screw and tighten the screw. Tighten the top and bottom jam nuts.
FIG. 7-16

 Loading...