CARBURETOR
4-11
E
FUEL
CHECKING THE CARBURETOR
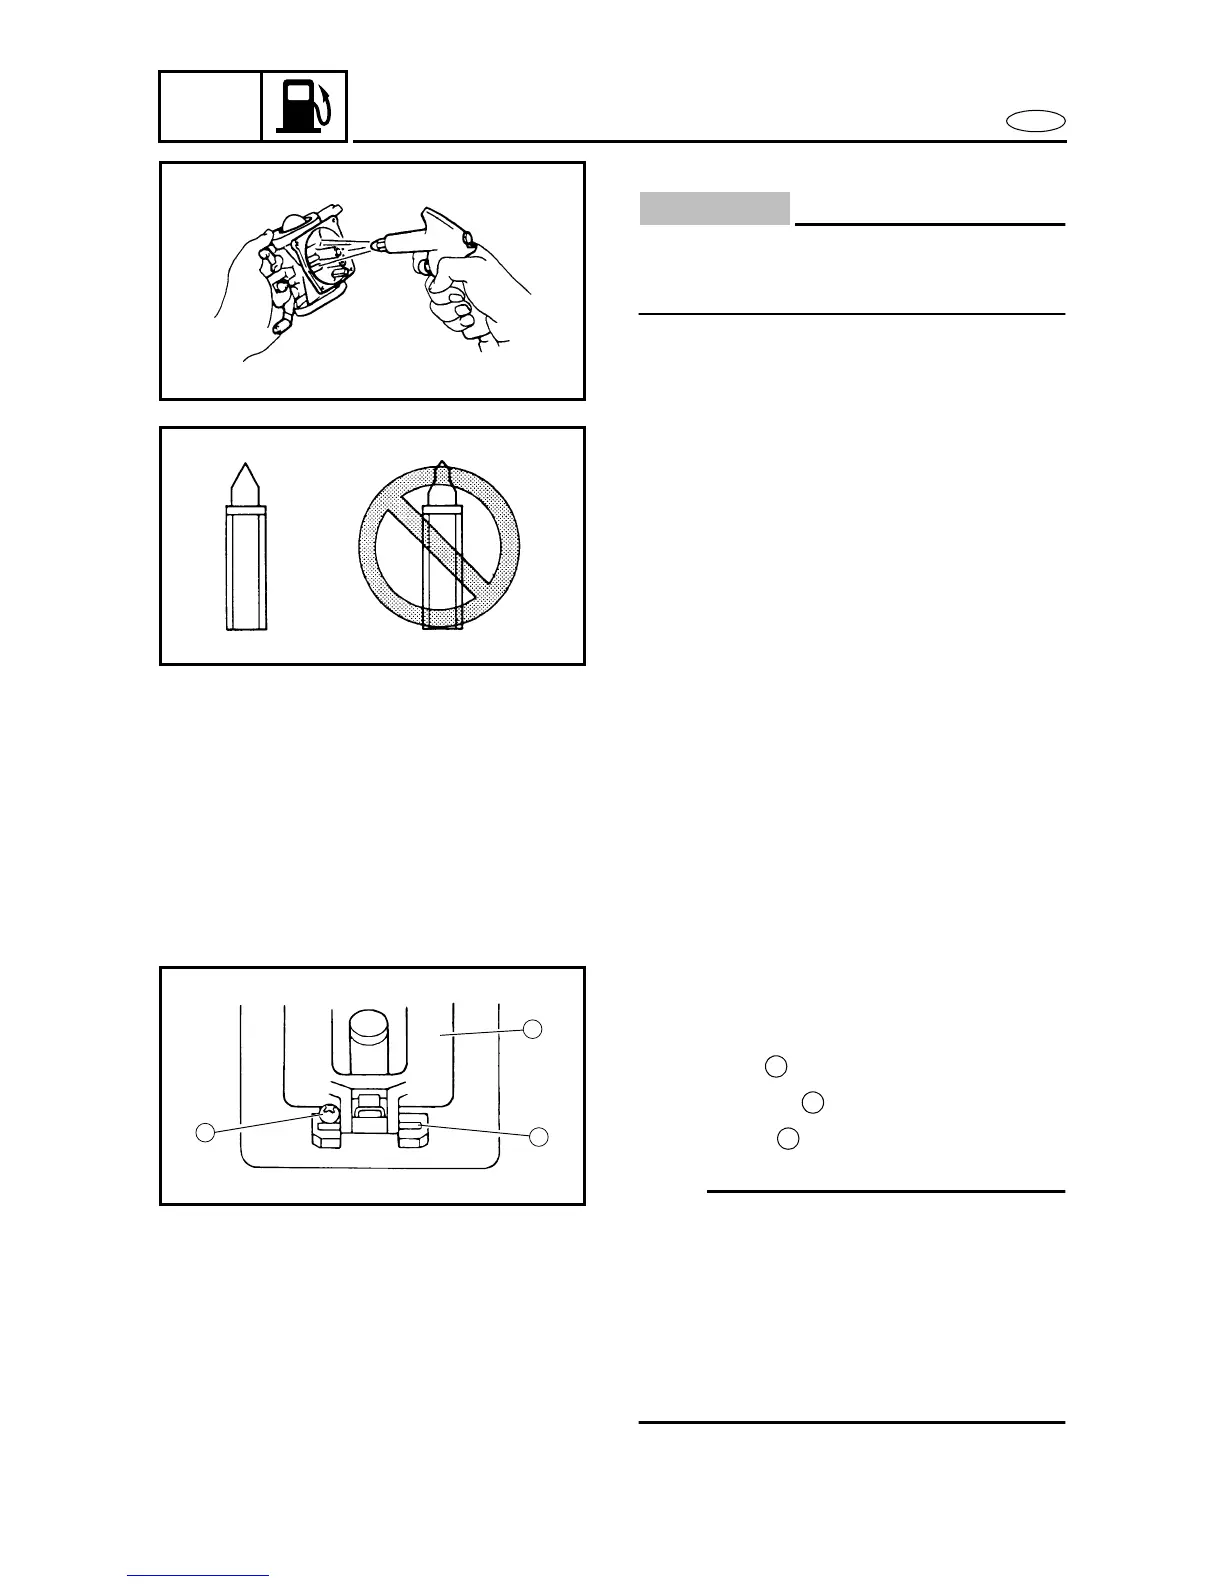
CAUTION:
Do not use a steel wire to clean the jets.
This may enlarge the jet diameters and seri-
ously affect performance.
1. C h e ck:
• Carburetor body
Cracks/damage → Replace.
Contamination → Clean.
2. Check:
• Main jet
• Pilot jet
• Main nozzle
Contamination → Clean.
3. Check:
• Needle valve
Grooved wear → Replace.
4. Check:
• Float
Cracks/damage → Replace.
5. Check:
• Pilot screw
Damage → Replace.
ASSEMBLING THE CARBURETOR
1. Install:
• Needle valve
• Float
• Float pin
• Screw
NOTE:
• The float pin should fit into the slit in
the carburetor and be retained with the
screw.
• When installing the float into the carbu-
retor, place the needle valve into the
needle valve seat.
• After installation, make sure that the
float operates smoothly.
3
1
2
1
2
3



 To Next Page