ECA14150
● Do not allow grease to contact the brake
pads.
● Remove any excess grease.
4. Install:
● Front brake caliper
5. Check:
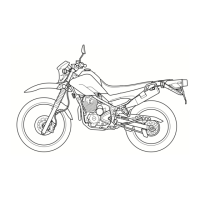
● Brake fluid level
Below the minimum level mark “a” → Add the
recommended brake fluid to the proper level.
Refer to “CHECKING THE BRAKE FLUID
LEVEL” on page 3-17.
6. Check:
● Brake fluid level
Soft or spongy feeling → Bleed the brake
system.
Refer to “BLEEDING THE HYDRAULIC
BRAKE SYSTEM” on page 3-19.
EAS22290
REMOVING THE FRONT BRAKE CALIPER
NOTE:
Before disassembling the brake caliper, drain
the brake fluid from the entire brake system.
1. Remove:
● Union bolt
● Copper washers
●
Brake hose
NOTE:
Put the end of the brake hose into a container
and pump out the brake fluid carefully.
EAS22320
DISASSEMBLING THE FRONT BRAKE
CALIPER
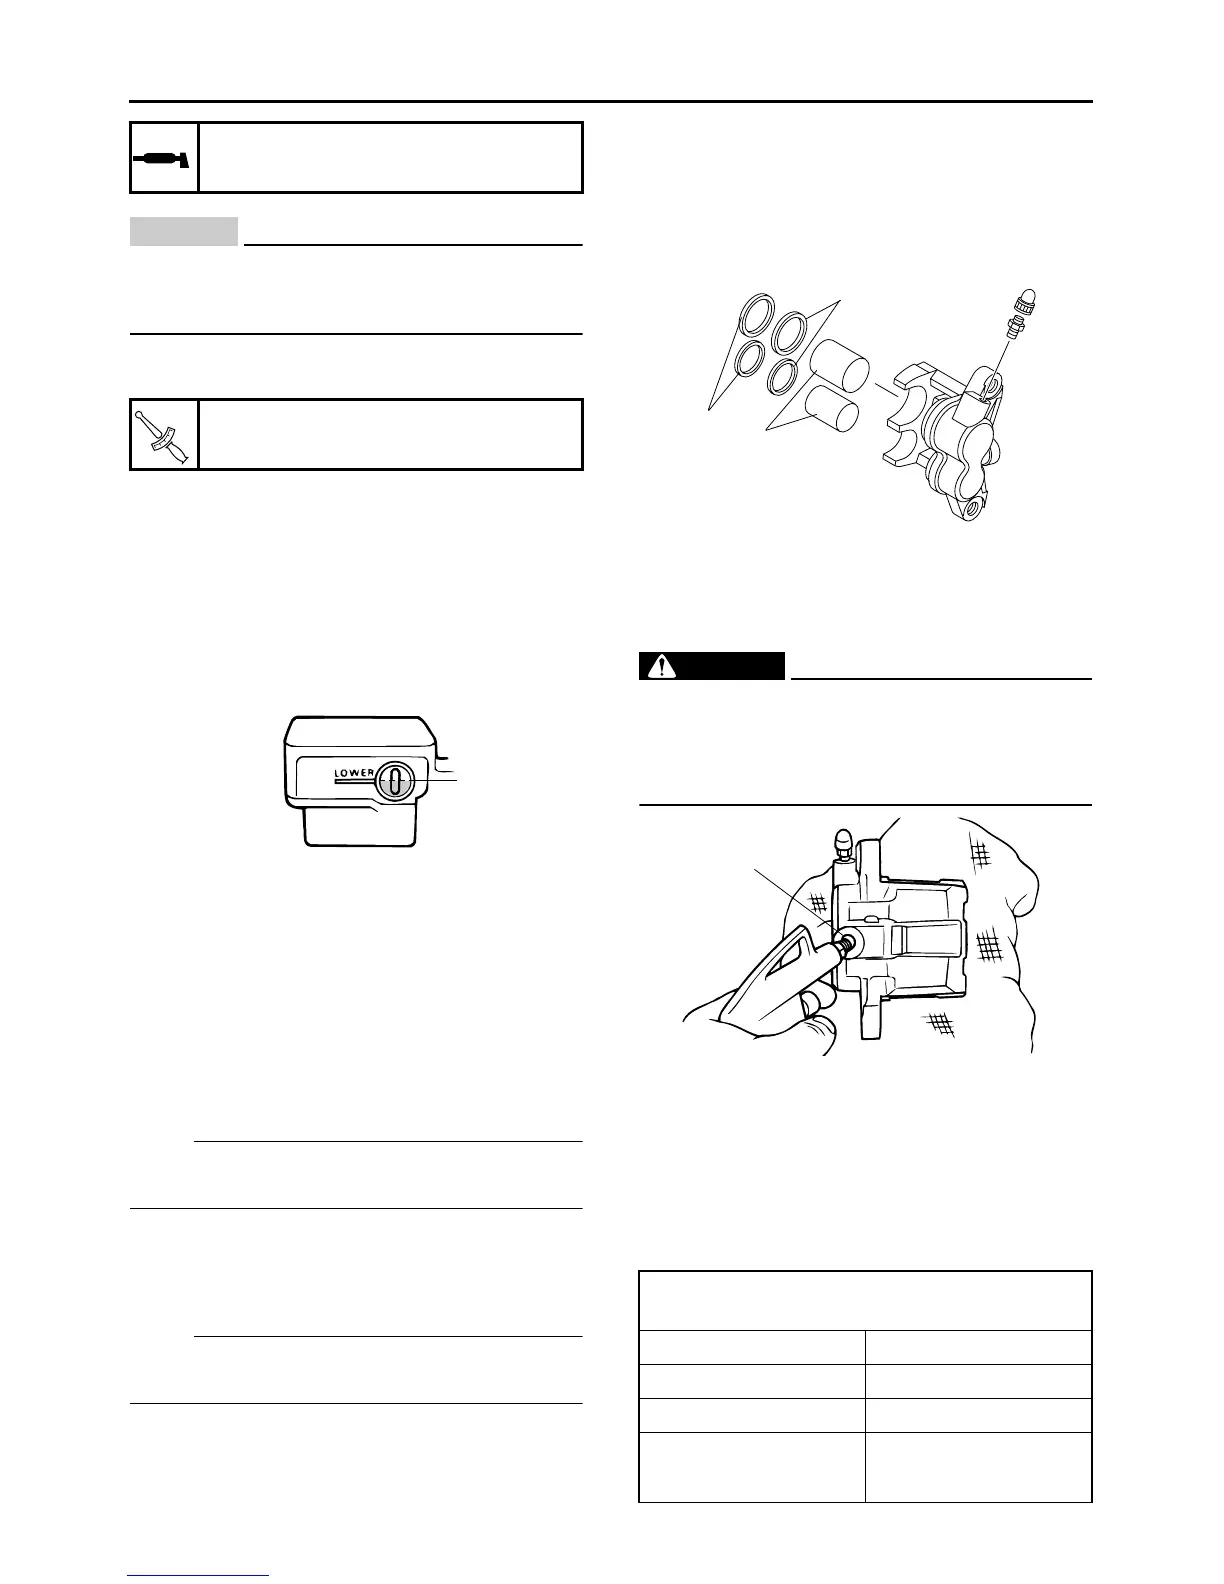
1. Remove:
● Brake caliper pistons “1”
● Brake caliper piston seals “2”
● Brake caliper dust seals “3”
▼▼▼▼▼▼▼▼▼▼▼▼▼▼▼▼▼▼▼▼▼▼▼▼▼▼▼▼▼▼▼▼
a. Blow compressed air into the brake hose joint
opening “a” to force out the pistons from the
brake caliper.
WARNING
EWA13560
● Cover the brake caliper pistons with a rag.
Be careful not to get injured when the pis-
tons are expelled from the brake caliper.
● Never try to pry out the brake caliper pis-
tons.
b. Remove the brake caliper piston seals and
dust seals.
▲▲▲▲▲▲▲▲▲▲▲▲▲▲▲▲▲▲▲▲▲▲▲▲▲▲▲▲▲▲▲▲
EAS22390
CHECKING THE FRONT BRAKE CALIPER
Front brake caliper support bolt
Silicone grease
Brake caliper support bolt
32 Nm (3.2 m•kg, 24 ft•lb)
T
R
.
.
a
Recommended brake component replacement
schedule
Brake pads If necessary
Piston seals / dust seals Every two years
Brake hoses Every four years
Brake fluid
Every four years and
whenever the brake is dis-
assembled
1
3
2
a