1. Remove:
2. Remove:
3. Disconnect:
4. Remove:
WARNING
EWA13320
Since the headlight bulb gets extremely hot,
keep flammable products and your hands
away from the bulb until it has cooled down.
5. Install:
● Headlight bulb
Secure the new headlight bulb with the head-
light bulb holder.
CAUTION:
ECA13690
Avoid touching the glass part of the head-
light bulb to keep it free from oil, otherwise
the transparency of the glass, the life of the
bulb and the luminous flux will be adversely
affected. If the headlight bulb gets soiled,
thoroughly clean it with a cloth moistened
with alcohol or lacquer thinner.
6. Install:
● Headlight bulb holder
● Bulb cover
● Headlight coupler
7. Install:
● Headlight unit
EAS21800
ADJUSTING THE HEADLIGHT BEAM
1. Adjust:
● Headlight beam (vertically)
▼▼▼▼▼▼▼▼▼▼▼▼▼▼▼▼▼▼▼▼▼▼▼▼▼▼▼▼▼▼▼▼
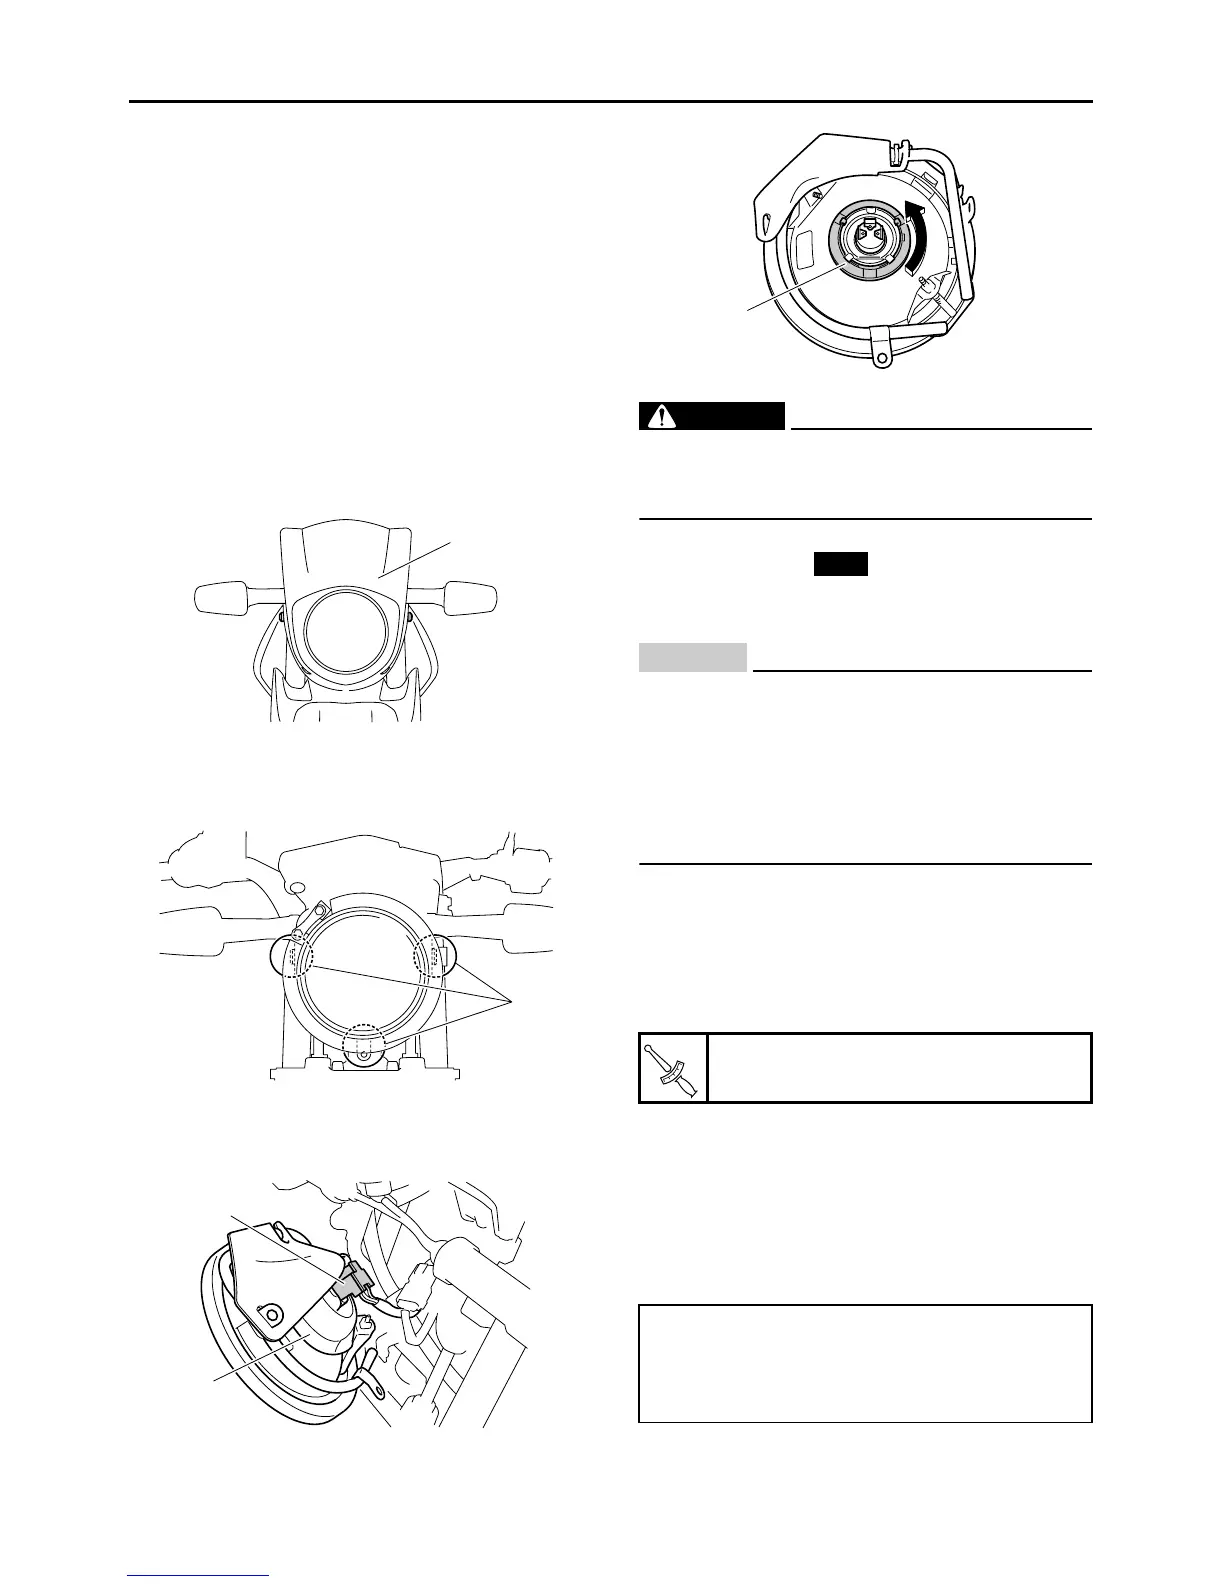
a. Turn the adjusting screw “1” in direction “a” or
“b”.
1
1
1
2
Headlight unit bolt
7 Nm (0.7 m•kg, 5.1 ft•lb)
Direction “a”
Headlight beam is raised.
Direction “b”
Headlight beam is lowered.
1
New
T
R
.
.
 Loading...