CARBURETOR
6-6
EAS26760
CHECKING THE CARBURETOR
1. Check:
● Carburetor body
● Float chamber
● Jet housing
Cracks/damage → Replace.
2. Check:
● Fuel passages
Obstruction → Clean.
▼▼▼▼▼▼▼▼▼▼▼▼▼▼▼▼▼▼▼▼▼▼▼▼▼▼▼▼▼▼▼▼
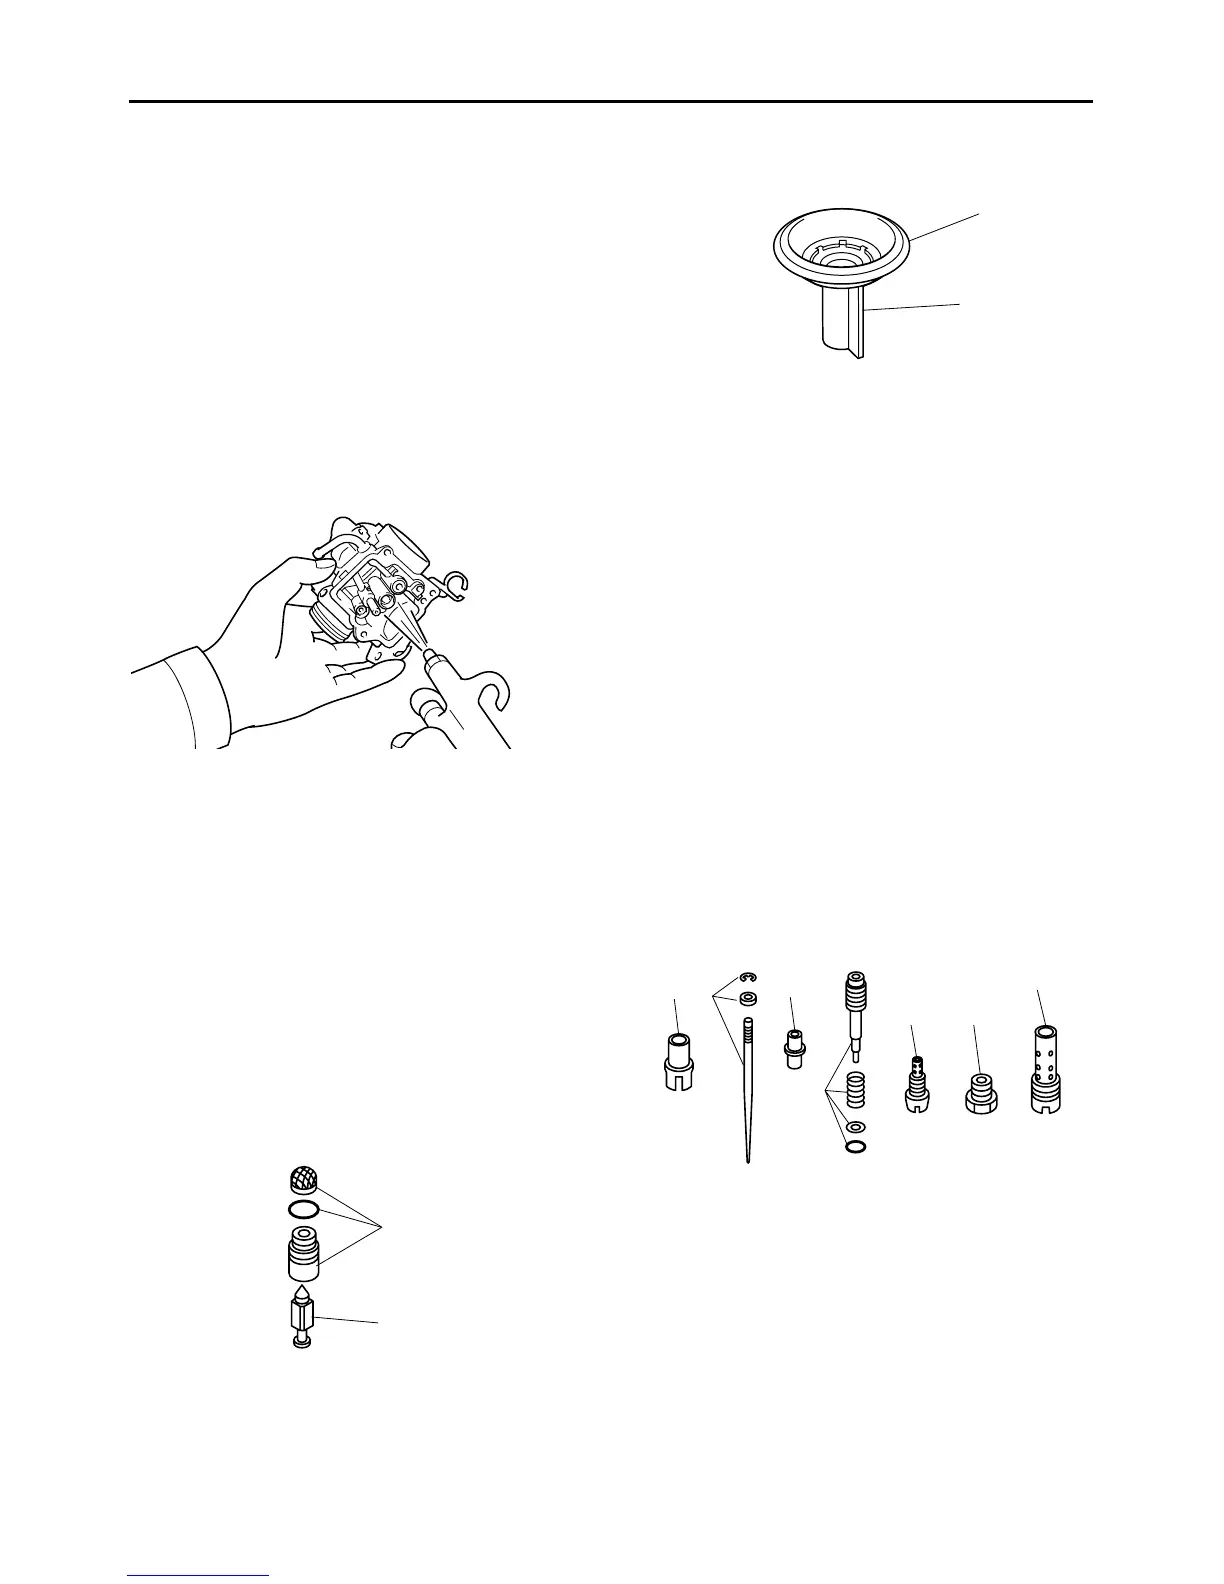
a. Wash and clean the carburetor with a kero-
sene. Never use a poor volatile carburetor
cleaner.
b. Clean all carburetor passages by air blow.
▲▲▲▲▲▲▲▲▲▲▲▲▲▲▲▲▲▲▲▲▲▲▲▲▲▲▲▲▲▲▲▲
3. Check:
● Float chamber body
Dirt → Clean.
4. Check:
● Float
Damage → Replace.
5. Check:
● Needle valve “1”
● Needle valve seat “2”
Damage/obstruction/wear → Replace the
needle valve and needle valve seat.
6. Check:
● Piston valve “1”
Damage/scratches/wear → Replace.
● Piston valve diaphragm “2”
Cracks/tears → Replace.
7. Check:
● Vacuum chamber cover
● Piston valve spring
Cracks/damage → Replace.
8. Check:
● Coasting enricher cover
●
Coasting enricher spring
● Coasting enricher diaphragm
Cracks/damage → Replace.
9. Check:
● Jet needle holder “1”
Cracks/damage → Replace.
● Jet needle kit “2”
● Needle jet “3”
● Pilot screw set “4”
● Pilot jet “5”
● Main jet “6”
●
Main jet holder “7”
Bends/damage/wear → Replace.
Obstruction → Blow out with compressed air.
10.Check:
● Piston valve movement
Insert the piston valve into the carburetor
body and move it up and down.
Tightness → Replace the piston valve.
11.Check:
● Starter plunger
●
Starter plunger spring
Bends/cracks/damage → Replace.
12.Check:
● Hose joints


 To Next Page