1. Stand the vehicle on a level surface.
WARNING
EWA13120
Securely support the vehicle so that there is
no danger of it falling over.
NOTE:
Place the vehicle on a suitable stand so that the
rear wheel is elevated.
2. Elevate:
● Rear wheel
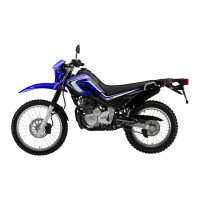
3. Remove:
● Drive chain case
● Rear wheel axle nut
●
Drive chain adjusting plate “1”
● Rear wheel axle “2”
● Rear wheel “3”
NOTE:
Push the rear wheel forward and remove the
drive chain from the rear wheel sprocket.
EAS22080
DISASSEMBLING THE REAR WHEEL
1. Remove:
● Oil seals
● Wheel bearings
Refer to “DISASSEMBLING THE FRONT
WHEEL” on page 4-4.
EAS22100
CHECKING THE REAR WHEEL
1. Check:
● Rear wheel axle
●
Rear wheel
● Wheel bearings
● Oil seals
Refer to “CHECKING THE FRONT WHEEL”
on page 4-4.
2. Check:
●
Tire
●
Rear wheel
Damage/wear → Replace.
Refer to “CHECKING THE TIRES” on page
3-23 and “CHECKING THE WHEELS” on
page 3-24.
3. Check:
● Spokes
Bends/damage → Replace.
Loose → Tighten.
Refer to “CHECKING THE FRONT WHEEL”
on page 4-4.
4. Measure:
● Radial rear wheel runout
● Lateral rear wheel runout
Refer to “CHECKING THE FRONT WHEEL”
on page 4-4.
EAS22120
CHECKING AND REPLACING THE REAR
WHEEL SPROCKET
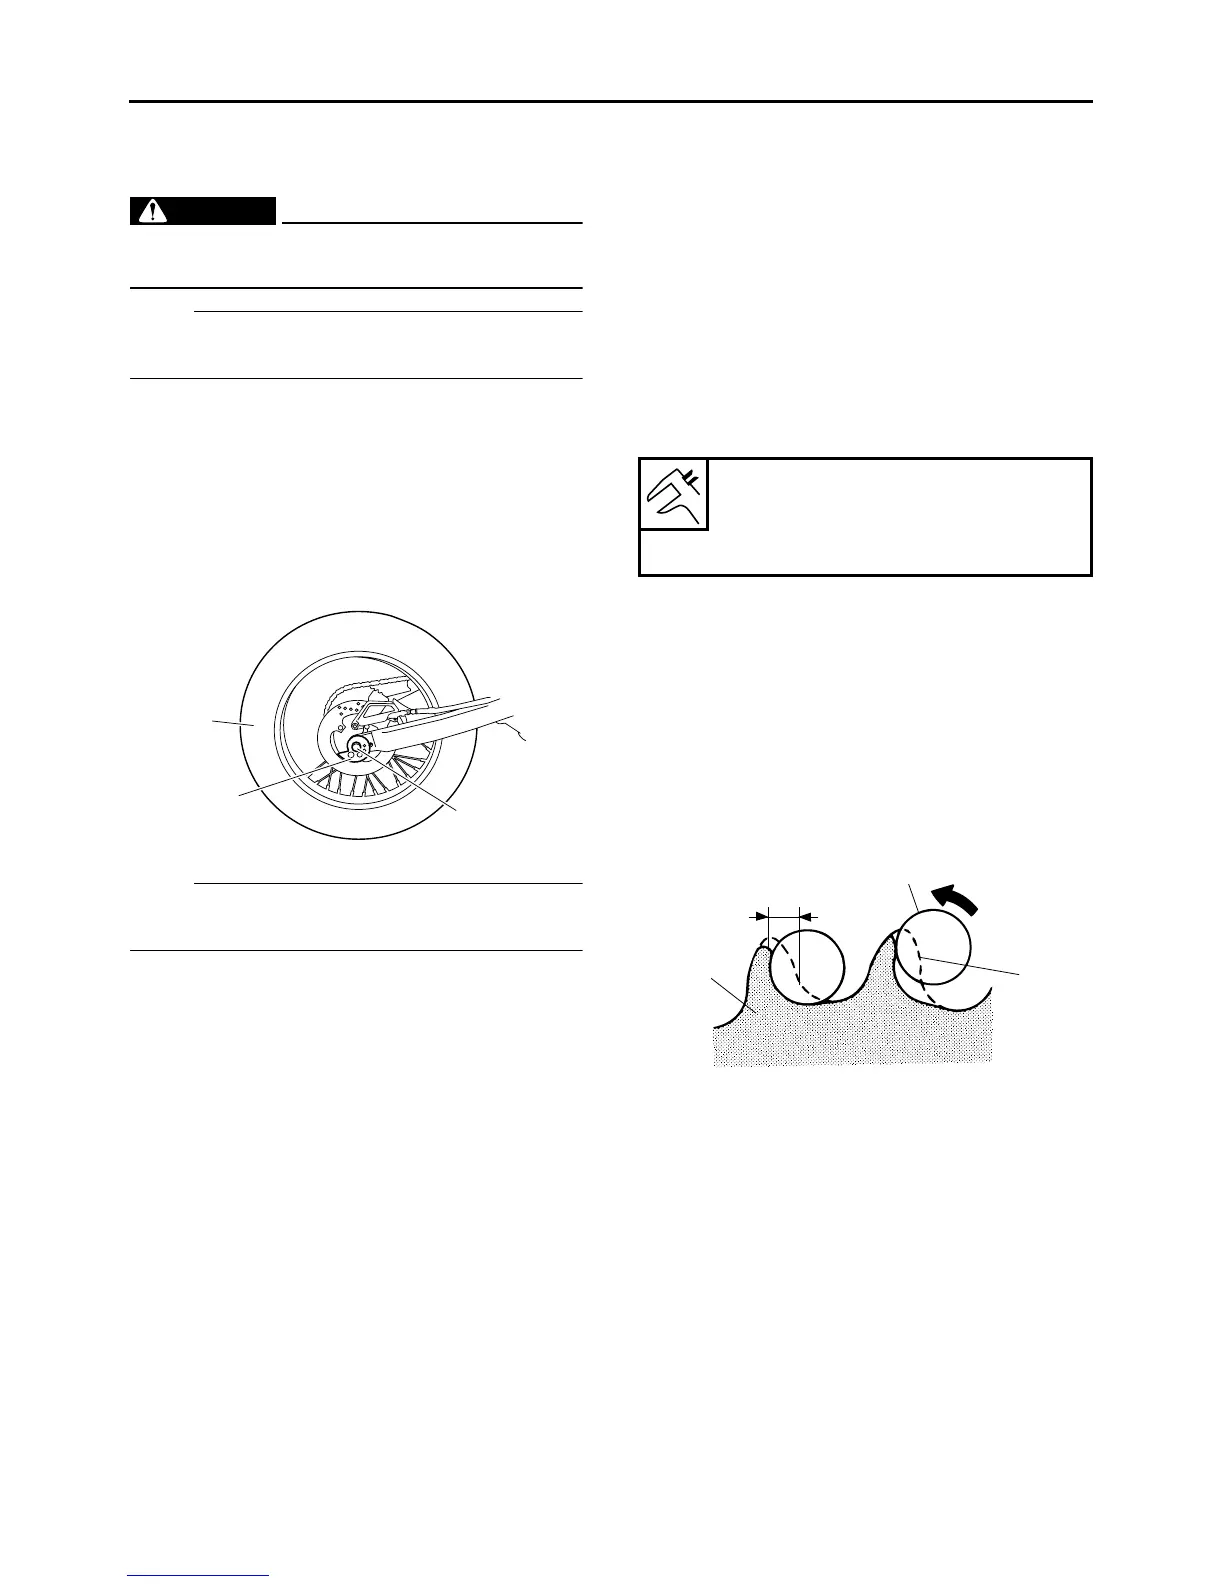
1. Check:
● Rear wheel sprocket
More than 1/4 tooth “a” wear → Replace the
drive chain, drive sprocket, and rear wheel
sprocket as a set.
Bent teeth → Replace the drive chain, drive
sprocket, and rear wheel sprocket as a set.
2. Replace:
● Rear wheel sprocket
▼▼▼▼▼▼▼▼▼▼▼▼▼▼▼▼▼▼▼▼▼▼▼▼▼▼▼▼▼▼▼▼
a. Remove the self-locking nuts and the rear
wheel sprocket.
b. Clean the rear wheel drive hub with a clean
cloth, especially the surfaces that contact the
sprocket.
c. Install the new rear wheel sprocket.
2
1
3
Radial wheel runout limit
2.0 mm (0.08 in)
Lateral wheel runout limit
2.0 mm (0.08 in)
a. 1/4 wear
b. Correct
1. Drive chain roller
2. Rear wheel sprocket
1
2
a
b

 Loading...