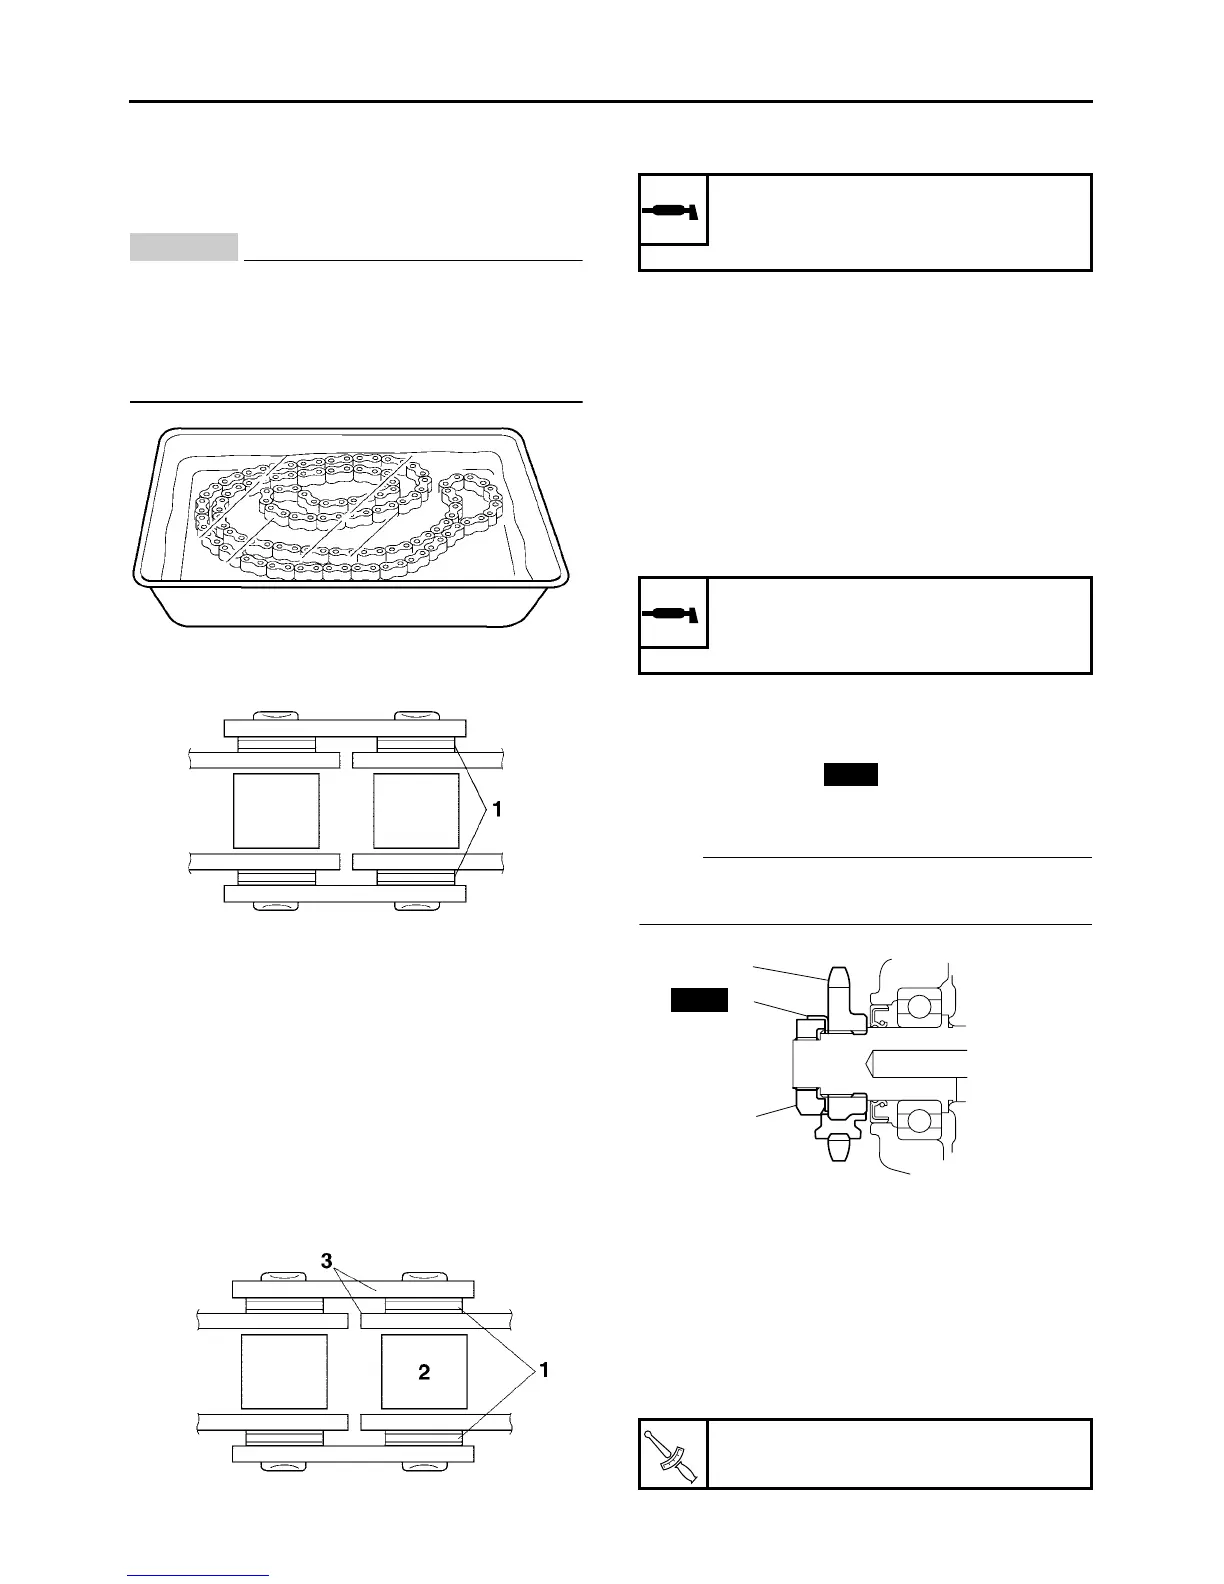
b. Put the drive chain in kerosene and remove
c. Remove the drive chain from the kerosene
EC3C51003
This vehicle has a drive chain with small rub-
ber O-rings “1” between the drive chain side
plates. Steam cleaning, high-pressure wash-
ing, certain solvents, and the use of a coarse
brush can damage these O-rings.
▲▲▲▲▲▲▲▲▲▲▲▲▲▲▲▲▲▲▲▲▲▲▲▲▲▲▲▲▲▲▲▲
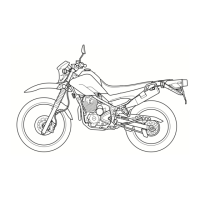
4. Check:
●
O-rings “1”
Damage → Replace the drive chain.
● Drive chain rollers “2”
Damage/wear → Replace the drive chain.
● Drive chain side plates “3”
Damage/wear → Replace the drive chain.
Cracks → Replace the drive chain.
5. Lubricate:
●
Drive chain
EAS23460
CHECKING THE DRIVE SPROCKET
1. Check:
● Drive sprocket
Refer to “CHECKING AND REPLACING
THE REAR WHEEL SPROCKET” on page
4-10.
EAS23490
INSTALLING THE DRIVE CHAIN
1. Lubricate:
● Drive chain
2. Install:
● Drive chain
● Drive sprocket “1”
● Lock washer “2”
● Drive sprocket nut “3”
(temporarily)
NOTE:
While applying the drive sprocket, tighten the
drive sprocket nut.
3. Install:
● Swingarm
Refer to “SWINGARM” on page 4-54.
●
Rear wheel
Refer to “REAR WHEEL” on page 4-8.
4. Install:
● Lock washer “1”
● Drive sprocket “2”
Recommended lubricant
Engine oil or chain lubricant
suitable for O-ring chains
Recommended lubricant
Engine oil or chain lubricant
suitable for O-ring chains
Drive sprocket nut
110 Nm (11.0 m•kg, 80 ft•lb)
New
1
2
3
New
T
R
.
.