1. Stand the vehicle on a level surface.
WARNING
EWA13120
Securely support the vehicle so that there is
no danger of it falling over.
NOTE:
Place the vehicle on a suitable stand so that the
rear wheel is elevated.
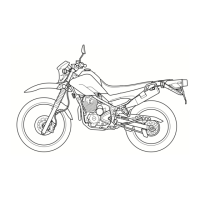
2. Remove:
● Drive sprocket nut “1”
● Lock washer “2”
NOTE:
●
Straighten the lock washer tab.
● Operate the rear brake, and loosen the drive
sprocket.
● After loosening the drive sprocket, remove the
rear wheel and swingarm.
3. Remove:
●
Swingarm
Refer to “SWINGARM” on page 4-54.
EAS23441
CHECKING THE DRIVE CHAIN
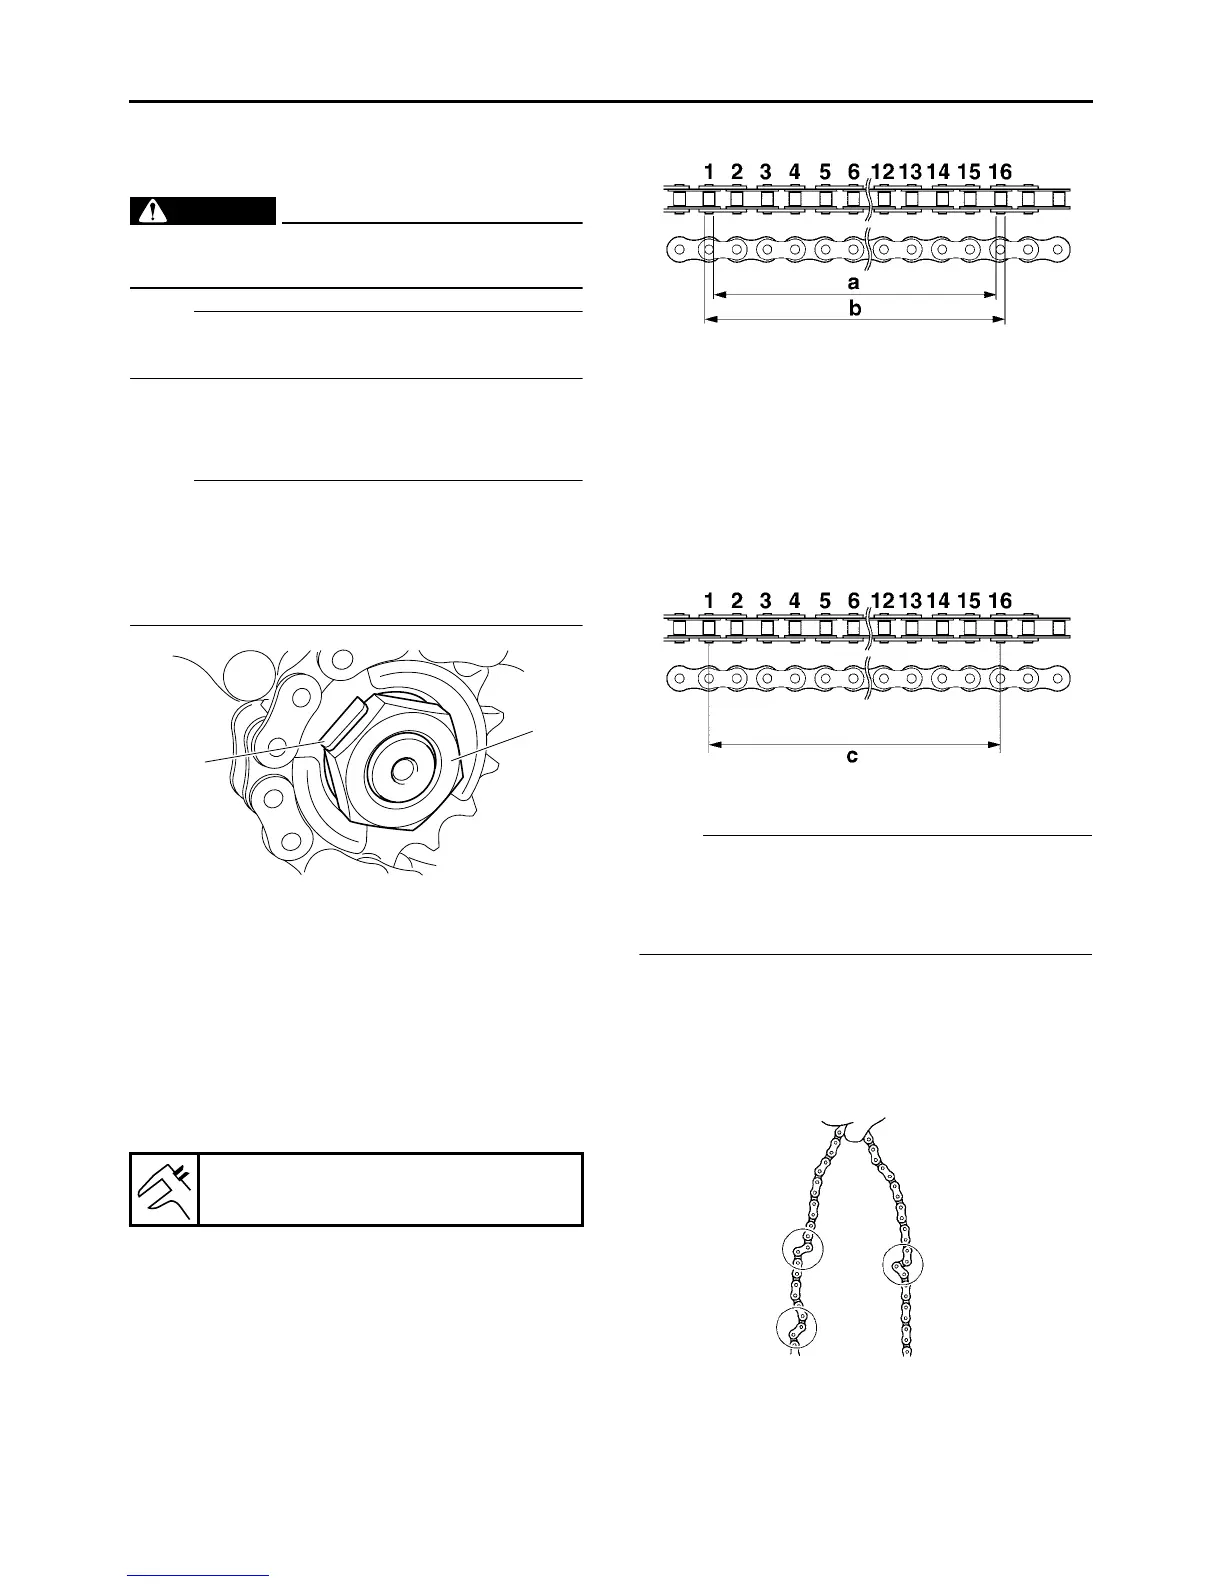
1. Measure:
● 15-link section “a” of the drive chain
Out of specification → Replace the drive
chain.
▼▼▼▼▼▼▼▼▼▼▼▼▼▼▼▼▼▼▼▼▼▼▼▼▼▼▼▼▼▼▼▼
a. Measure the length “a” between the inner
sides of the pins and the length “b” between
the outer sides of the pins on a 15-link section
of the drive chain as shown in the illustration.
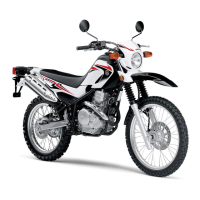
b. Calculate the length “c” of the 15-link section,
push down on the drive chain to increase its
tension.
Drive chain 15-link section length “c” =
(length “a” between pin inner sides + length
“b” between pin outer sides)/2
NOTE:
● When measuring a 15-link section of the drive
chain, make sure that the drive chain is taut.
● Perform this procedure 2–3 times, at a different
location each time.
▲▲▲▲▲▲▲▲▲▲▲▲▲▲▲▲▲▲▲▲▲▲▲▲▲▲▲▲▲▲▲▲
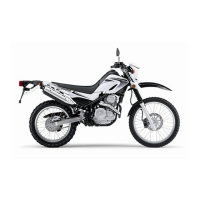
2. Check:
● Drive chain
Stiffness → Clean, lubricate, or replace.
3. Clean:
● Drive chain
▼▼▼▼▼▼▼▼▼▼▼▼▼▼▼▼▼▼▼▼▼▼▼▼▼▼▼▼▼▼▼▼
a. Wipe the drive chain with a clean cloth.
15-link length limit
191.5 mm (7.54 in)
1
2