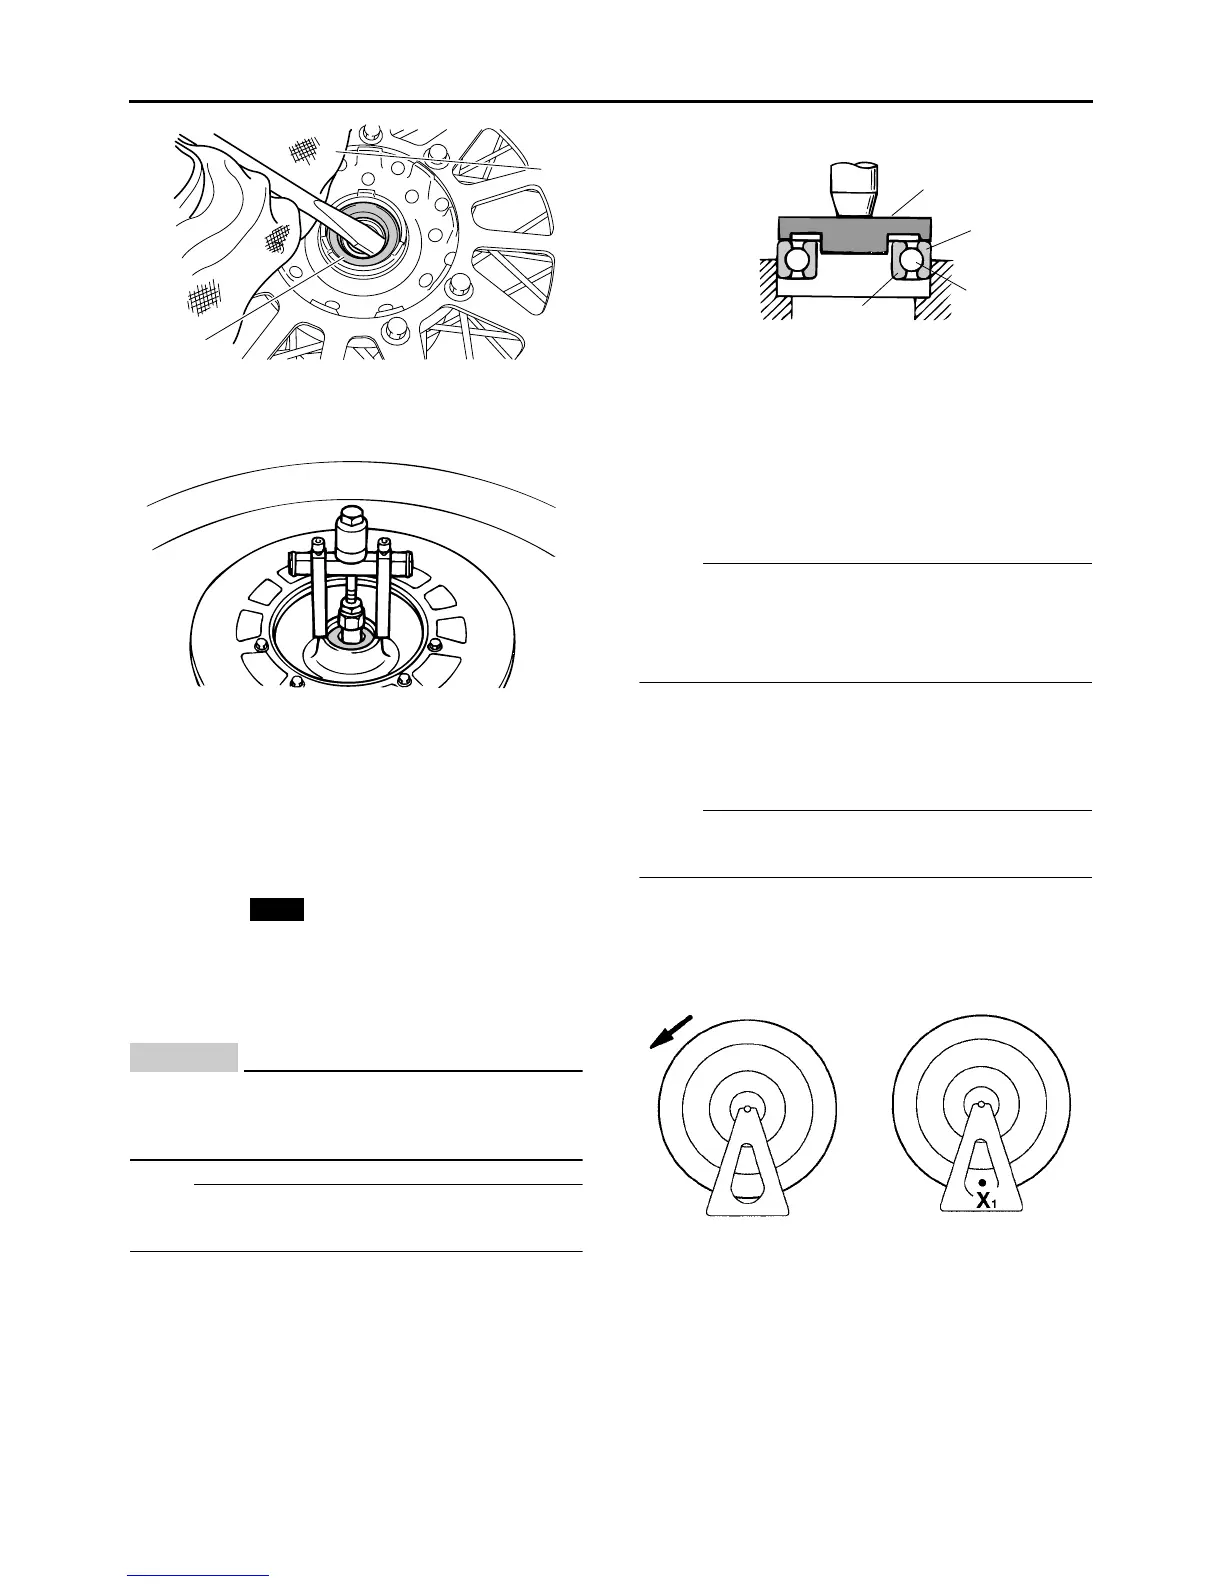
c. Remove the wheel bearings with a general
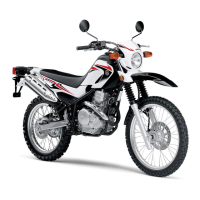
1. Install:
a. Install the new wheel bearings and oil seals in
EC3C51001
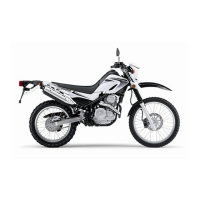
Do not contact the wheel bearing inner race
“1”or balls “2”. Support with the outer race
“3”.
NOTE:
Use a socket “4” that matches the diameter of
the wheel bearing outer race and oil seal.
▲▲▲▲▲▲▲▲▲▲▲▲▲▲▲▲▲▲▲▲▲▲▲▲▲▲▲▲▲▲▲▲
EAS21970
ADJUSTING THE FRONT WHEEL STATIC
BALANCE
NOTE:
● After replacing the tire, wheel or both, the front
wheel static balance should be adjusted.
● Adjust the front wheel static balance with the
brake disc installed.
1. Remove:
● Balancing weight(s)
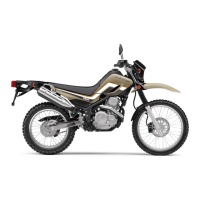
2. Find:
● Front wheel’s heavy spot
NOTE:
Place the front wheel on a suitable balancing
stand.
▼▼▼▼▼▼▼▼▼▼▼▼▼▼▼▼▼▼▼▼▼▼▼▼▼▼▼▼▼▼▼▼
a. Spin the front wheel.
b. When the front wheel stops, put an “X
1
” mark
at the bottom of the wheel.
c. Turn the front wheel 90° so that the “X
1
” mark
is positioned as shown.
d. Release the front wheel.
e. When the wheel stops, put an “X
2
” mark at
the bottom of the wheel.
1
2
New
1
2
3
4