1. Remove:
Loosen each bolt 1/4 of a turn at a time, in two
stages and in a crisscross pattern. After all of the
bolts are fully loosened, remove them.
2. Turn:
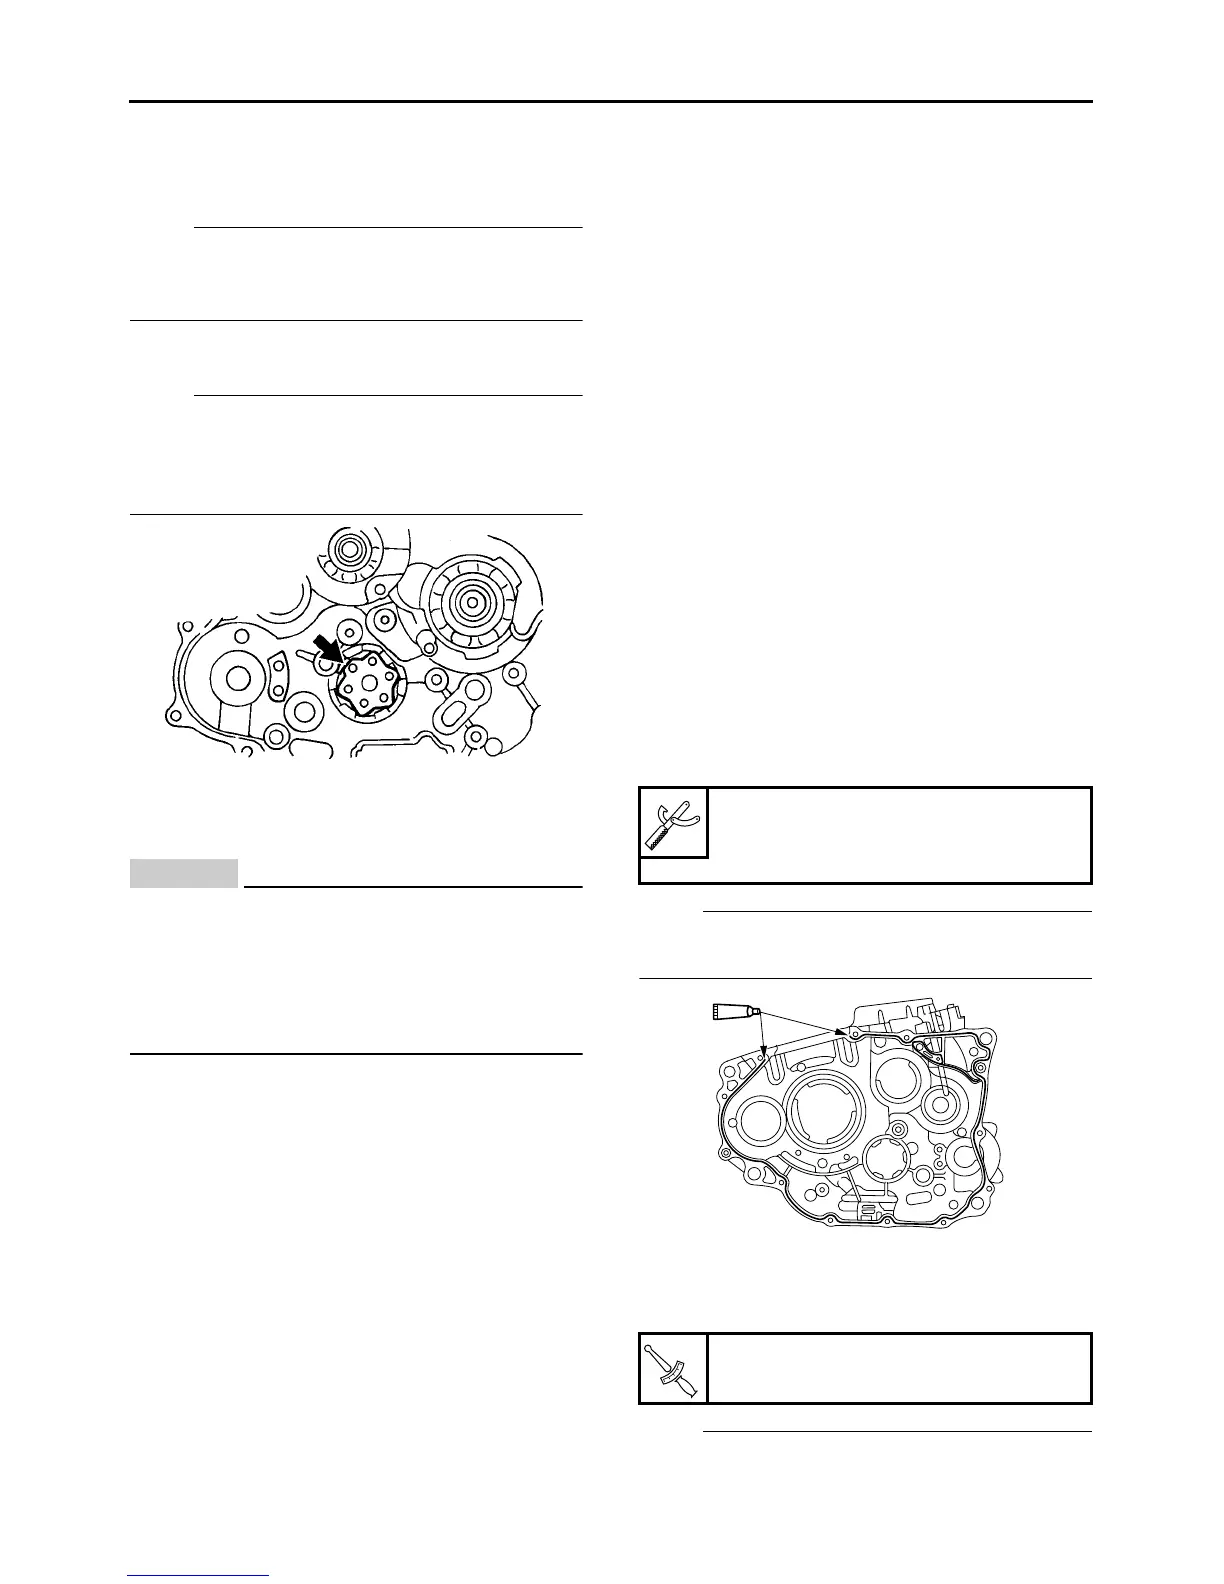
● Shift drum segment
NOTE:
Turn the shift drum segment to the position
shown in the illustration. In this position, the shift
drum segment’s teeth will not contact the crank-
case during crankcase separation.
3. Remove:
● Right crankcase
CAUTION:
EC3C51004
● Tap on one side the crankcase with a
soft-face hammer. Tap only reinforced por-
tions of the crankcase.
●
Do not damage the crankcase mating sur-
faces.
● Remove the crankcase right halves first.
EAS25580
CHECKING THE CRANKCASE
1. Thoroughly wash the crankcase halves in a
mild solvent.
2. Thoroughly clean all the gasket surfaces and
crankcase mating surfaces.
3. Check:
● Crankcase
Cracks/damage → Replace.
Obstruction → Blow out with compressed air.
EAS3C51011
CHECKING THE TIMING CHAIN,
CRANKSHAFT SPROCKET, TIMING CHAIN
GUIDE (INTAKE SIDE)
1. Check:
●
Timing chain
Crack/stiffness → Replace the camshaft
sprocket, timing chain, and crankshaft
sprocket as a set.
2. Check:
● Crankshaft sprocket
Refer to “CYLINDER HEAD” on page 5-6.
3. Check:
●
Timing chain guide (intake side)
Damage/wear → Replace.
EAS3C51012
CHECKING THE BEARING AND OIL SEAL
1. Check:
● Bearing
Abnormal sound/rough movement/loose-
ness → Replace.
2. Check:
●
Oil seal
Damage/wear → Replace.
EAS25700
ASSEMBLING THE CRANKCASE
1. Thoroughly clean all the gasket mating sur-
faces and crankcase mating surfaces.
2. Apply:
● Sealant
(onto the crankcase mating surfaces)
NOTE:
Do not allow any sealant to come into contact
with the oil gallery.
3. Install:
● Right crankcase
(to the left crankcase)
NOTE:
● Turn the shift drum segment as shown so that
the shift drum segment teeth do not contact the
Yamaha bond No. 1215 (Three
Bond No.1215®)
90890-85505
Crankcase bolt
10 Nm (1.0 m•kg, 7.2 ft•lb)
T
R
.
.