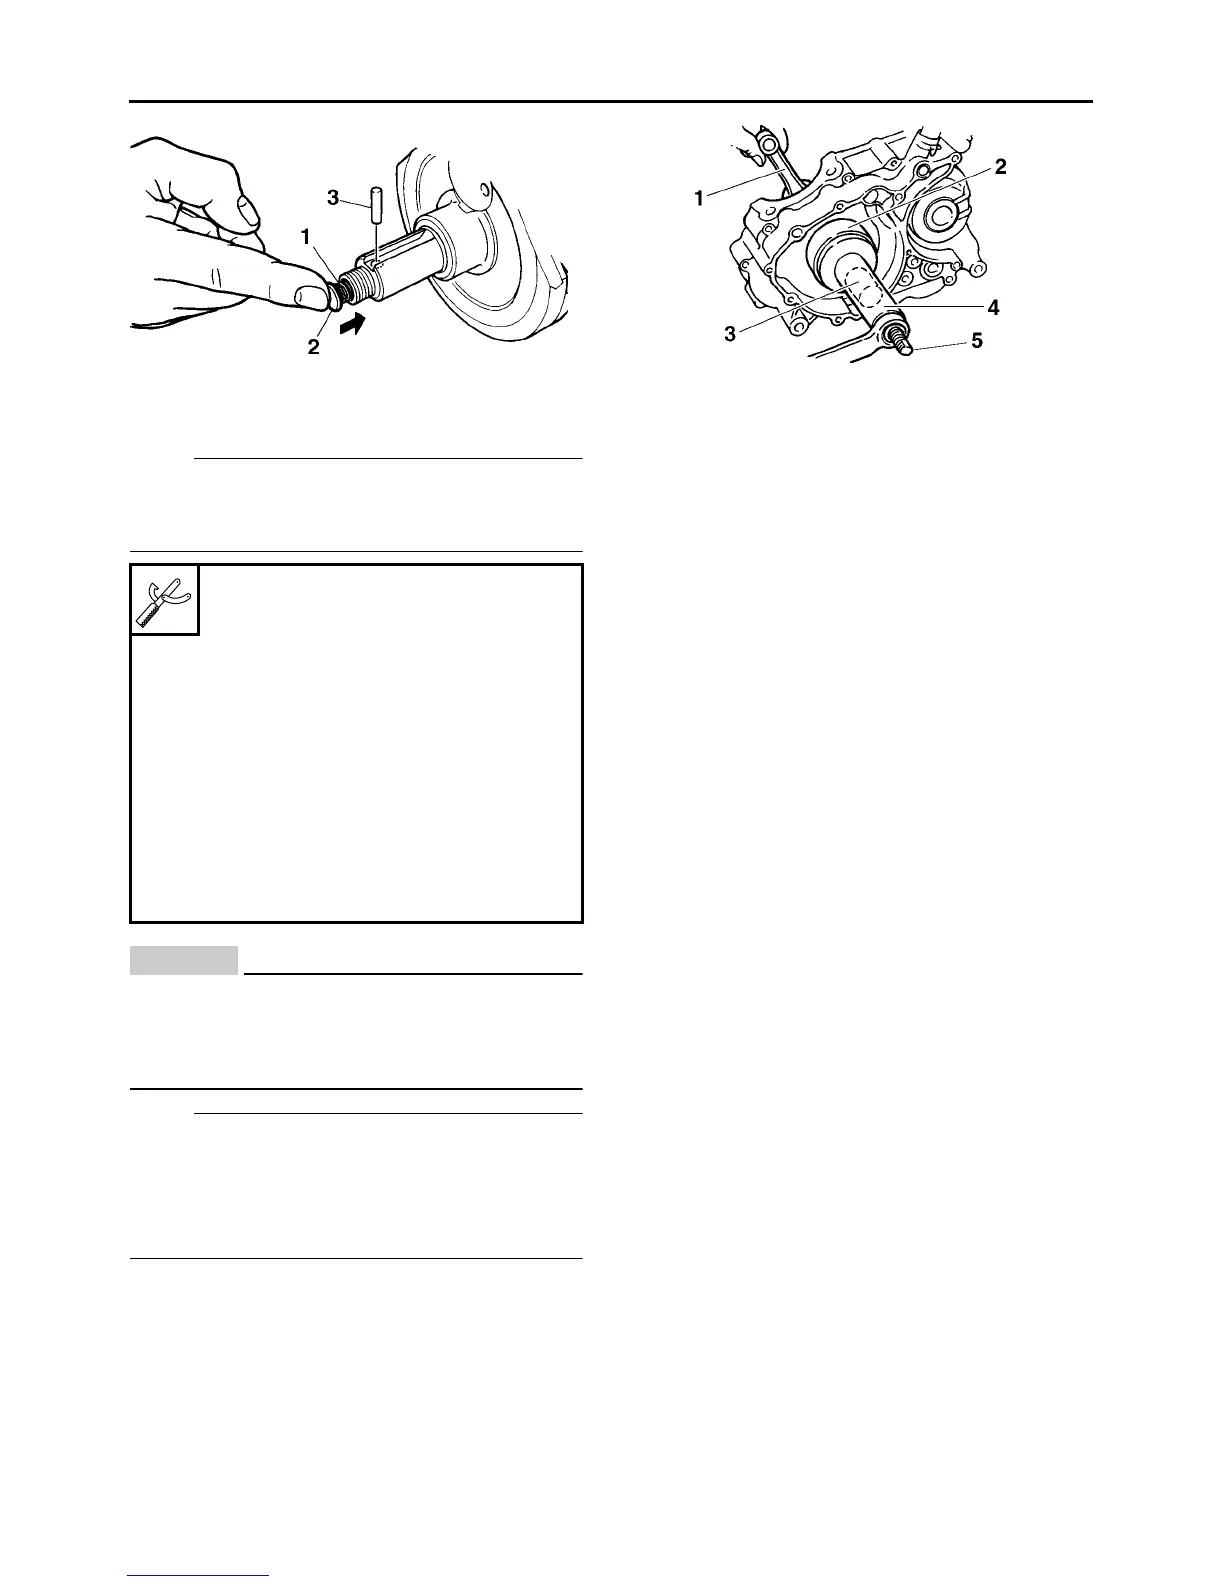
2. Install:
Install the crankshaft assembly using spacer “2”,
adapter (M10) “3”, crankshaft installer “4”, and
crankshaft installer bolt “5”.
CAUTION:
ECA13970
To avoid scratching the crankshaft and to
ease the installation procedure, lubricate the
oil seal lips with lithium-soap-based grease
and each bearing with engine oil.
NOTE:
Hold the connecting rod at top dead center
(TDC) with one hand while turning the nut of the
crankshaft installer bolt with the other. Turn the
crankshaft installer bolt until the crankshaft as-
sembly bottoms against the bearing.
Crankshaft installer pot
90890-01274
Installing pot
YU-90058
Crankshaft installer bolt
90890-01275
Bolt
YU-90060
Adapter (M10)
90890-01383
Adapter #2
YU-90062
Spacer
90890-01288



 To Next Page