Getting Started
57
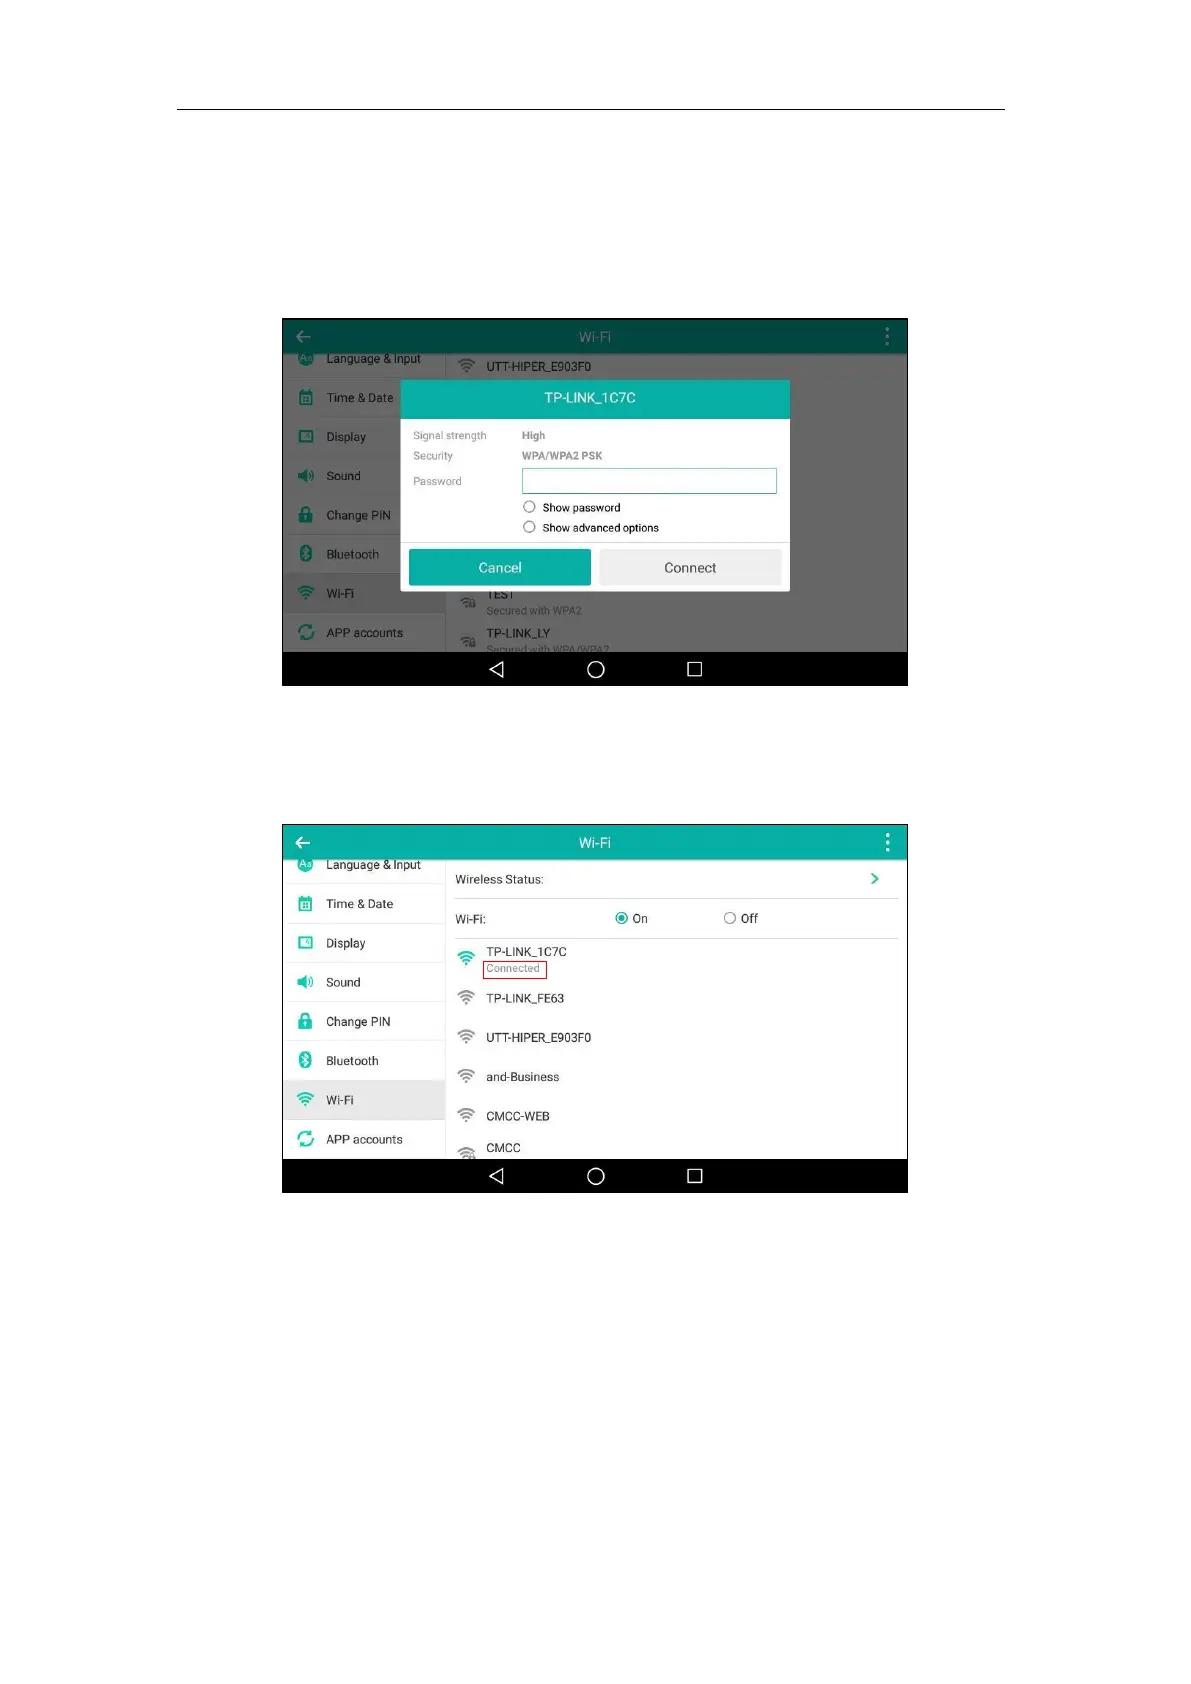
You can do the following:
- Tap the Show password radio box to make the password visible.
- Tap the Show advanced options radio box to configure the HTTP proxy for Browser
application. For more information, refer to Browser on page 227.
7. Tap Connect to connect to the wireless network.
Once the connection has completed successfully, the prompt “Connected” appears under
the corresponding SSID.
You can also swipe down from the top of the screen to enter the control center, and toggle
Wi-Fi on. The phone will automatically search for wireless network in your area, and try to
connect the wireless network that you have connected last time. If there are no available
wireless networks or the phone cannot connect the wireless network that you have
connected last time, you will get a notification “Wi-Fi networks available”. Swipe down from
the top of the screen to enter the notification center, tap the notification. Repeat steps 4 to
7 to connect to the desired wireless network.
Wi-Fi Protected Setup (WPS)
Wi-Fi Protected Setup (WPS) provides simplified mechanisms to configure secure wireless

 Loading...