Getting Started
35
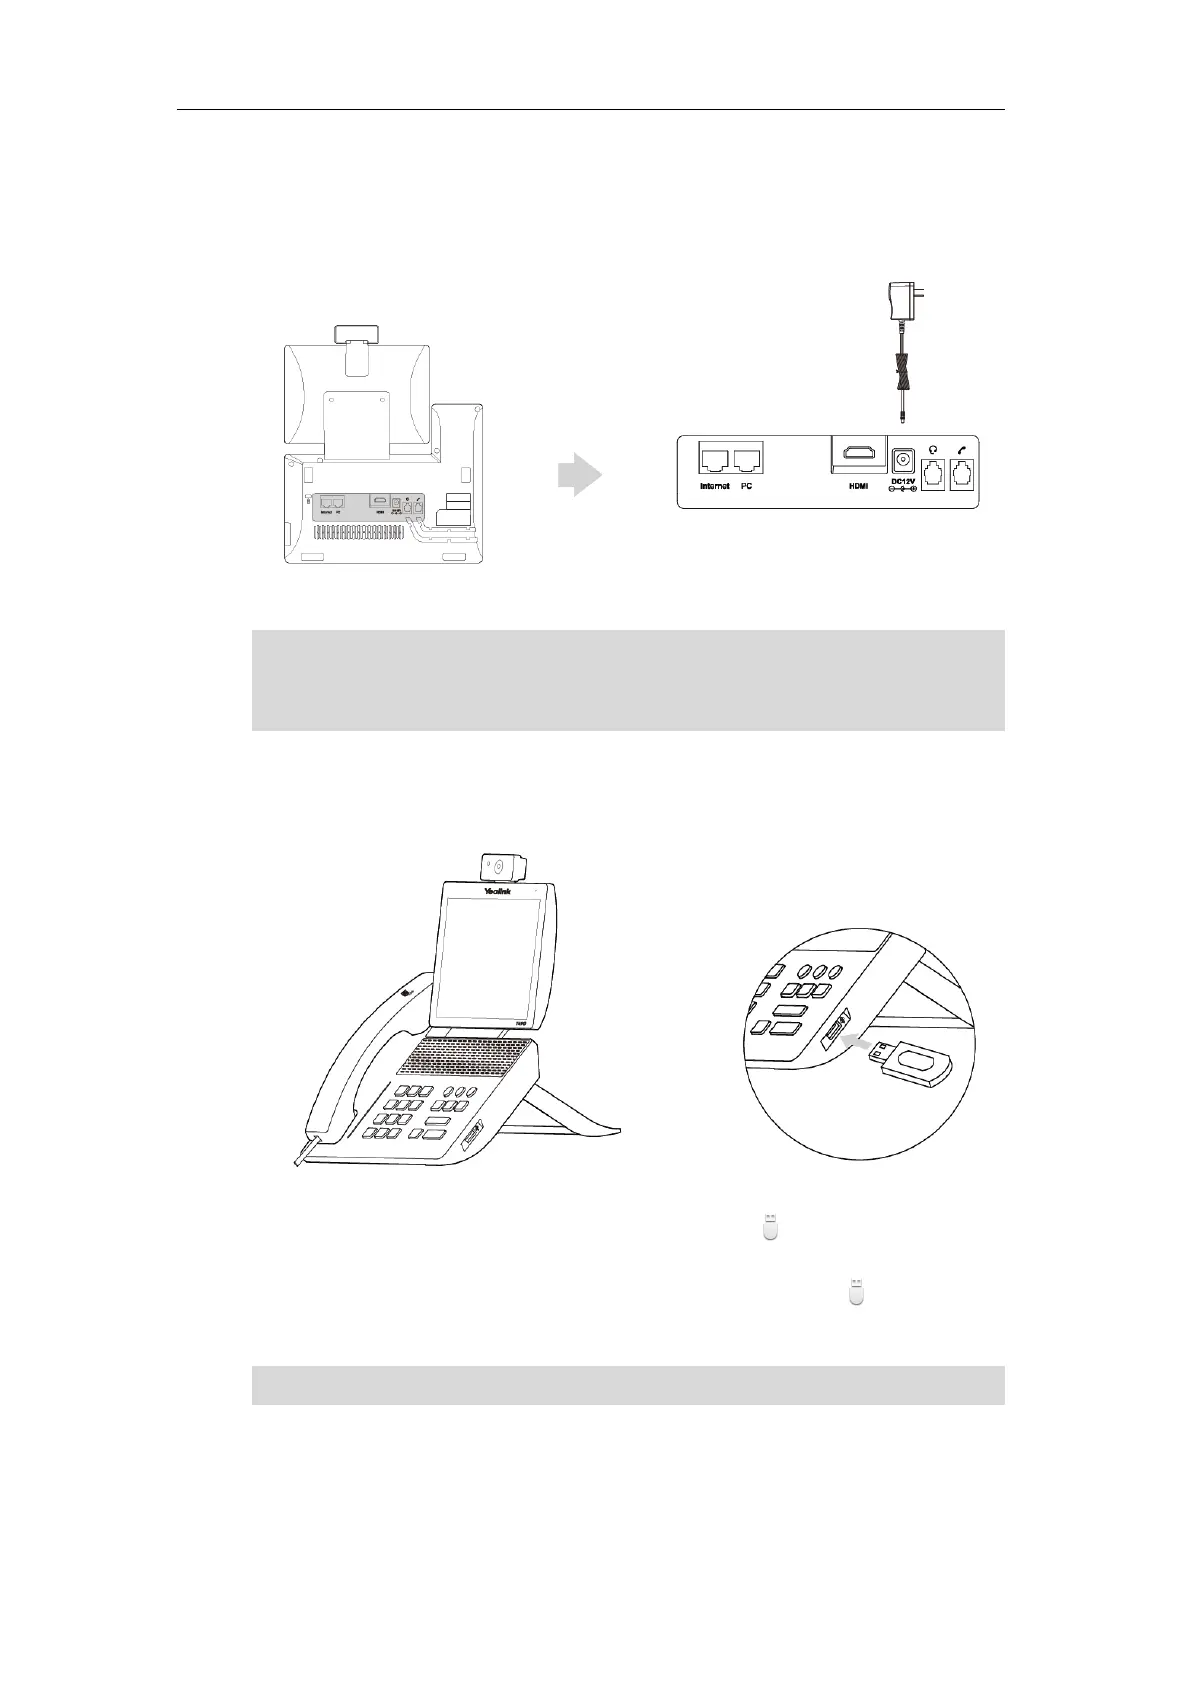
4) Connect the AC power
Connect the DC plug on the power adapter to the DC12V port on the phone and connect
the other end of the power adapter into an electrical power outlet.
Note
5) Connect the optional USB flash drive
When you attach a USB flash drive to your phone, the icon will display on the status bar
of the touch screen. The flashing icon shows that the phone is detecting the USB flash drive.
If the USB flash drive is successfully connected to the phone, the icon will stop flashing,
and the touch screen will prompt “USB device connected successfully!”.
Note
6) Connect the optional external monitor
- Remove one piece of the fastener’s liner, take the gap of the camera as the touchline
Important! Do not remove power to the phone while it is updating firmware and configurations.
The IP phone should be used with Yealink original power adapter (12V/2A) only. The use of the
third-party power adapter may cause the damage to the phone.
The USB flash drive should be purchased separately if required.
 Loading...