Directions for Use
101
Operation Manual
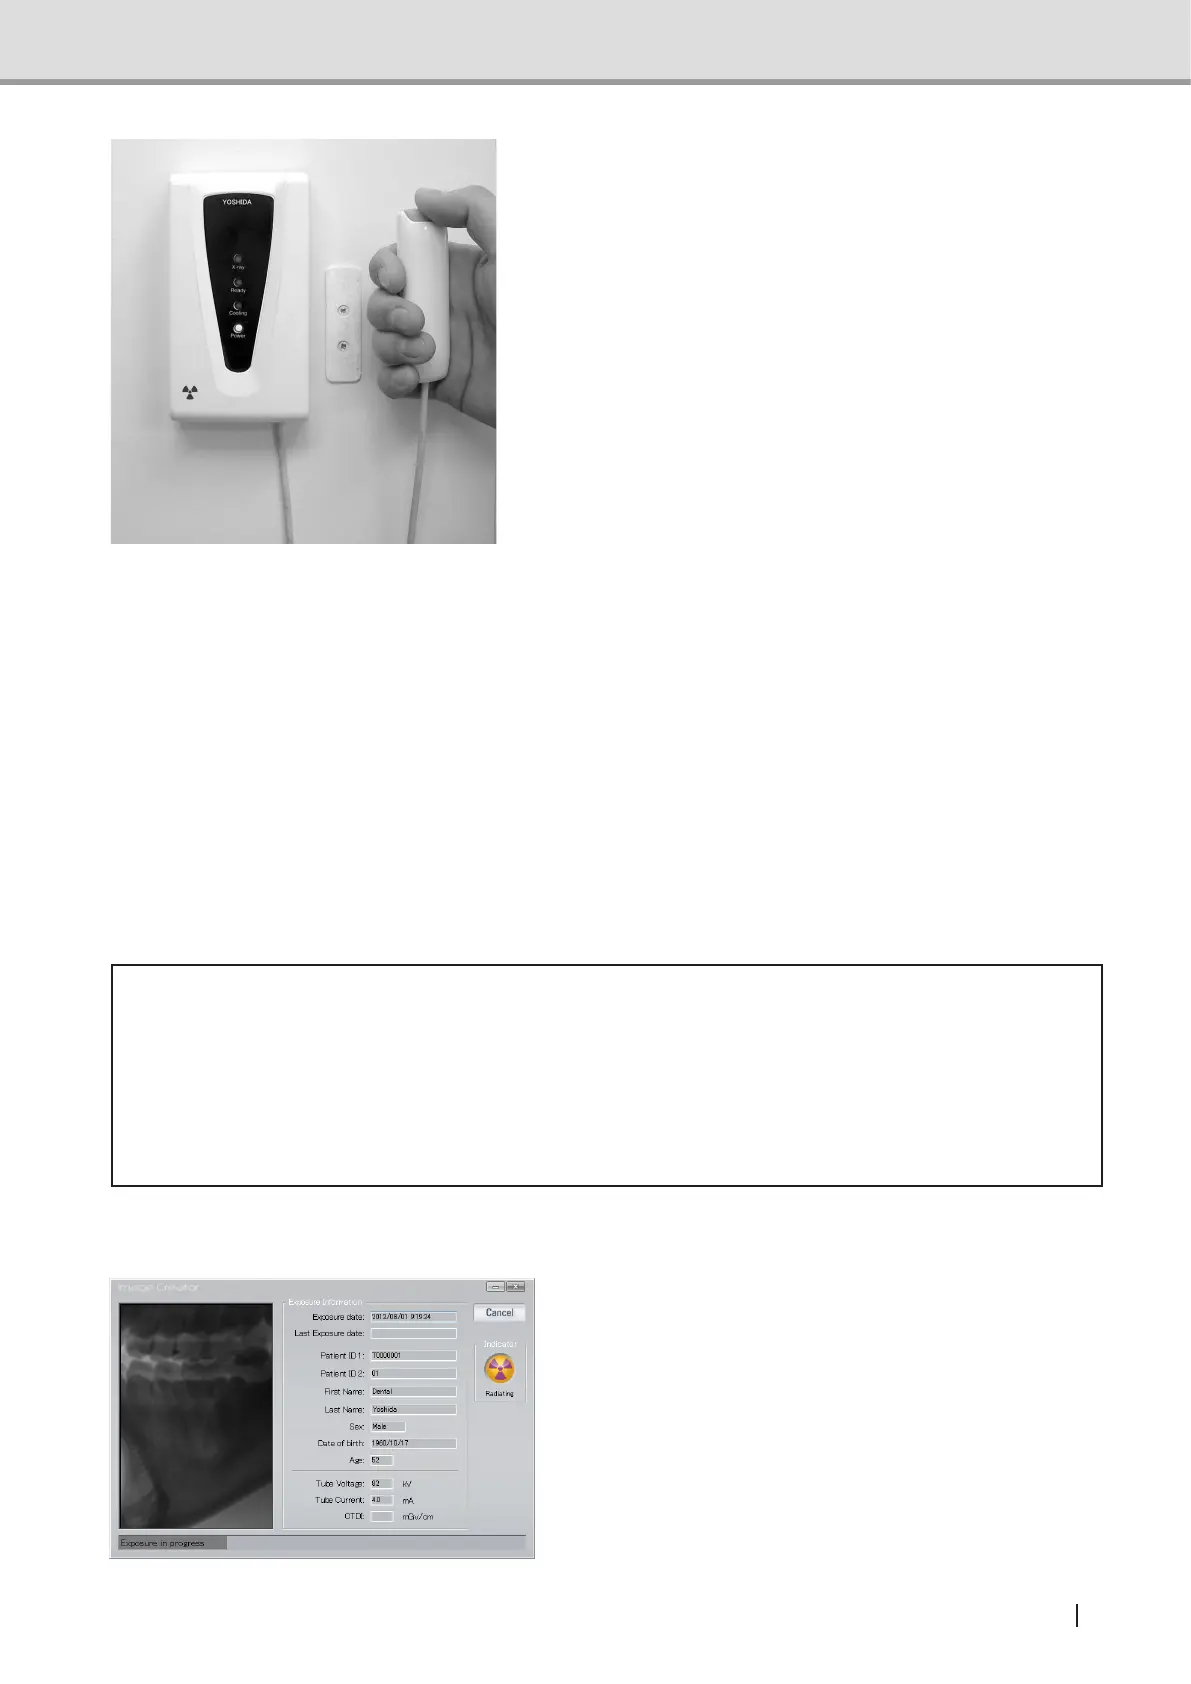
Make sure that the Ready LED (green) is
turned on and the equipment is ready for
image acquisition. Press the X-ray Exposure
switch to start image acquisition. Holding
down the switch activates X-ray Exposure
duringthespeciedExposuretime.WhileX-
ray is irradiated, the X-ray indicator (yellow)
on the hand-switch box turns on, and the
buzzer continually buzzes. An audible alarm
also sounds at the control panel.
To stop X-ray Exposure and image acquisi-
tion by the equipment during the process,
simplyreleaseyourngerfromtheX-ray
Exposure switch because it is the deadman
type switch.
* Deadman type switch: A system which
operates only when the operator applies
force to the equipment.
Note :In3Doralimageacquisition,theimageisacquiredclockwiserst,thencounter-
clockwise. Keep pressing the X-ray Exposure switch until the counter-clockwise
(return) image acquisition is complete. If the X-ray exposure switch is released
during an exposure, X-ray exposure and image acquisition will be stopped and
become an exposure error.
* Caution
• If the X-ray exposure switch is released during an exposure, X-ray exposure and image
acquisition will be stopped and cause an exposure error, resulting in a retake and
consequently increasing the patient dose. Unless it is necessary to stop for emergency,
do not release the X-ray exposure switch.
• Leave the controlled area during X-ray exposure.
Image Acquisition Preview
Once an X-ray image acquisition com-
mences, Image Creator display will change
from "3D Image Acquisition Standby" screen
to the "acquisition" screen. In the acquisition
screen, image construction is displayed si-
multaneously with the acquisition progress.