5: Replacement Procedures
Procedures
P1061942-001 Zebra ZXP Series 1 Card Printer Service Manual 113
Monochrome Adjustment
Step 1. Ensure that a Black Monochrome Ribbon is installed in the printer.
Step 2. In the Command Line, type +MONO to determine the current monochrome value.
Step 3. The current monochrome value will be displayed in the Printer Status field;
e.g., -20 0 <ACK> where -20 is the current monochrome value. Make a note of the
current monochrome value.
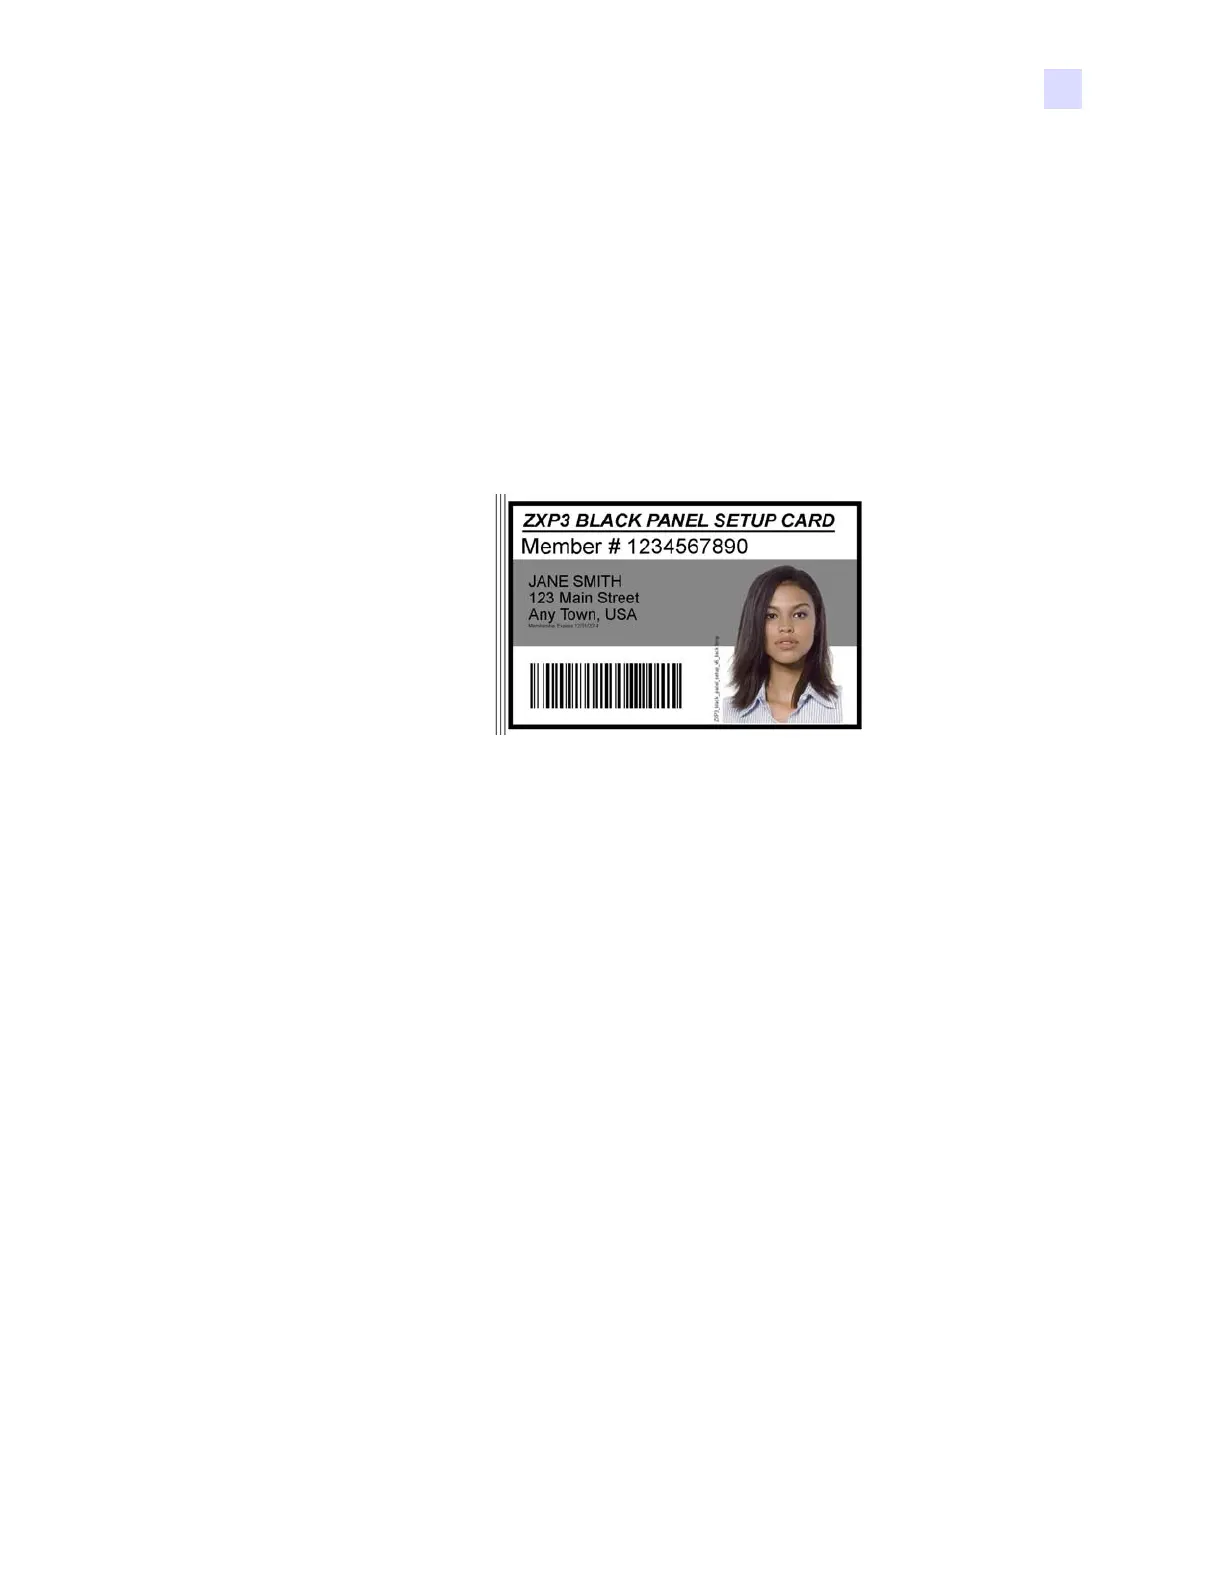
Step 4. Print a test card with an image similar to the sample below Note that the sample
image will be converted to monochrome via the driver and its settings (refer to
Preliminary Setup - Printing preferences).
Step 5. Examine the monochrome image on the printed test card.
• If the image is too dark, go to Step 6; and decrease the monochrome value.
• If the image is too light, go to Step 6; and increase the monochrome value.
• If you are satisfied with the image, go to Step 8.
Step 6. Adjust the image quality by increasing/decreasing the current monochrome value.
The monochrome values range from -127 to +128.
For example: In the Command Line, type +MONO, a space, and -25 (to lighten
the monochrome image). The complete command is +MONO -25.
Step 7. Continue printing and examining cards, and adjusting the monochrome value until
you are satisfied with the quality of the monochrome image; then go to Step 8.
Step 8. In the Command Line, type SDATA to save the values entered in the previous steps.
Step 9. Click the Execute button.
Step 10. Verify that <ACK> appears the Printer Status field to acknowledge that the data
was saved.
Step 11. Click the Close button to close the Tools window.
Step 12. Click the OK button to close Printer Properties window.
Step 13. This completes the monochrome adjustment.
 Loading...