64 Mechanical installation
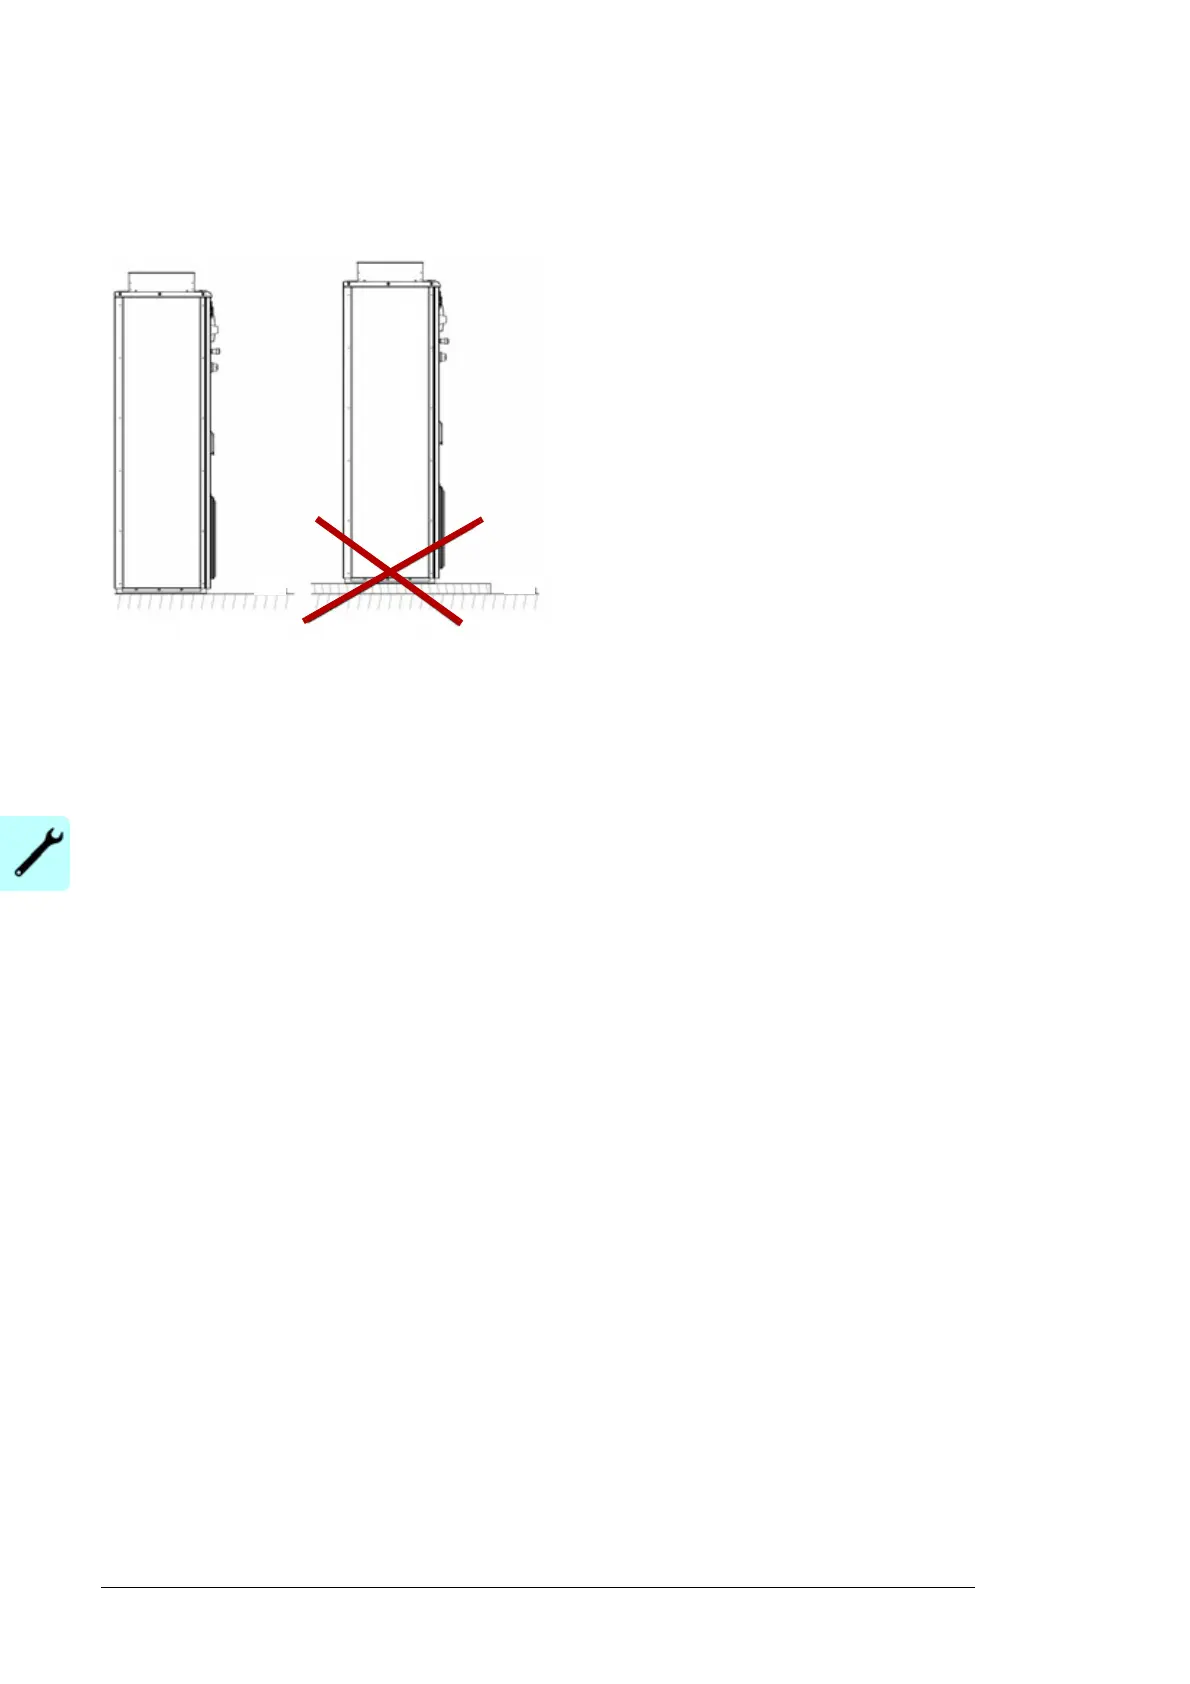
Note: For easy maintenance, do not install the inverter on a higher level than the floor in
front of it. If the inverter is placed higher, the ramp supplied with the inverter cannot be
used when replacing an inverter module.
The wall behind the unit must be of non-flammable material.
Required tools
The tools required for moving the unit to its final position, fastening it to the floor and
tightening the connections are listed below:
• crane, fork-lift or pallet truck (check load capacity!); iron bar, jack and rollers
• Pozidrive and Torx (2.5–6 mm) screwdrivers for the tightening of the frame screws
• torque wrench
• set of wrenches and sockets.
Checking the delivery
The inverter delivery contains:
• inverter cabinet line-up
• optional modules (if ordered) installed onto the RDCU control units
• ramp for the inverter module replacement (frame R8i)
• appropriate inverter manuals and optional module manuals
• delivery documents.
Check that there are no signs of damage. Manuals and other loose parts are delivered
inside the inverter. Before attempting installation and operation, check the information on
the type designation label of the inverter to verify that the delivery is of the correct type.
See sections Type designation labels on page 56 and Type designation key on page 58.

 Loading...