175
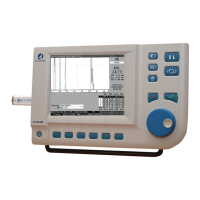
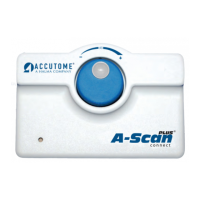
Accutome A-Scan Plus Connect User’s Guide
Synergy Mode
Setting up the A-Scan Plus Connect Synergy Software for IOLMaster 500
version 7.7
1. Power on IOL Master
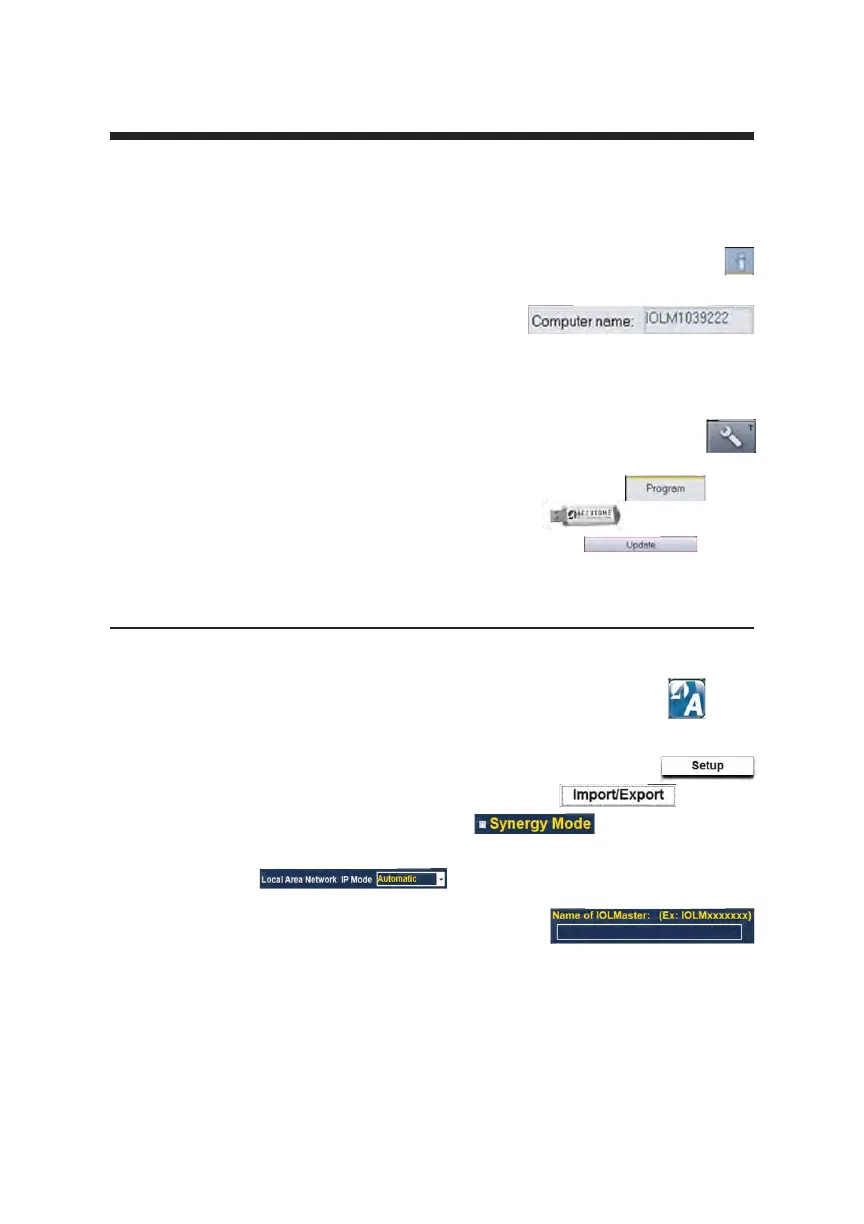
2. Select the i icon in the top right hand corner of the IOL Master screen
3. On the next screen (About IOL Master)
nd the name of the IOL Master labeled
Computer Name (IOLM#######) and write
down name
4. To exit click OK
5. Click on the Settings Icon in the bottom right hand corner (Wrench
Icon)
6. Select the Program tab (Second tab in the settings screen)
7. Insert Accutome USB Disk into the IOL Master
8. In the Program tab on the IOL Master select Update
9. Follow the Install prompts until installation is complete then click OK to
restart the IOL Master. Remove USB Disk while system reboots
10. Connect the Laptop/PC and the IOL Master either by network or
switchbox/router
11. Connect A-Scan Plus Connect unit to computer via USB port
12. Launch A-Scan Plus Connect software on your PC or Laptop
13. Select the Setup tab on the top center of the A-Scan software
14. Select the Import/Export tab under the Setup tab
15. Check the box next to Synergy Mode
16. Double check the LAN IP Mode is set to
Automatic
17. Enter the Computer Name you found on your
IOL Master in the box labeled Name of IOL
Master (IOLM#######)
18. Network settings are now active and can be adjusted
19. After selecting Synergy Mode within the setup screen,
choose Network folder under the Method of Data Exchange
box.
 Loading...