4-9
FIRST-TIME USE
First-time users can quickly become familiar with the principles of control and display by carrying
out the following exercise, which demonstrates how to set up a typical basic signal having the
following parameters:
Carrier frequency: 100 MHz
Output level: 10 dBm
Frequency modulation: 100 kHz deviation at 500 Hz mod.
Switching on
Before switching the instrument on, check that the power supply is connected and ensure that no
external signal sources are connected.
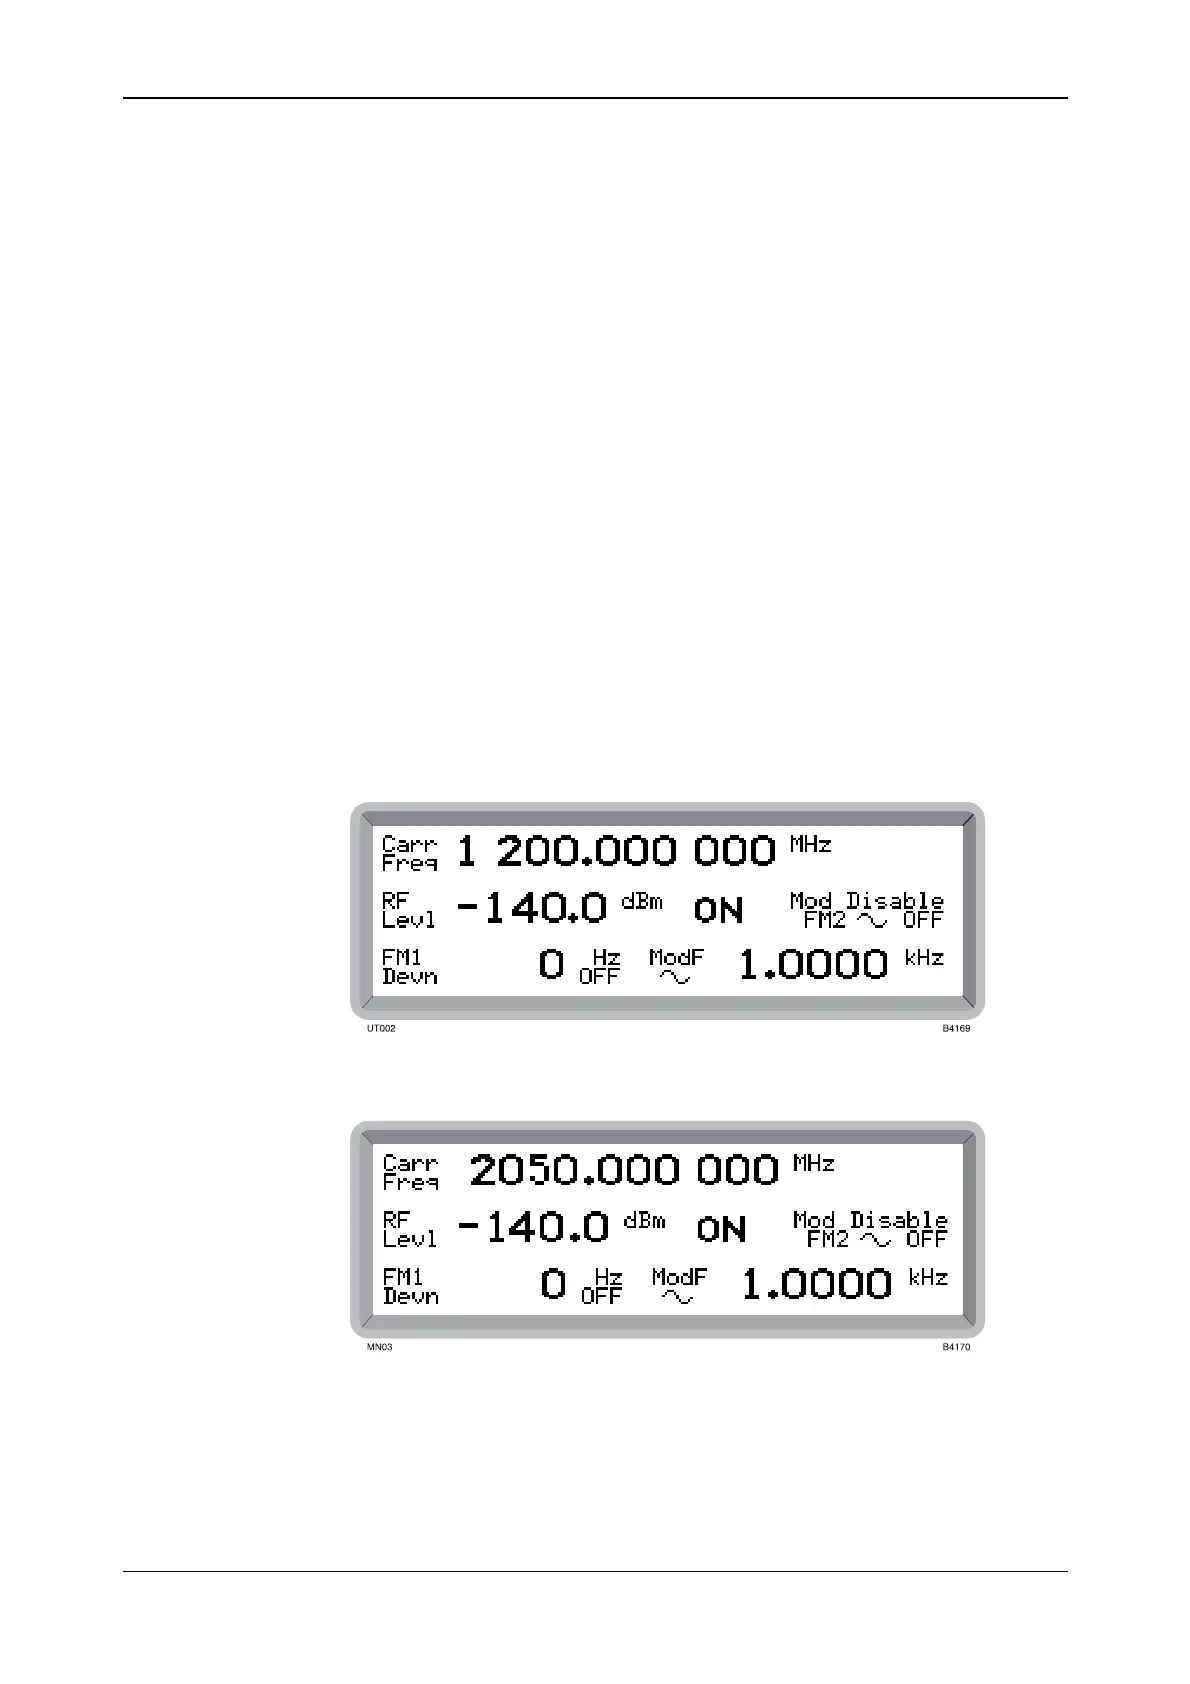
Switch on by means of the SUPPLY switch and check that the display is similar to that shown in
Fig. 4-4, Fig. 4-5 or Fig. 4-6. This shows the main screen as it appears during normal operation.
If a default display as shown in Fig. 4-4, Fig. 4-5 or Fig. 4-6 is not obtained, a previous user may
have set the instrument to switch on with one of the user memories recalled, rather than using the
default factory settings.
To reset to the factory settings press the [RCL] hard key. RCL appears highlighted at the top right
of the screen with the cursor blinking awaiting your entry. Enter 999 on the keyboard and press
[ENTER]. (Note that any one of the units keys can be used to perform the [ENTER] function.)
The RESET annunciator is shown and the factory settings are now recalled from memory location
999 and displayed on the screen.
Fig. 4-4 2023A main screen in normal operation showing default display
Fig. 4-5 2023B main screen in normal operation showing default display