26 Agilent 1200 Series Autosampler Reference Manual
1 Installing the Autosampler
1 Install the LAN interface board in the sampler (if required), see “LAN
Communication Interface Board” on page 245.
2 Remove the adhesive tape which covers the front door.
3 Remove the front door and remove the transport protection foam.
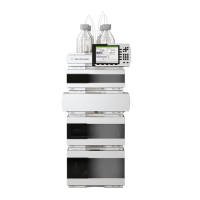
4 Place the Autosampler on the bench or in the stack as recommended in
“Recommended Stack Configuration for an Autosampler (Front View)” on
page 22.
5 Ensure the power switch at the front of the Autosampler is OFF.
6 Connect the power cable to the power connector at the rear of the sampler.
7 Connect the CAN cable to the other Agilent 1200 Series modules.
8 If an Agilent Chemstation is the controller, connect either
• The GPIB cable to the detector
• The LAN connector to the LAN interface
9 Connect the APG remote cable (optional) for non Agilent 1200 Series
instruments.
10 Turn ON power by pushing the button at the lower left hand side of the
sampler.

 Loading...