43
MU Series (Windows)
User’s Manual
Le Hand Navigaon Bar (Camera Bar)
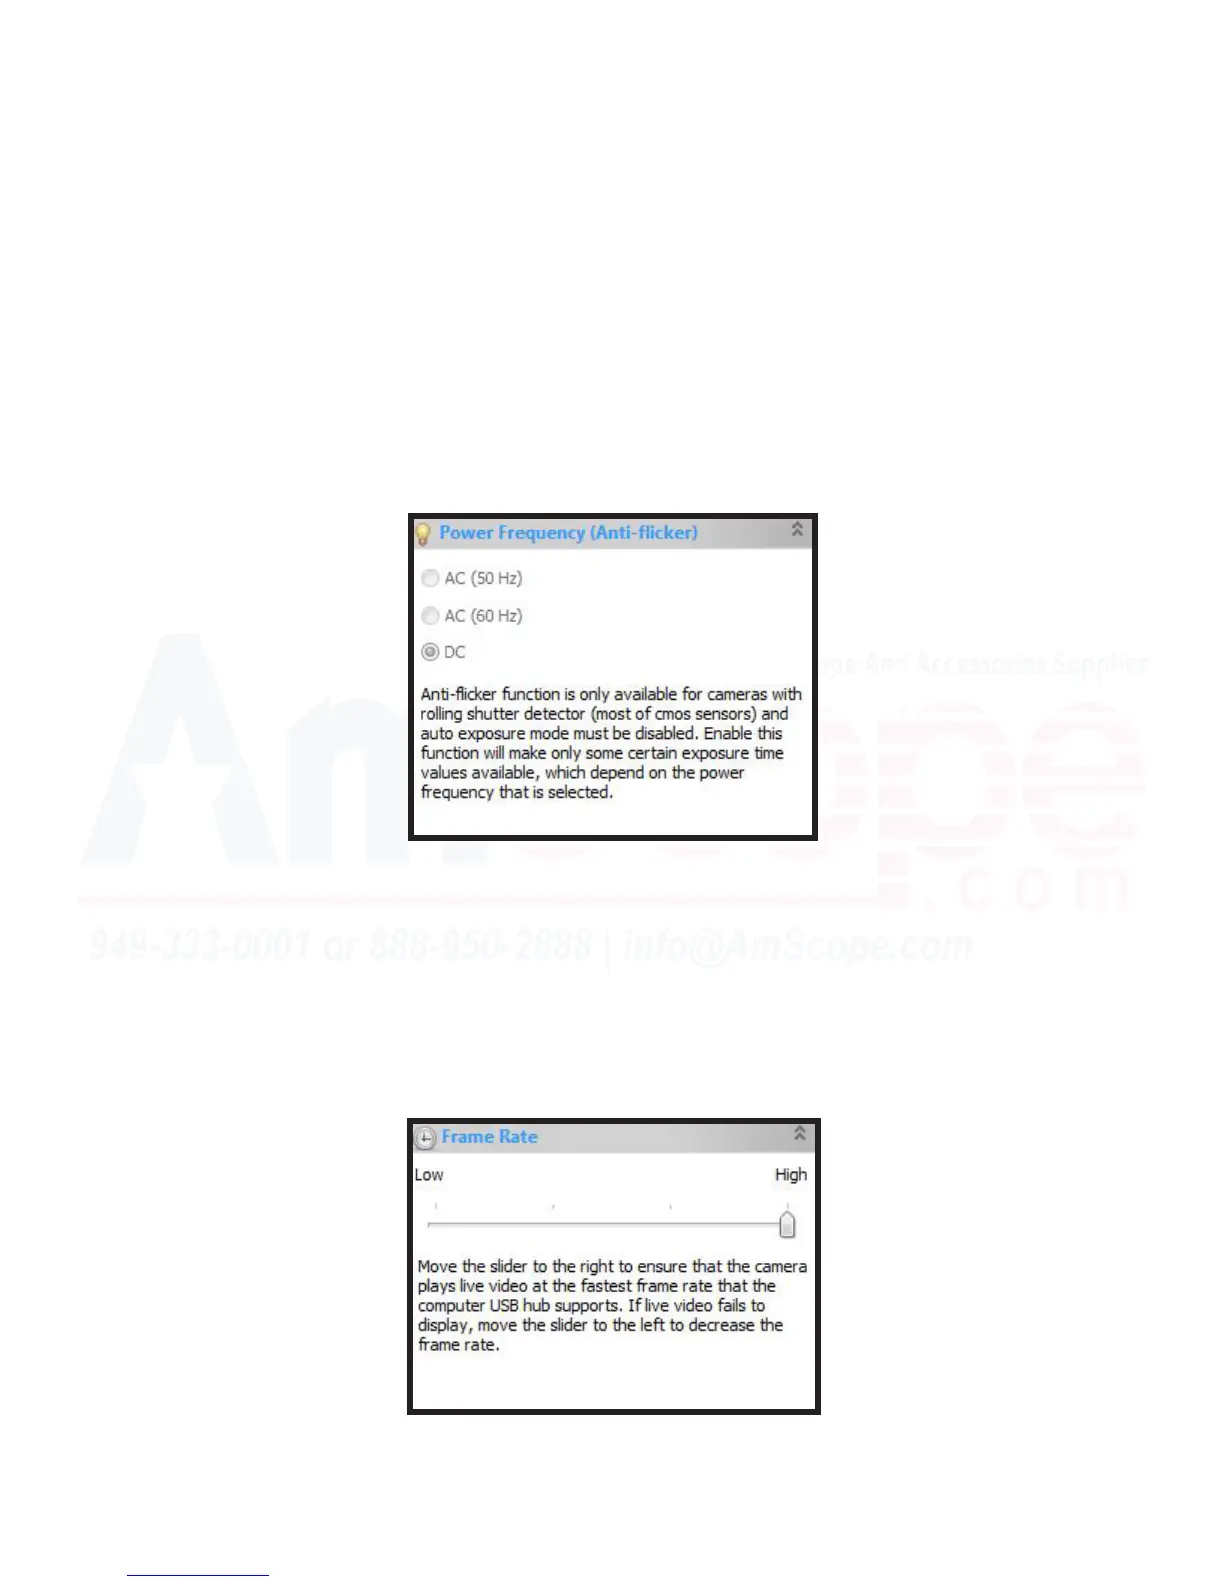
Power Frequency (An-Flicker)
This secon is only available by turning “Auto Exposure” o in the “Exposure & Gain” secon. It allows you to
set the CMOS sensor to capture frames in alignment with the frequency of local power supply powering the
microscope. CMOS sensors use a rolling shuer (captures each row of pixels from top to boom sequenally),
so if the light is not ickering at the same rate as capture, a ickering eect or rolling lines will be seen.
If you are detecng a series of rolling lines or ickering when viewing your sample, the “An-Flicker” system
may help resolve the issue. Turn “Auto Exposure” o and select the power frequency of nearby devices to the
camera (such as the microscope, computer, monitor, etc).
Frame Rate
This secon covers manual adjustment of the camera’s frame rate (FPS). By default, it is set to the max speed
possible, as users are looking for the closest to live experience possible from cameras. If your applicaon
deems it necessary, you can lower the frame rate as desired here.
Note: Although this secon exists, the greatest eect on frame rate will come from the resoluon seelcted,
whether the device in use is a USB2.0/3.0 device (in a compliant USB2.0/3.0 USB port), and the Exposure &
Gain sengs (as well as the Sampling secon, covered below).