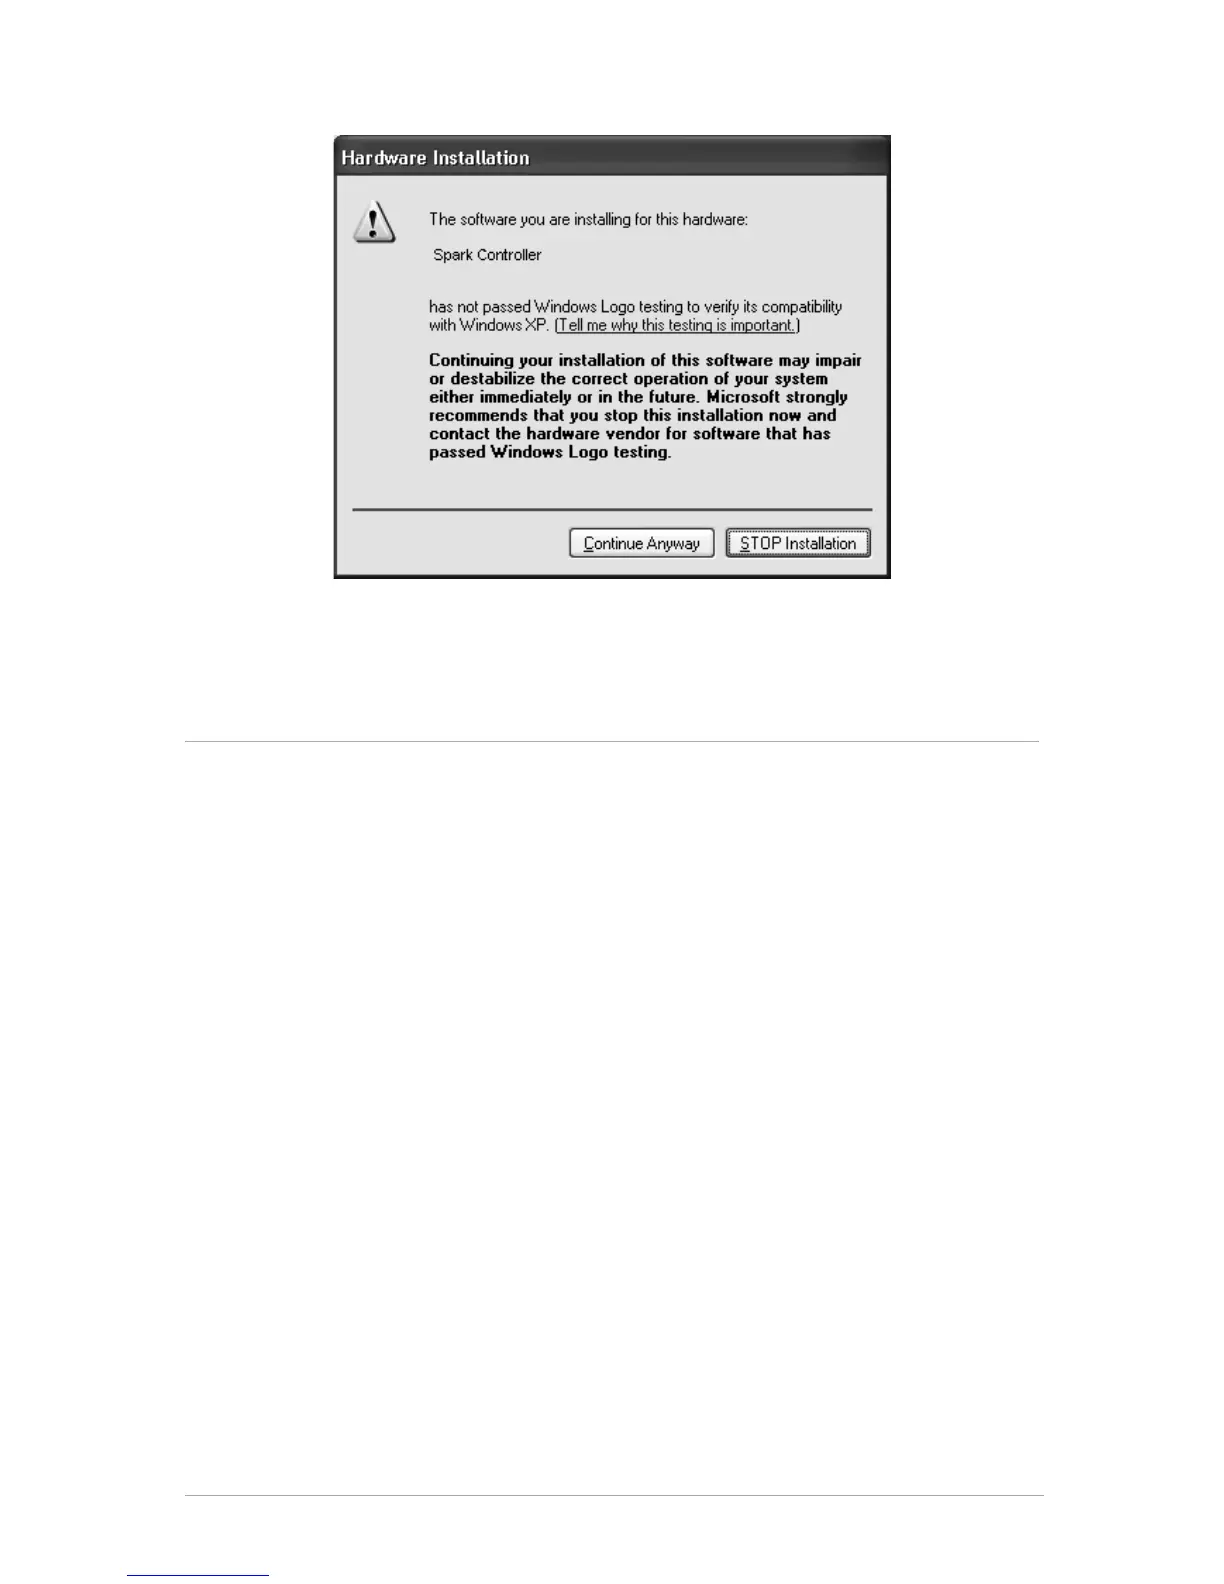
• Click “Continue Anyway”.
Your Spark Controller should now be ready to use.
2.2 MAC OSX INSTALLATION (10.5/10.6)
• Place the installation DVD-ROM in your computer’s DVD-ROM drive. Its icon
will appear in the Mac OS® X Finder.
• Connect the SPARK Controller using the USB cable. If you want to connect
the Controller to a USB-hub instead, make sure the hub has its own power
supply. SPARK's Controller will not work on a passive (bus-powered) USB
hub.
• Double-click the SPARK DVD icon to display the content of the DVD.
• Double-click the installer file named SPARK.
• Click Continue to proceed.
• To continue, you need to first accept the license agreement. After you have
read the license agreement, press Continue and click Agree.
• Select the hard disk onto which you would like to install SPARK. Please note
that you can only install SPARK onto hard disks which contain a Mac OS® X
version matching the system requirements. Hard disks with an incompatible
Mac OS® X version will be flagged with a red Stop sign and you will not be
able to select them from the Installation Destination dialog. From Mac OS® X
10.5 on, this screen will be skipped automatically.
• Click Continue.
• Select the elements you want to install (we recommend installing all
elements, however if you know that you don’t need a certain element like a
plug-in format, uncheck the checkbox next to it).
• If you want to install the SPARK Library contents to a custom location, e.g. to
an external hard disk, click the folder icon in the Location column to open a
dialog in which you can specify a destination for the installation.
• Click Install to continue. The Setup Program will lead you through the
installation procedure. Follow the onscreen instructions.