2. Enter the phone number or SIP address where you want to
forward your calls.
3. Choose one of the following:
• Press the Forwrd context-sensitive soft key to accept the
number and return to the Services Menu.
• Press the Clear context-sensitive soft key to clear the input
line.
• Press the Back context-sensitive soft key to cancel the input
and return to the Services menu.
Deactivate Call Forward
To deactivate Call Forward:
Choose one of the following:
• Press the Disable context-sensitive soft key to deactivate Call
Forward and return to the Services Menu.
• Press the Back context-sensitive soft key to cancel
deactivating the Call Forward and return to the Services menu.
Configuring Do Not Disturb
Use Do Not Disturb to automatically block all incoming calls. When you activate this feature, the
calling party receives a busy signal.
Enable Do Not Disturb
To enable Do Not Disturb:
Additional features
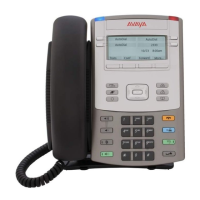
August 2017 Avaya 1140E IP Deskphone with SIP Software User Guide 188
Comments on this document? infodev@avaya.com

 Loading...