• If the headset timed out and exited search/pairing mode, put the
headset in pairing mode, as discussed in step 4, and repeat step
15.
• Check that you are using the correct PIN and repeat step 15.
17. If the name of your headset appears in the Paired box, proceed
to step 18.
If more than one device is paired, and the one you wish to use is not
shown in the Paired box, navigate to the one you want, as follows:
• Press the Right navigation key one or more times to highlight the
Paired: box. Press the Enter key to start the edit mode.
• Press the Up/Down navigation key to open the list. Press the Up/
Down navigations key to scroll in the Paired list and highlight
your headset.
• Press the Enter key to select the headset and close the list. Press
the Enter key to exit edit mode.
18. If only one headset is paired, proceed to step 18.
If more than one wireless headset is paired, the first headset paired
is automatically made the active device. To make a different
headset active, do the following:
• Press the Right navigation key one or more times to highlight the
Set button (next to the Set Active Device item).
• Press the Enter context-sensitive soft key.
The message "Set active: “device name” appears meaning
that the headset named is now the active headset and is used when
you press the headset key.
19. Press the Exit context-sensitive soft key to exit to the main
display. Changes are saved automatically.
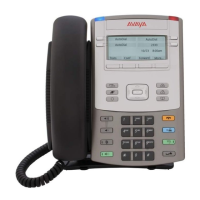
Dual pairing headsets
Take special care when using a dual pairing type of Bluetooth wireless technology headset. This
type of headset can be paired to the base of the headset, as well as to the IP Deskphone. If the
headset is paired to both, and the IP Deskphone is the second device, then following applies:
Configuring a Bluetooth wireless technology headset
August 2017 Avaya 1140E IP Deskphone with SIP Software User Guide 83
Comments on this document? infodev@avaya.com