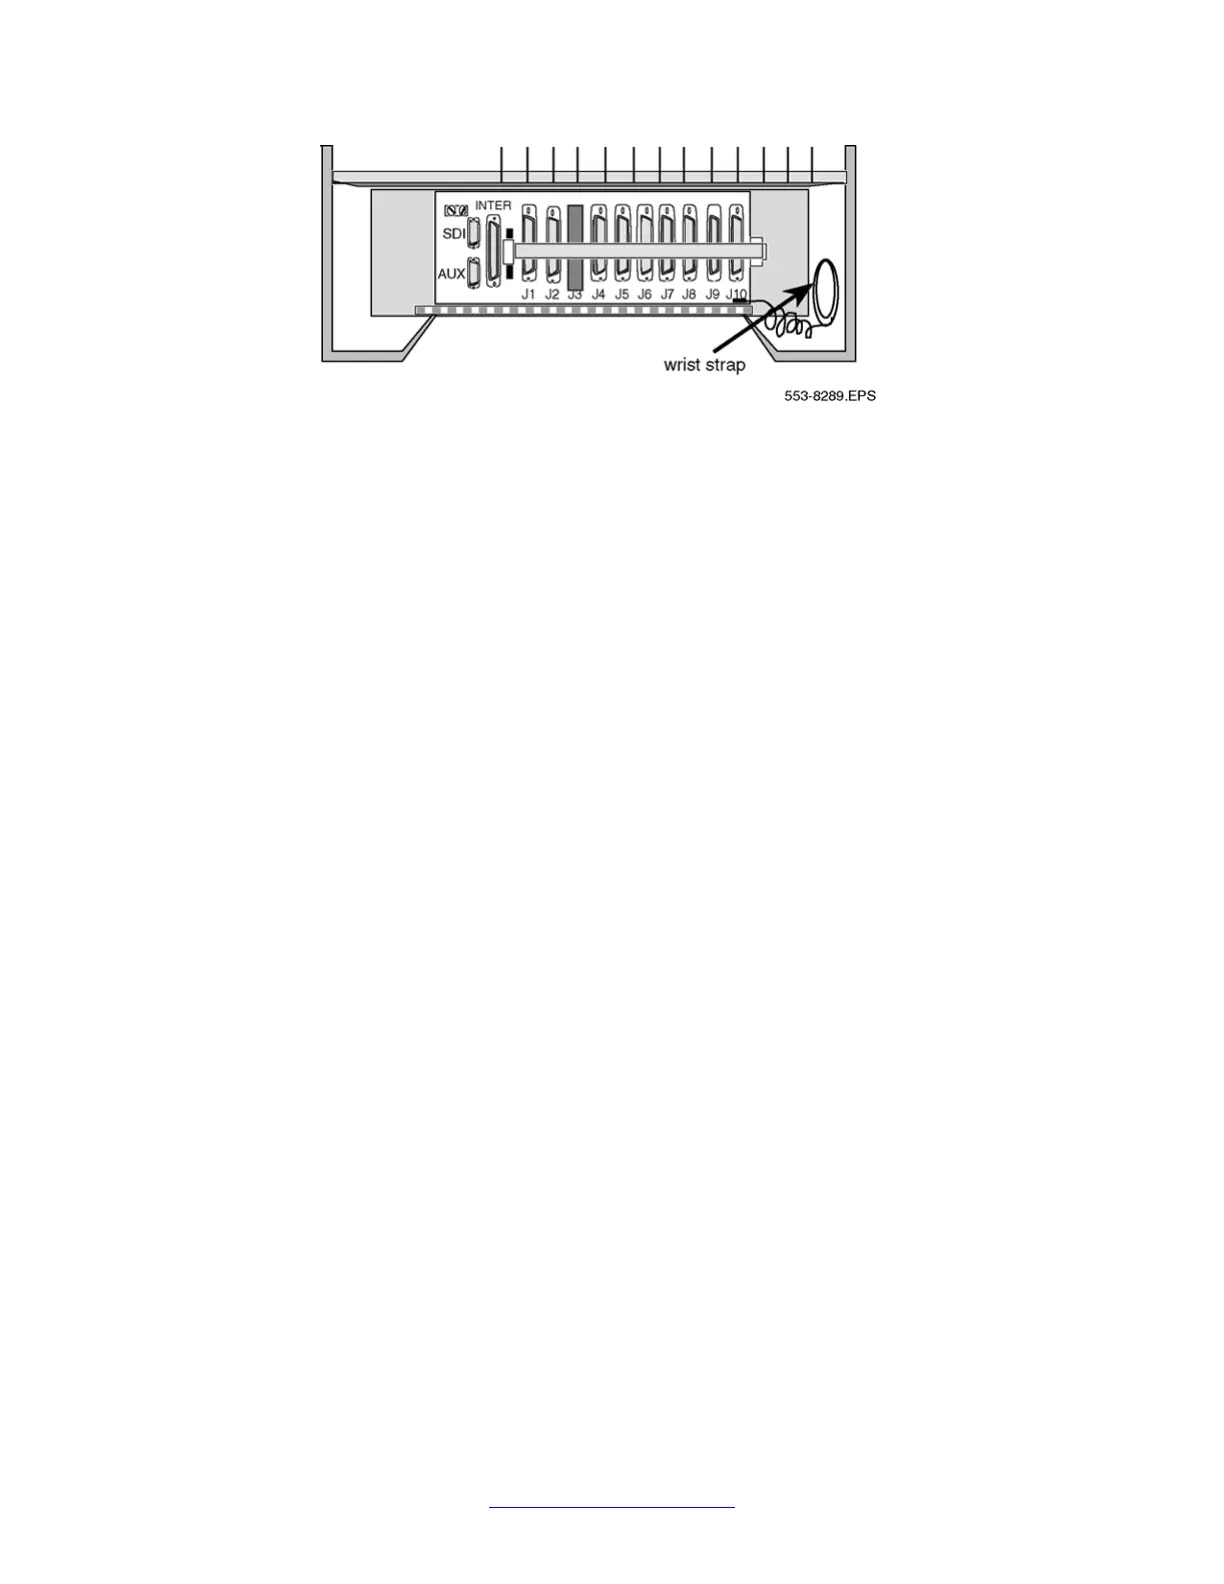
Figure 26: Wrist strap connection to the cabinet
a.
To remove the NTAK20 Clock Controller daughterboard, grasp the
NTAK20 at opposite corners and gently "wiggle" it back and forth until all
four corners are free. Do not bend the connector pins.
b. To remove the NTAK93 Clock Controller daughterboard, grasp the
NTAK93 at opposite corners and gently "wiggle" it back and forth until all
four corners are free. Once the corners are free of the stand-off, grasp
the NTAK93 by its upper and lower right corners and slowly lift the right
side of the NTAK93 up and away from the NTAK09 connectors, being
careful not to bend any of the pins.
5. To replace the NTAK09 DTI/PRI card, NTAK20 Clock Controller or NTAK93 DCHI,
refer to PRI implementation and DTI implementation in Avaya ISDN Primary Rate
Interface Installation and Commissioning (NN43001-301). Be sure to set any
switches and install any daughterboards as required.
6. Tag any defective or damaged equipment with a description of the problem and
package it for return to a repair center.
1.5 Mb DTI/PRI maintenance
122 ISDN Primary Rate Interface Maintenance November 2011
Comments? infodev@avaya.com
 Loading...