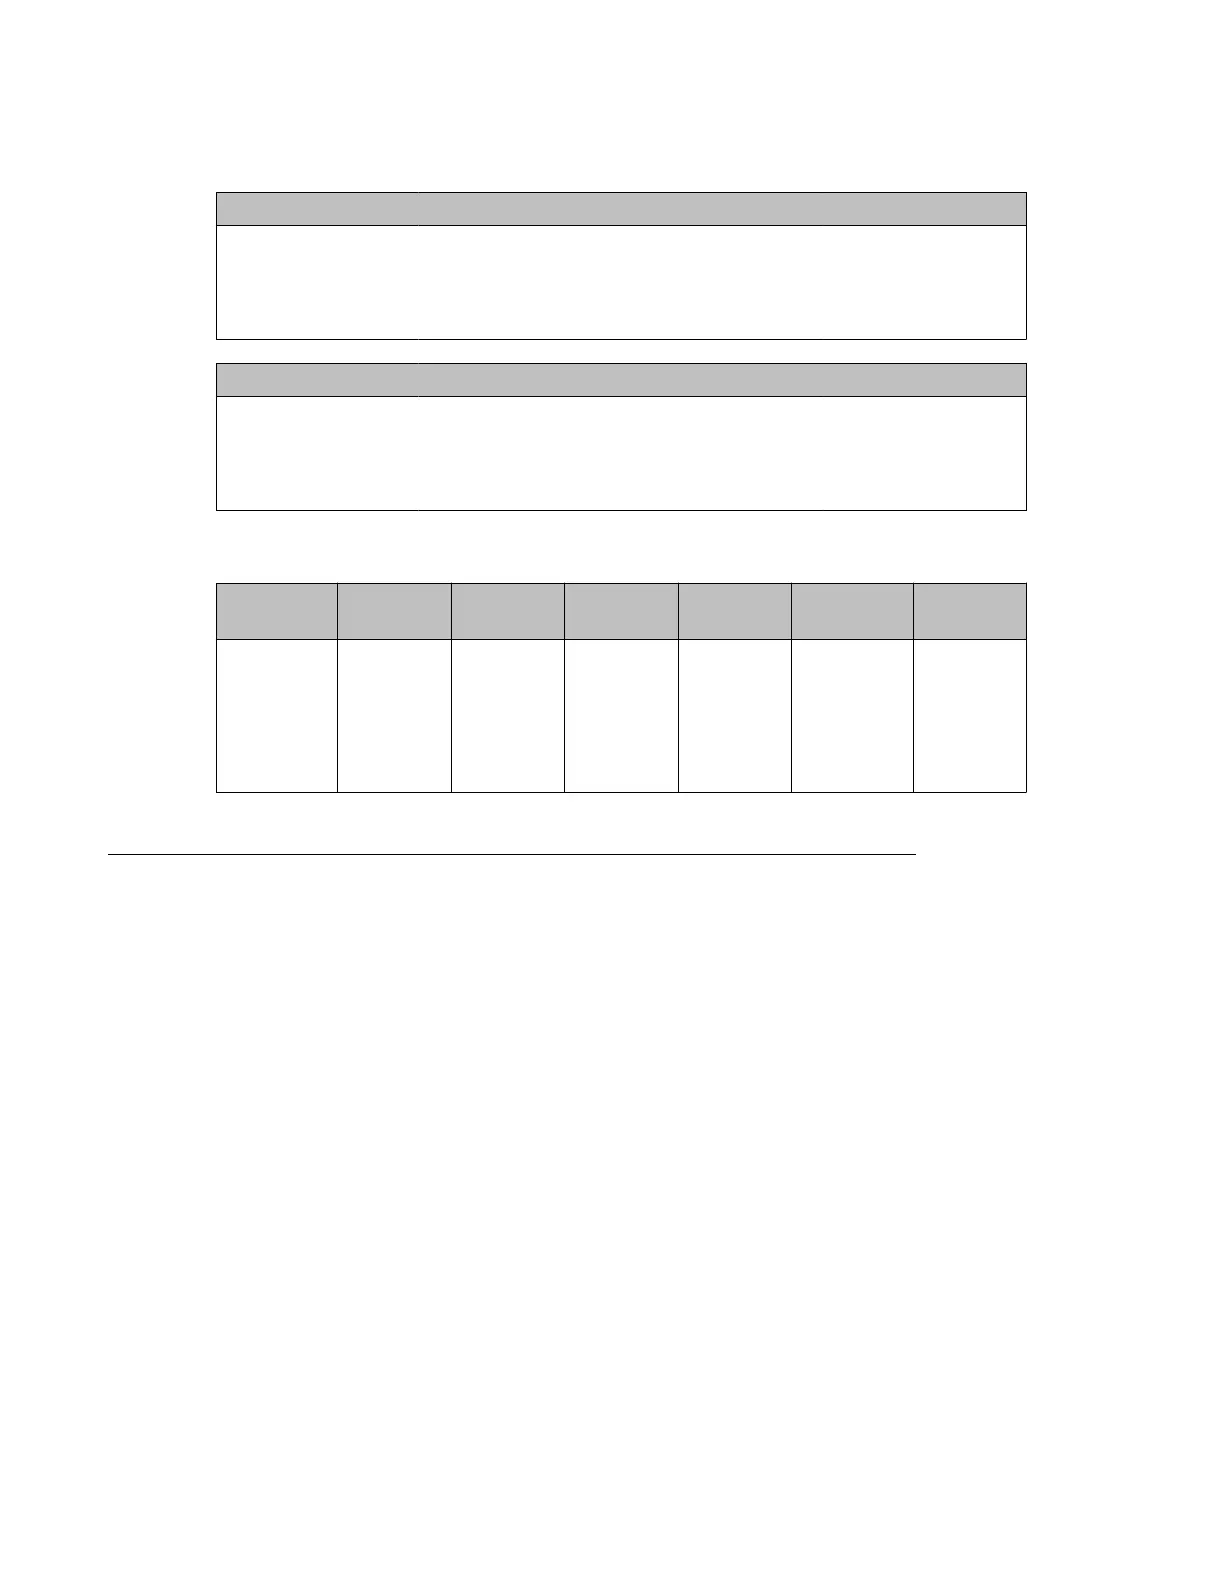
Table 84: NTAK02 switch settings
Port 0 Port 1 SW1-1 SW1-2
SDI DCH OFF OFF
SDI DPNSS1 OFF ON
— ESDI ON ON
Port 2 Port 3 SW1-3 SW1-4
SDI DCH OFF OFF
SDI DPNSS1 OFF ON
— ESDI ON ON
Table 85: NTAK02 jumper settings
Unit Jumper
location
Strap for
DTE
Strap for
DCE
Jumper
location
RS422 RS232
Unit 0 J10 C - B B - A
Unit 1 J7 J6 C - B C - B B - A B - A J9 J8 C - B C - B B - A B - A
Unit 2 J5 C - B B - A
Unit 3 J4 J3 C - B C - B B - A B - A J2 J1 C - B C - B B - A B - A
Setting up the D-channel
If this is a dedicated mode installation using leased line modems, the D-channel connects the
DCHI with the far-end modem over a dedicated leased line. Synchronous modems with a
minimum 2400 baud data rate must be configured. Modems must support leased line capability
and synchronous mode.
The Hayes Smartmodem 2400 cannot be used on leased lines.
If this a dedicated mode using dial-up modems, modems such as Hayes 2400, Ventel 2400 or
Gandalf 2400 can be used. In this configuration, the DCHI connects to a modem which is
connected to a 500 set line card. The call connects to the far-end through the 500 set-to-TIE
trunk path.
Program the modem at one end in the auto-dial mode, so it automatically initiates a call to the
other end at power up. The auto-dial number must be coordinated with the far-end switch. The
originating modem has this auto-dial number stored internally as part of the modem
configuration routine.
The far-end modem need only be set up for auto-answer.
ISL hardware installation
ISDN Primary Rate Interface Maintenance November 2011 169
 Loading...