4. Installation
Image 4-7
Lens interface plate, screening UP to the top side
3. Mount the assembly (lens + interface plate) on the lens holder
Insert and tighten the 4 screws with one hand while supporting the lens with the other hand
Caution: Mind the orientation of the lens assem bly: the screenings UP and TOP must be oriented upw ards (table confi gur a-
tion!).
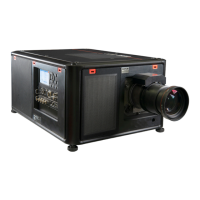
Image 4-8
Lens assembly mounting
4.3 Projector configuration
CAUTION: Projectors in ceiling configuration must have their second pump being connected mechanically
and electrically! If no second pump is present in the projector, the corresponding kit must be installed first.
Contact a Barco trained and certified technician.
The different configurations
Depending on the installation the projector can be mounted in different ways, the 4 different configurations are:
1. Rear/Ceiling
2. Rear/Table
3. Front/Ceiling
4. Front/Table
18
R59770286 NW-12 07/09/2009

 Loading...